
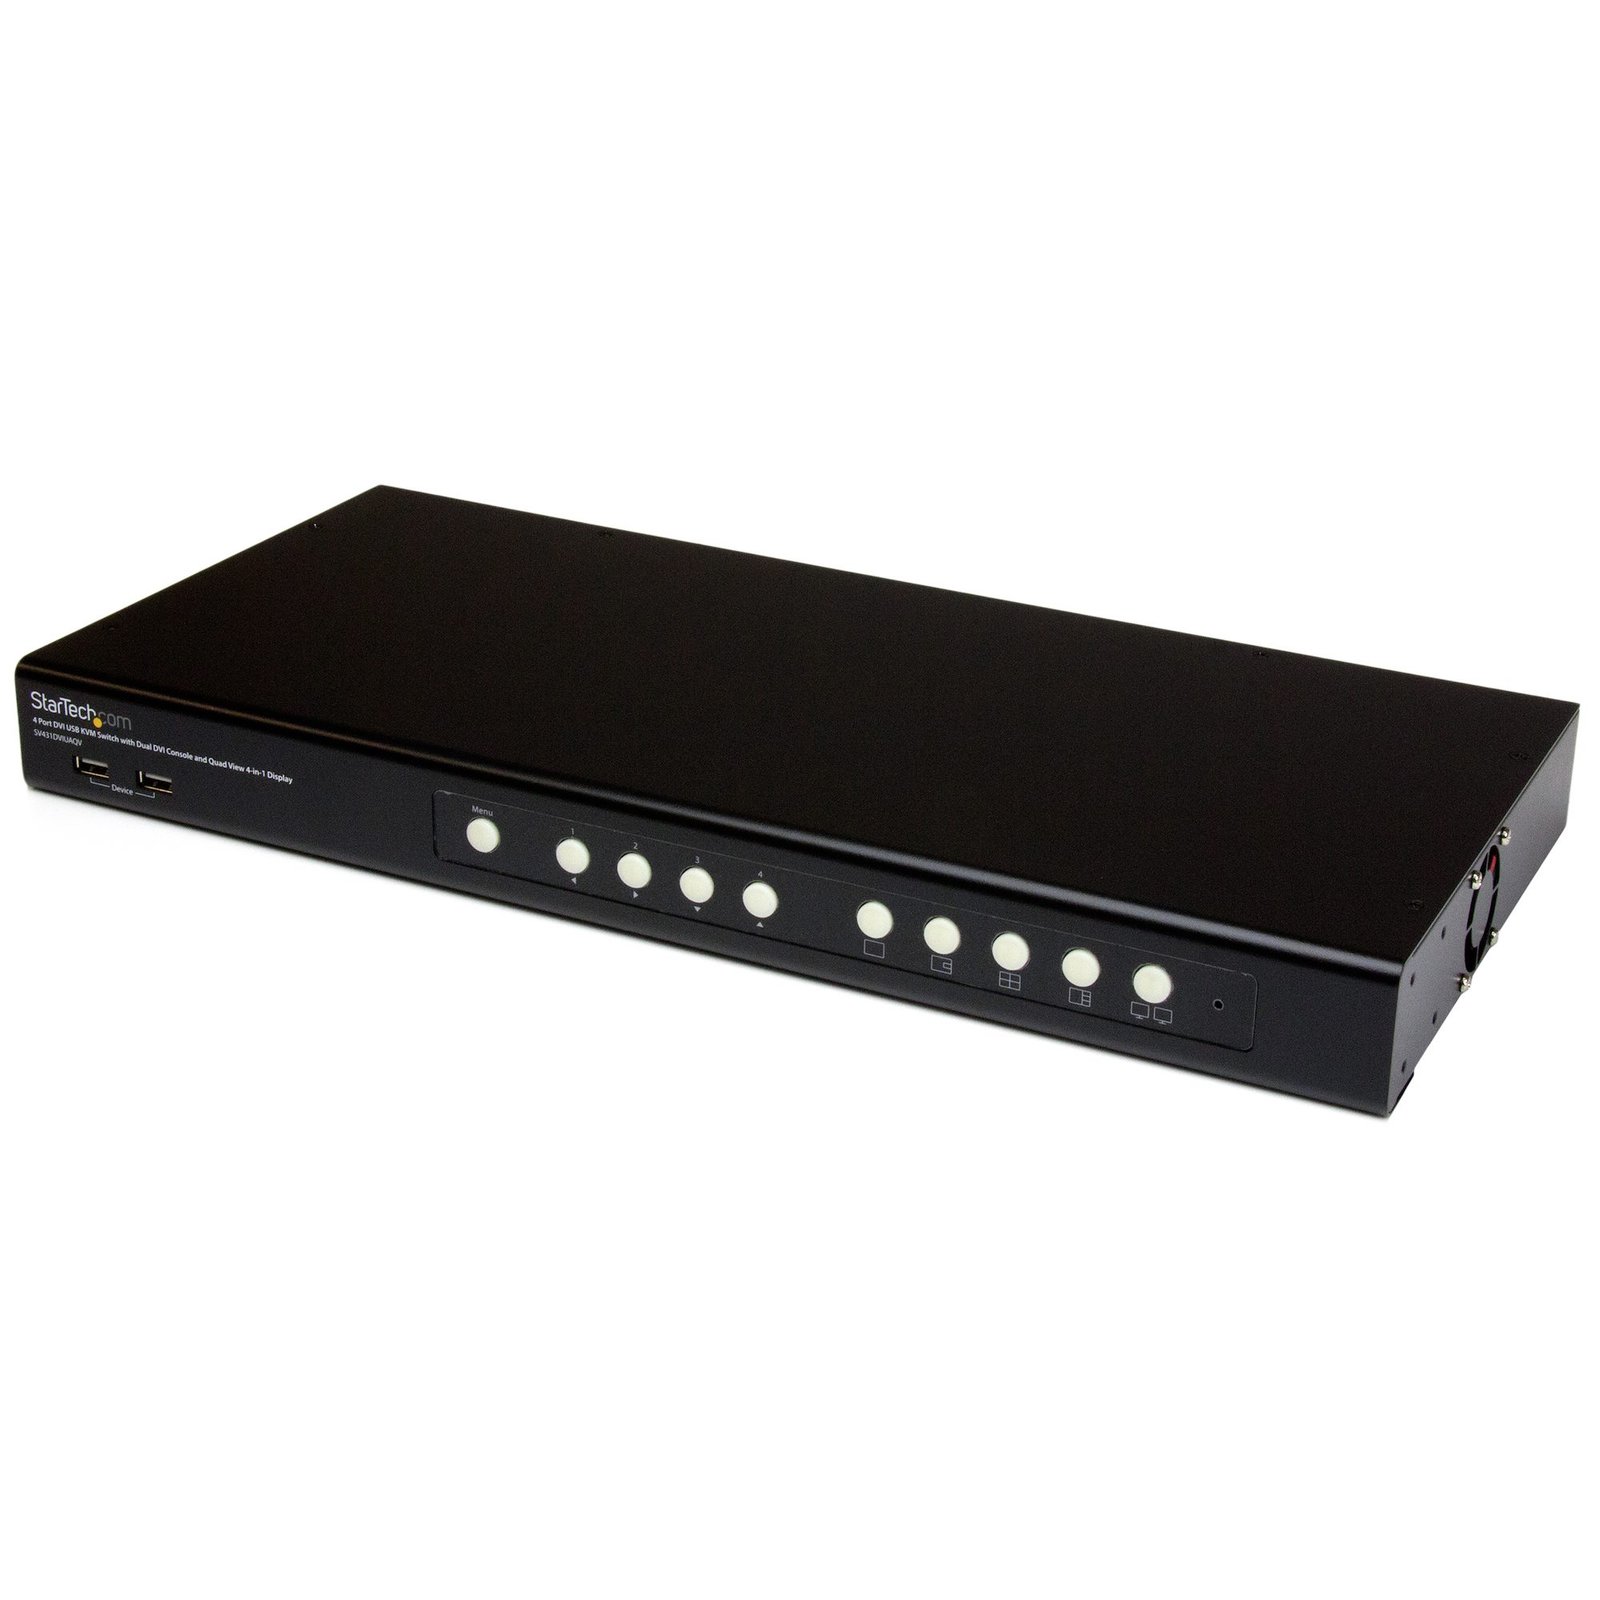
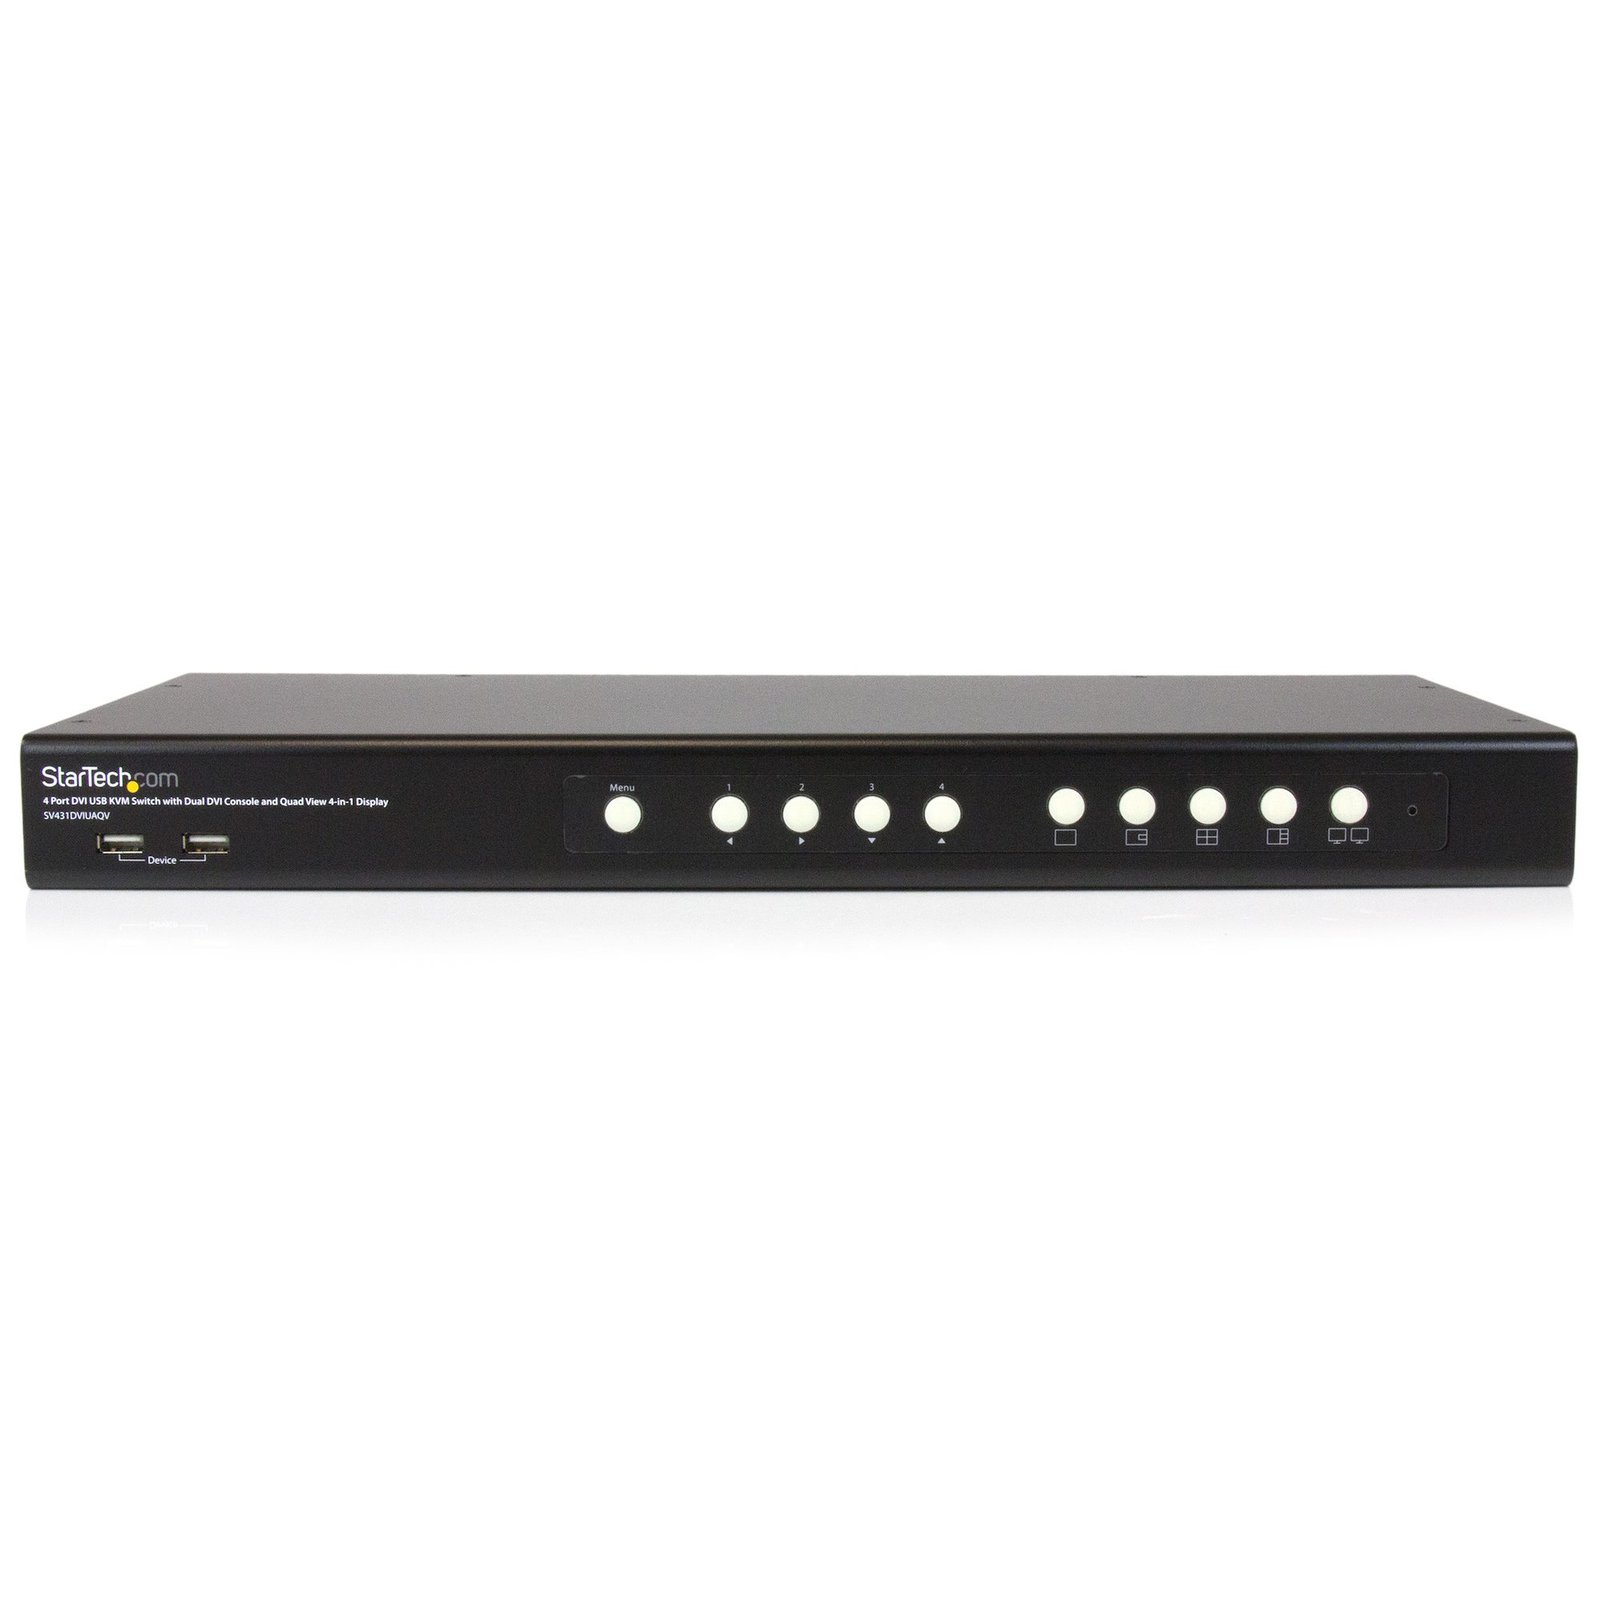
4 Port DVI USB KVM Switch with Dual DVI Console and Quad-View 4-in-1 Display
$1,517.99
Control 4 systems using a single peripheral set, with dual DVI console connections and multiple picture-in-picture display modes
Specifications & Compliance
- UPC
- 065030855228
- Brand
- StarTech.com
- Included in Package
- 1 - DVI USB Quad View KVM Switch, 4 - DVI Cables, 4 - USB A-B Cables, 4 - 3.5mm Audio Cables, 1 - Upgrade Cable, 2 - Rack Mount Brackets, 1 - Power Adapter, 3 - Power Cords (NA / UK / EU)
- Shipping (Package) Weight
- 13.3 lb [6.1 kg]
- Weight of Product
- 5.5 lb [2.5 kg]
- Product Length
- 17.2 in [43.8 cm]
- Product Width
- 7.9 in [20.0 cm]
- Product Height
- 1.7 in [44.0 mm]
- Package Depth
- 16.5 in [41.9 cm]
- Package Width
- 19.8 in [50.2 cm]
- Package Height
- 4.7 in [12 cm]
- Color
- Black
- Warranty
- 2 Years
- Connector 1
- USB-A (480Mbps, 2.5W)
- Connector 1 (Quantity)
- 2
- Package Quantity
- 1
- Connector 2
- RJ-45
- Connector 2 (Quantity)
- 2
- Operating Temperature
- 0°C to 40°C (32°F to 104°F)
- Storage Temperature
- -20°C to 60°C (-4°F to 140°F)
- Humidity
- 0~90% RH (Non-Condensing)
- Material
- Steel
- Power Source
- AC Adapter Included
- Input Voltage
- 100 - 240 AC
- Output Voltage
- 12V DC
- Connector 3
- DVI-I Dual-Link (29-Pin)
- Connector 3 (Quantity)
- 2
- Power Consumption
- 60
- LED Indicators
- 4 - PC Selection indicators, 4 - Display Mode indicators
- Input Current
- 1.8 A
- Output Current
- 5
- Maximum Digital Resolutions
- 1920x1200
- Host Connector 1 (Quantity)
- 1
- Audio
- Yes
- Plug Type
- M
- Center Tip Polarity
- Positive
- Connector 4 (Quantity)
- 2
- Host Connector 2
- USB-B (480Mbps, 2.5W)
- Host Connector 2 (Quantity)
- 1
- Cascadable
- Yes
- Connector 5
- 3.5mm (3 Conductors, TRS)
- Connector 5 (Quantity)
- 1
- Rack-Mountable
- Yes
- U Height
- 1U
- Number of KVM Ports
- 4
- IP Control
- No
- Supported Platforms
- USB
- PC Video Type
- DVI
- Number of Monitors Supported
- 2
- On-Screen Display
- Yes
- Cables Included
- Yes
- Port Selection Support
- Push Button, Hotkeys, and OSD (On Screen Display)
- Hot-Key Selection
- Yes
- Host Connector 3 (Quantity)
- 1
- Maximum Number of Users
- 1
Questions & Answers
How do I set up my KVM switch?
Turn off all of the computers and monitors that will be connected to the KVM switch. Connect the power adapter to the KVM switch. Connect the video cables from your monitors to the console video port on the KVM switch. Turn on the monitors. Connect your keyboard and mouse to the console PS/2 or USB ports on the KVM switch. If you have not done so already, change the KVM switch to focus on port 1. Connect the video cables from PC1 to the KVM switch. Connect the PS/2 or USB cables from PC1 to the PC1 PS/2 or USB ports on the KVM switch. Turn on PC1. You should see the computer load the operating system that you are using on PC1. Make sure that the mouse and keyboard can control PC1. Repeat steps 4 to 8 for each additional computer that you want to connect to the KVM switch. Leave the computer in focus until you make sure that the mouse and keyboard can control the computer in step 8.
My Monitors are flickering when connected through the KVM Switch. What do I do?
Monitors may begin flickering when they receive a signal of insufficient quality. There are a few potential fixes available that will help to improve the signal quality in order to eliminate flickering: Replace Video Cables with high-quality Video Cables (e.g. upgrade DisplayPort 1.2 Cables to DisplayPort 1.4 Cables ). Use shorter Video Cables to reduce signal attenuation. When possible, remove Video Adapters to use native Video Connection Types (e.g. go from VGA to VGA , or DisplayPort to DisplayPort ) For DisplayPort Monitors , try changing the DisplayPort Version on the Monitor . For information on how to change your Monitor Settings refer to the Manual from the Monitor Manufacturer . Update the Drivers for the Computer’s GPU to the latest available from the Monitor Manufacturer .
Video and/or USB control works on one connected PC but not another. What do I do?
Ensure the video & USB cables are connected between each computer and the KVM switch Safely power off all computers. Unplug everything from the KVM switch and connect one computer at a time, swapping the inputs previously used (e.g., the computer connected to PC2 now connects to PC1). Power on each computer and confirm functionality before connecting the next one to the KVM switch. If using a KVM switch that supports multiple displays, ensure all video connections from the computer are from either the video card or motherboard, both cannot be used simultaneously on most systems.
Certain KVM ports or computers are working but not all of them. What do I do?
There are four troubleshooting actions that you can try if some but not all of the ports and your computer are working with the KVM switch. To determine if a specific cable is the source of the problem, switch the cables that connect the KVM switch to the computers to one working port and computer, and one port and computer that is not working. Keep the computer plugged into the same ports and only switch the cables. If the issue persists when you switch cables, the issue may be with the cable itself. To determine if the problem is between the computer and the KVM switch, using the same cables, connect the KVM switch to one computer that is working and one computer that is not working. If the issue persists when you switch computers, follows the issue may be with the computer and the KVM switch. Try reinitializing the KVM. This is done by following the setup instructions on the website. To determine if the KVM switch is the source of the problem, if you have another KVM switch, disconnect the current KVM switch and connect the second KVM switch.
My keyboard keeps repeating keys when it is plugged into the KVM. What do I do?
If the keys on your keyboard are repeating, complete the following: If the KVM you are using has USB ports, you can move your keyboard to the USB hub port on the back of the KVM (the USB hubs are marked). Note: When you move the keyboard out of the keyboard port, you will not be able to access the hotkeys. You can adjust the typematic rate in your operating system’s settings. Depending on the version of Windows you are running, you can adjust the typematic rate by doing one of the following: Click Control Panel > Keyboard > Speed . Adjust the repeat delay and repeat rate until the keys no longer repeat. Click Control Panel > Hardware and Sound > Devices and Printers . Right-click Keyboard Settings . Adjust the repeat delay and repeat rate until the keys no longer repeat.
How can I identify which DVI connector type I have or need?
You can identify the DVI connector type by the pin configuration and determine compatibility based on whether the connection supports analog, digital, or both signal types. Explanation: DVI (Digital Visual Interface) connectors are defined by their pin layout and supported signal type. The main DVI connector types are: DVI-A (17 pin) . Analog signal only DVI-D Single Link (19 pin) . Digital signal only DVI-D Dual Link (25 pin) . Digital signal only, higher bandwidth DVI-I Single Link (23 pin) . Supports both analog and digital signals DVI-I Dual Link (29 pin) . Supports both analog and digital signals, higher bandwidth DVI-A is used for analog signals (similar to VGA), while DVI-D is used for digital signals (similar to HDMI). DVI-I connectors can carry both analog and digital signals, but actual support depends on the device’s specifications. Single Link and Dual Link indicate bandwidth capacity, which affects maximum supported resolution. Typical limits are up to 1920 × 1080 @ 60 Hz for Single Link and up to 2560 × 1600 @ 60 Hz for Dual Link. However, actual resolution support depends on the capabilities of the connected devices, not just the connector type. To ensure compatibility, verify both the connector type and the signal support in the specifications of the source and display devices.
What is a KVM switch, and how do I determine if it is compatible with my setup?
A KVM switch allows you to control multiple computers with one keyboard, monitor, and mouse, and compatibility depends on matching the number of systems, connection types, and feature requirements. Explanation: A KVM (Keyboard, Video, Mouse) switch enables a single set of peripherals to control multiple computers. Many KVM switches also support additional devices such as USB peripherals and audio. There are several types of KVM switches designed for different use cases: Standard KVM switches : Connect multiple computers using a central unit. Cable KVM switches : Integrate cables into the design for simpler setups. Multi-monitor KVM switches : Support switching between multiple displays per computer. Secure KVM switches : NIAP-certified for secure environments. To ensure compatibility, verify the following: Number of computers : The KVM switch must support the total number of connected systems. Video interfaces : Match the video input/output types (such as HDMI, DisplayPort, or DVI) across all devices. Peripheral connections : Confirm support for USB or PS/2 keyboards and mice. Display requirements : Ensure the KVM switch supports the required resolution and number of monitors. Additional features : Check for audio support or hotkey switching if needed. Some KVM switches require specific or proprietary cables, which are included or listed as accessories for the product. Basic wired keyboards and mice are recommended, as wireless, gaming, or combined receiver devices may not function reliably with KVM switches.
What should I consider when choosing cables for a KVM switch?
KVM cable requirements depend on the specific KVM switch; some use standard cables, while others require proprietary cables designed for that model. Explanation: KVM switches connect multiple computers to a single set of peripherals, and each connected computer typically requires one set of cables. Cable requirements vary by KVM switch design: Standard KVM switches : Use standard video (such as HDMI, DisplayPort, or DVI) and USB or PS/2 cables. These cables can be purchased individually or as bundled kits for convenience. Opposite gender connections : Some KVM switches use different connector genders for computer and console ports to prevent incorrect connections. These setups may require extension cables or specific cable kits. Proprietary cable KVM switches : Some models, especially those designed for server environments, require proprietary cables. These cables combine video and USB or PS/2 signals into a single connector and cannot be replaced with standard cables. To determine the correct cables: Check the product’s Technical Specifications and “What’s in the Box” to see if cables are included. Review the Accessories section for compatible cable options. Inspect the port layout; if there are no standard USB or PS/2 ports for computers, proprietary cables are required. Using the correct cable type is essential to ensure proper functionality and compatibility with the KVM switch. If at this point you require further assistance in deciding which cables to purchase with your StarTech.com KVM switch, contact our technical support team.
How can I connect this DVI-I output to a VGA, HDMI, or DisplayPort display?
Although this device uses a DVI-I connector, it supports only digital DVI video signaling. The appropriate adapter or converter depends on the type of display connection you need to use. Explanation: This device features a DVI-I connector but does not output analog DVI-I signals. Instead, it supports only digital DVI signaling, similar to DVI-D. As a result: HDMI: A DVI to HDMI adapter or cable can be used because DVI and HDMI share compatible digital video signaling. DisplayPort: An active DVI to DisplayPort converter is required because DVI and DisplayPort use different signaling technologies. VGA: An active DVI-D to VGA converter is required because VGA uses analog video signaling and the device outputs only digital video. When selecting a conversion solution, use the fewest possible adapters and converters to maximize compatibility and simplify installation. Before purchasing a converter, verify: The input type of the display The required resolution and refresh rate Whether the converter supports active digital-to-analog conversion when connecting to VGA Although DVI-I can support both analog and digital signaling, some devices with DVI-I connectors may support only digital DVI-D signaling internally. Refer to the device specifications to confirm supported signal types.
What DVI cable connector size is compatible with this KVM switch?
This KVM switch supports DVI cables and adapters with connector widths of 39.5 mm or less; larger connectors are not supported. Explanation: The DVI ports on this KVM switch are tightly spaced, which creates strict physical clearance requirements for adjacent connectors. DVI cable or adapter housings wider than 39.5 mm may block neighboring ports or prevent proper insertion, resulting in connection issues. To ensure full port usability and reliable connectivity, use only DVI cables that meet the 39.5 mm maximum connector width. The DVI cables listed in the product’s Accessories tab have been validated for fit and compatibility with this KVM switch.
What DC barrel connector power plug types do StarTech.com products use, and what are their dimensions?
StarTech.com DC barrel connector plug types are defined in the “Plug Type” field of the technical specifications, using a letter code that specifies the connector’s outer diameter (OD) and inner diameter (ID) in millimeters for power adapter compatibility. Explanation: In StarTech.com technical specifications, the “Plug Type” field is a standardized identifier for the exact DC barrel connector size required to power a product. Each plug type is assigned a letter code that corresponds to a specific combination of outer diameter (OD) and inner diameter (ID), measured in millimeters. Common DC barrel plug type dimensions Plug Type OD ID A 2.35 mm 0.7 mm B 4.0 mm 1.7 mm C 4.75 mm 1.7 mm H 3.4 mm 1.3 mm L 5.0 mm 2.5 mm M 5.5 mm 2.1 mm N 5.5 mm 2.5 mm The DC barrel connector plug type must match both the outer diameter and inner diameter exactly. A mismatch between the StarTech.com product requirement and the power adapter connector can prevent proper fit or stable power delivery, which may result in device startup failure or intermittent operation. The plug type defines only the physical connector size. The plug type does not define electrical power requirements such as voltage, current, or polarity. The power adapter used with a StarTech.com product must match the product’s specified electrical requirements. Using an incompatible power adapter can cause device malfunction or permanent damage. This standardized DC barrel connector plug type system enables IT professionals and procurement teams to verify connector dimensions, ensure power adapter compatibility, standardize hardware deployments, and identify the correct replacement power supply for StarTech.com products.
Related products
-

Portable Laptop Crash Cart Adapter, USB/VGA/Mini DisplayPort KVM Console, File Transfer and Video Capture, TAA Compliant
$631.99 Add to cart -
4-Port Dual-Monitor DisplayPort KVM Switch, 4K 60Hz, 2x USB 5Gbps Hub Ports, 2x USB 2.0 HID Ports, Hotkey and Push-Button Switching, TAA Compliant - 3.5mm Audio, HDCP
$1,019.99 Add to cart -
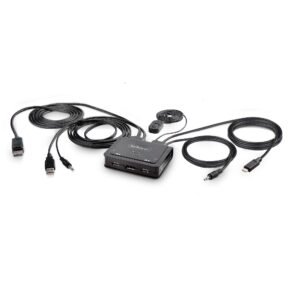
2-Port Hybrid USB-C DisplayPort Cable KVM Switch, 4K 60Hz, Compact KVM with 6ft/1.8m USB-A/DisplayPort/Audio & 4ft/1.2m USB-C Integrated Host Cables, Bus Powered - Remote Push Button/Hotkey Switching
$99.99 Add to cart -
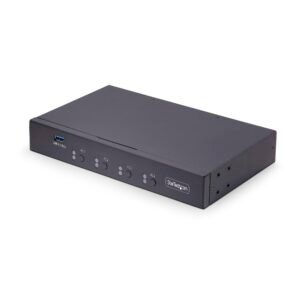
4-Port KM Switch with Mouse Switching, USB Switch for Keyboard/Mouse, 3.5mm/USB Audio, Peripheral Sharing for 4 Computers, TAA Compliant
$375.99 Add to cart