
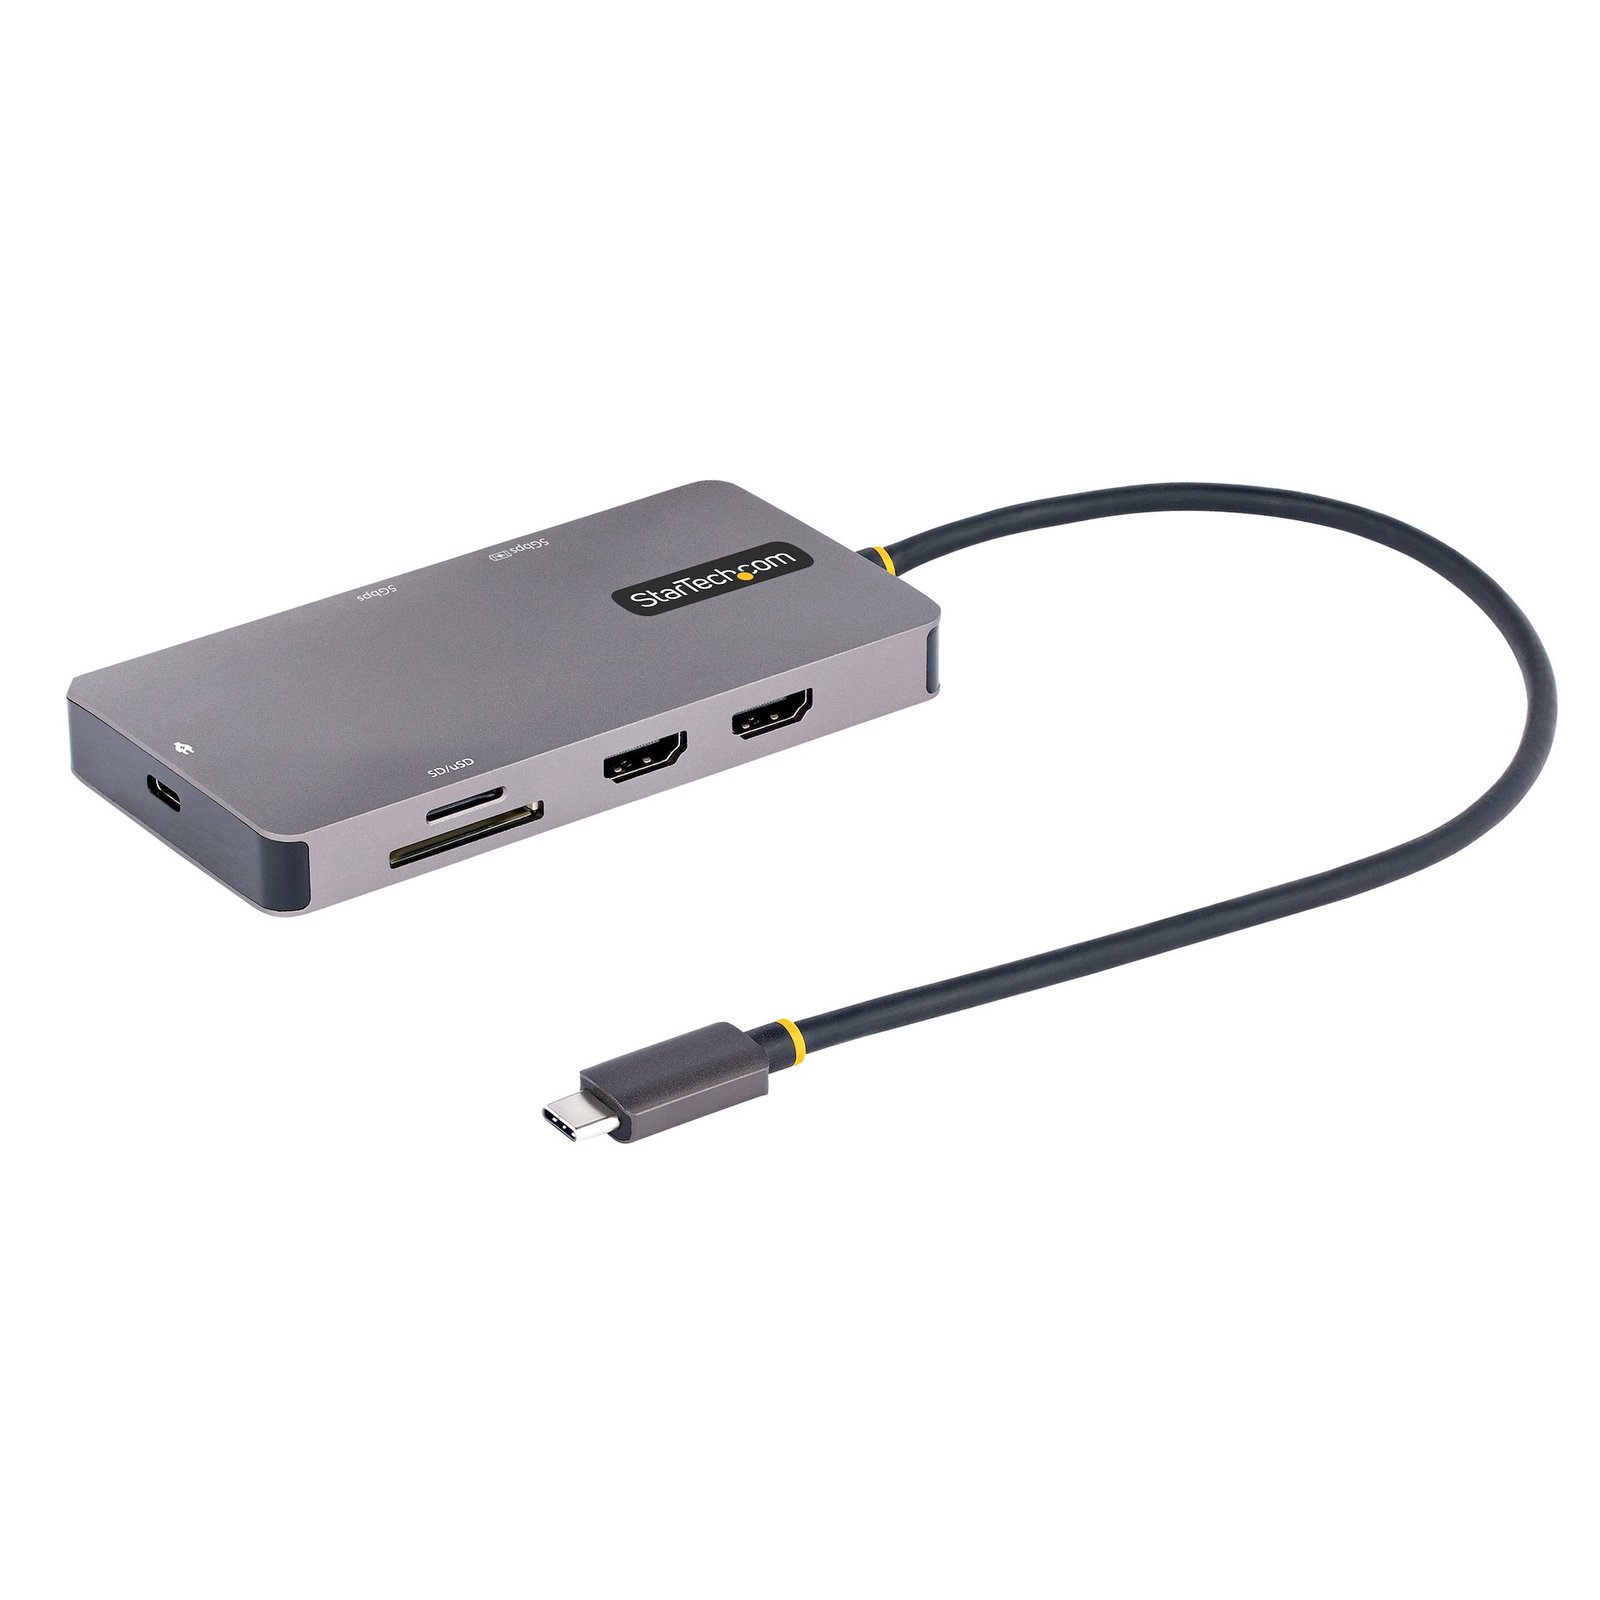
USB C Multiport Adapter, Dual HDMI Video, 4K 60Hz, 2Pt 5Gbps USB-A Hub, 100W Power Delivery Pass-Through/GbE/SD/MicroSD, 12"/30cm Cable, Travel Dock, Laptop Docking Station
$96.34
Portable Docking Station | Up to Dual-4K 60Hz | GbE | SD & MicroSD Card Readers | Thunderbolt™ 3 & 4 Compatible
Specifications & Compliance
- UPC
- 065030895576
- Brand
- StarTech.com
- Included in Package
- 1 - USB-C Multiport Adapter, 1 - Quick-Start Guide
- Shipping (Package) Weight
- 6.6 oz [186 g]
- Weight of Product
- 5.8 oz [165.0 g]
- Product Length
- 2.3 in [59.0 mm]
- Product Width
- 5.7 in [14.5 cm]
- Product Height
- 0.6 in [14.0 mm]
- Package Depth
- 6.8 in [17.3 cm]
- Package Width
- 5.6 in [14.2 cm]
- Package Height
- 1.3 in [32 mm]
- Color
- Space Gray
- Cable Length
- 11.8 in [30 cm]
- Warranty
- 3 Years
- Connector 1
- HDMI
- Connector 1 (Quantity)
- 2
- Package Quantity
- 1
- Connector 2
- USB-A (5Gbps, 4.5W)
- Connector 2 (Quantity)
- 2
- Operating Temperature
- 0°C to 45°C (32°F to 133°F)
- Storage Temperature
- -10°C to 70°C (14°F to 185°F)
- Humidity
- 10~90% RH (Non-condensing)
- Material
- Aluminum
- Maximum Data Transfer Rate
- 5 Gbps
- Industry Standards
- HDMI 2.0, HDR10, DisplayPort 1.4, USB 3.2 Gen 1 (5Gbps), USB Power Delivery Specification Rev. 3.0
- Power Source
- Bus Powered and Host USB-C Power Adapter
- Chipset ID
- VIA - VL103, VIA - VL817S, Genesys Logic - GL3224, Realtek - RTL8153E (I)-CG, Synaptics - VMM6200
- Special Notes
- Not all USB-C ports support the full functionality of the USB Type-C standard. Ensure that your host USB-C port supports USB Power Delivery and DP alt mode., The adapter can connect to a host laptop's USB-C port that doesn't support USB Power Delivery. However, in this configuration if a power adapter is connected to the multifunction adapter, it will not pass power through to your host laptop., A 4K-capable display is required to achieve 3840 x 2160p resolution (4K is also known as 4K x 2K)., A 4K-capable computer is required to achieve 3840 x 2160p resolution (4K is also known as 4K x 2K)., USB 3.2 Gen 1 (5Gbps) is also known as USB 3.1 Gen 1 (5Gbps) and USB 3.0 (5Gbps)., Your laptop might have specific charging requirements. For example, if your laptop requires exactly 60W of power and an adapter consumes some of the 60W, your laptop might not recognize that it is getting enough power. For more information about Power Delivery, refer to the manufacturer of your hardware.
- Power Delivery
- 100W
- Output Voltage
- 5 DC
- Connector 3
- RJ-45
- Connector 3 (Quantity)
- 1
- Power Consumption
- 15W
- LED Indicators
- 1 - Connection state/activity LEDs under GbE port.
- Interface
- USB 3.2 Gen 1
- Bus Type
- USB-C
- Type and Rate
- USB 5Gbps
- System and Cable Requirements
- A host laptop with an available USB-C port (to ensure full adapter functionality, the host USB-C port must support USB Power Delivery 2.0 and DP alt mode)., For a multi-monitor configuration, the computer must support MST, Optional: USB-C power adapter (for example, your laptop's USB-C based power adapter).
- Maximum Digital Resolutions
- Up to dual 4K (3840 x 2160p) 60Hz
- Host Connector 1
- USB-C (5Gbps, 4.5W)
- Host Connector 1 (Quantity)
- 1
- Compatible Networks
- 10/100/1000 Mbps
- Connector 4
- SD Card Slot
- Connector 4 (Quantity)
- 1
- Number of Displays
- 2
- UASP Support
- Yes
- Connector 5
- Micro SD Card Slot
- Connector 5 (Quantity)
- 1
- Full Duplex Support
- Yes
- Fast-Charge Port(s)
- Yes
- Connector 6
- USB-C (100W PD Only)
- Connector 6 (Quantity)
- 1
- Wake-On-LAN (WOL)
- Yes
- Displays Supported
- 2
- 4K Support
- Yes
Questions & Answers
How do I configure additional displays in Windows?
Windows 11 To configure displays in Windows 11, complete the following: Press the Windows + I (capital letter i) keys together to open Settings Click 'System' > 'Display' Click 'Duplicate these displays' and choose 'Extend these displays' (if needed). Click ‘Identify’ to determine the number assigned to each display. Drag and drop each display accordingly to the physical layout on your desk. Click the Apply button. Windows 10 To configure displays on Windows 10, complete the following: Press the Windows + I (capital letter i) keys together. Click 'System' > 'Display' Under the ‘Multiple displays’ section, select ‘Extend Desktop To This Display.’ Click ‘Identify’ to determine the number assigned to each display. Drag and drop each display accordingly to the physical layout on your desk. Click the Apply button.
How do I arrange extended displays on macOS?
To arrange extended displays on macOS, complete the following. Navigate to the Apple Menu > System Preferences, click Displays , then click Arrangement . Make sure that the ‘ Mirror Displays ’ checkbox is not selected. Click on each display to determine what number each display is assigned to. Drag and drop each display accordingly to the physical layout on your desk.
Related products
-
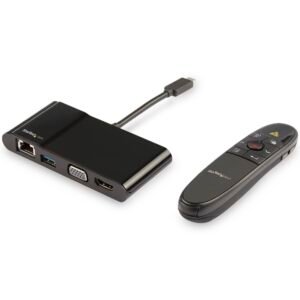
USB-C Multiport Adapter with Wireless Presenter Remote
$128.99 Add to cart -
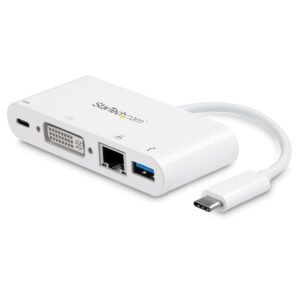
USB C Multiport Adapter - USB-C to DVI-D (Digital) Video Adapter with 60W Power Delivery Passthrough Charging, GbE, USB-A - Portable USB Type-C/Thunderbolt 3 Mini Laptop Dock
$29.99 Add to cart -
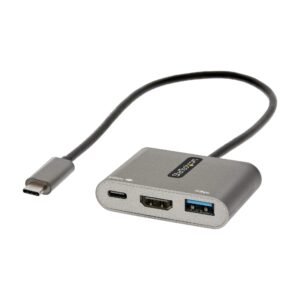
USB C Multiport Adapter, USB-C to HDMI 4K Video, 100W PD Pass-Through, USB 3.0 Hub 5Gbps (1xType-C/1xA), USB-C Mini Dock, USB-C Travel Dock, Portable Laptop Docking Station
$44.99 Add to cart -

USB-C Dual Monitor Multiport Adapter up to 4K 60Hz USB-C DP Alt Mode Video Output & HDMI 2.0, or 1080p VGA, 100W PD Pass-Through, USB Type C Mini Dock, USB-C Docking Station, MST Hub - TAA
$29.99 Add to cart