
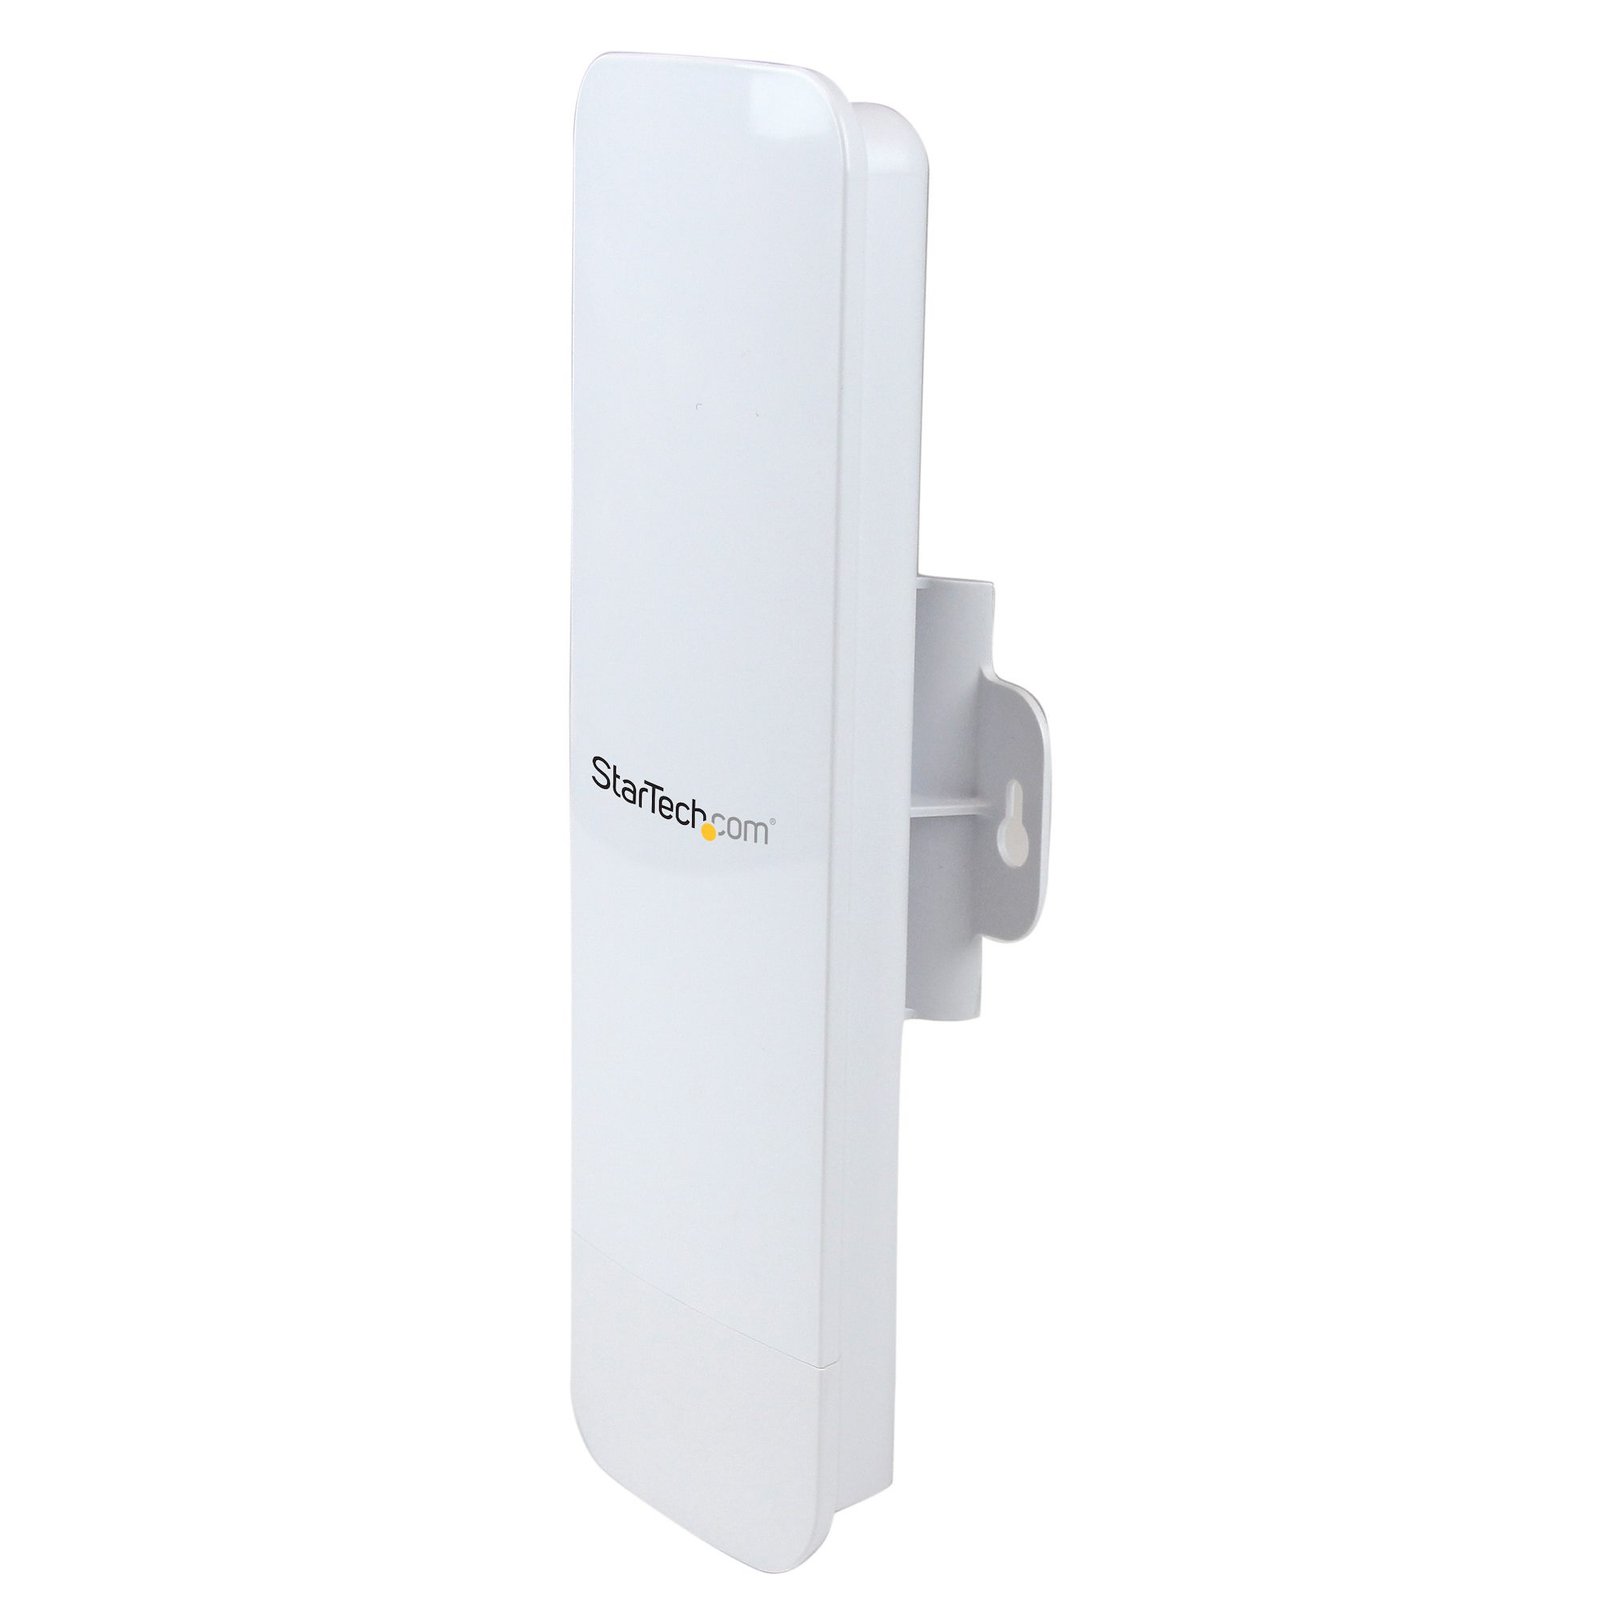
Outdoor 300 Mbps 2T2R Wireless-N Access Point - 5GHz 802.11a/n PoE-Powered WiFi AP
$92.99
Create or extend the range of a Wireless-N (300Mbps) WiFi network to an outdoor location
Specifications & Compliance
- UPC
- 065030857543
- Brand
- StarTech.com
- Included in Package
- 1 - Outdoor Access Point, 1 - PoE Injector, 1 - Metal Hose Clamp, 1 - Power Adapter, 1 - Instruction Manual
- Shipping (Package) Weight
- 23.9 oz [678 g]
- Weight of Product
- 11.5 oz [326.0 g]
- Product Length
- 11.4 in [29.0 cm]
- Product Width
- 3.5 in [90.0 mm]
- Product Height
- 2.2 in [57.0 mm]
- Package Depth
- 13.3 in [33.7 cm]
- Package Width
- 4.7 in [12 cm]
- Package Height
- 3.6 in [92 mm]
- Color
- White
- Warranty
- 2 Years
- Connector 1
- Wi-Fi 4 (802.11n, 600Mbps)
- Connector 1 (Quantity)
- 1
- Package Quantity
- 1
- Connector 2
- RJ-45
- Connector 2 (Quantity)
- 2
- Operating Temperature
- -20°C to 70°C (-4°F to 158°F)
- Storage Temperature
- -30°C to 70°C (-22°F to 158°F)
- Humidity
- 0~90% RH
- Material
- Plastic
- Maximum Data Transfer Rate
- 300 Mbps
- Industry Standards
- IEEE 802.3, IEEE 802.3u <br /> IEEE 802.11a/n
- Power Source
- AC Adapter Included
- Chipset ID
- Atheros - AR9344
- Input Voltage
- 100 - 240 AC
- Output Voltage
- 24 DC
- Power Consumption
- 12
- LED Indicators
- 1 - Power, 1 - WAN Link/Activity, 1 - LAN Link/Activity, 1 - Wireless Signal Strength
- Interface
- Wireless Ethernet
- Input Current
- 1 A
- Output Current
- 1
- System and Cable Requirements
- Available indoor AC electrical outlet, Cat 5 (or better) network cabling from PoE Injector to Wireless AP and PoE Injector to LAN Switch/router (no more than 100m total)
- Plug Type
- M
- Center Tip Polarity
- Positive
- Full Duplex Support
- Yes
- Max Distance
- 10 km (6.2 mi)
- Supported Protocols
- CSMA/CA
- Bandwidth
- 20/40 MHz
- Security Features
- WEP Data Encryption, TKIP/AES, WPA and WPA2-PSK Data Encryption, WPA and WPA2 Enterprise Data Encryption
- Antenna Configuration
- 2x2:2 (TxR:S)
Questions & Answers
How do I set up the StarTech.com R300WN22OP5 as a wireless access point for an existing wired network?
To set up the R300WN22OP5 as a wireless access point, connect the R300WN22OP5 to a computer using the PoE injector, configure the computer on the same IP network as the R300WN22OP5, and then configure the R300WN22OP5 in Access Point (AP) mode through its web interface. Explanation: To configure the R300WN22OP5 in Access Point mode, you need: A TCP/IP-compliant network or network device. A computer with a wired Ethernet connection. Two Ethernet patch cables. If the R300WN22OP5 is not brand new or its settings were previously changed, perform a factory reset before continuing. For factory reset instructions, refer to: https://www.startech.com/faq/networking_r300wn22op5_factory_reset . Connect the R300WN22OP5 Remove the plastic panel from the bottom of the R300WN22OP5. Connect the provided power adapter to the PoE injector. Connect an Ethernet patch cable between the PoE injector and the R300WN22OP5. If the R300WN22OP5 does not receive power, move the Ethernet cable to the other RJ45 port. Connect a second Ethernet patch cable between the LAN port on the PoE injector and the computer. Wait 30 seconds for the R300WN22OP5 to finish restarting before making configuration changes. Configure the computer on the same network as the R300WN22OP5 The default IP address of the R300WN22OP5 is 192.168.1.200 . Configure the computer with an IP address in the 192.168.1.xxx range, where xxx is from 0 to 255 but is not 200 or another IP address already in use. For example, use 192.168.1.1 if that address is available. For instructions on changing the computer's IP address, refer to the following FAQ: https://www.startech.com/en-us/faq/ip-address-change-windows-mac-os Configure the R300WN22OP5 in Access Point mode Open a web browser on the connected computer. Enter http://192.168.1.200 in the address bar. Enter admin in both the username and password fields. Set Mode to Access Point . Click the Setup icon or Change Mode . Change any additional settings as required. Configure the Service Set Identifier (SSID) . The SSID is the wireless network name displayed when devices search for available networks. To configure wireless security, such as WPA, click Setup beside Security Setting . Select the encryption setting and configure a password or Pre-Shared Key. Click Save & Restart . Restore the computer to its original IP configuration. Connect the existing wired network to the LAN port on the R300WN22OP5 or PoE injector.
How do I set up the StarTech.com R300WN22OP5 as a wireless router?
To set up the R300WN22OP5 as a wireless router, connect the R300WN22OP5 to your modem and computer, configure your computer on the same network as the R300WN22OP5, and then set the R300WN22OP5 to AP Router mode through its web configuration interface. Explanation: Before you begin, you require: A modem from your Internet Service Provider (ISP) with an RJ-45 Ethernet port. A computer with a wired Ethernet connection. Three Ethernet patch cables. If the R300WN22OP5 is not brand new or its settings were previously changed, perform a factory reset before continuing. For factory reset instructions, refer to the following FAQ: https://www.startech.com/faq/networking_ap150wn1x1od_factory_reset . Connect the R300WN22OP5 Remove the plastic panel from the bottom of the R300WN22OP5. Connect the provided power adapter to the PoE injector. Connect an Ethernet patch cable between the PoE injector and LAN 1 on the R300WN22OP5. Connect an Ethernet cable between the LAN port on the PoE injector and the computer. Connect an Ethernet patch cable between the modem and LAN 2 on the R300WN22OP5. Wait 30 seconds for the R300WN22OP5 to finish restarting before making configuration changes. Configure the computer on the same network The default IP address of the R300WN22OP5 is 192.168.1.200 . Configure the computer with an IP address in the 192.168.1.xxx network, where xxx is a number from 0 to 255 other than 200 or any other IP address already in use. For example, use 192.168.1.1 if that address is available. For instructions on changing the computer's IP address, refer to: https://www.startech.com/en-us/faq/ip-address-change-windows-mac-os . Configure the R300WN22OP5 as a wireless router Confirm that the computer is on the 192.168.1.xxx network. Open a web browser. Enter http://192.168.1.200 in the address bar. Enter admin in both the Username and Password fields. Set Mode to AP Router . Click the Setup icon or Change Mode . Change any additional settings as required. Set a Service Set Identifier ( SSID ). The SSID is the wireless network name that devices connect to. To configure wireless security, click Setup beside Security Setting . Select the encryption setting and configure a password or Pre-Shared Key. Click Setup to configure the WAN connection. Obtain any required settings from your ISP. The default WAN Connection Type is DHCP (Auto Config) , which works with most cable modems. For PPPoE connections used with ADSL modems, obtain the required Username and Password from your ISP. Click Save & Restart . Restore the computer to its original IP configuration. Connect the existing wired network to the LAN port of the access point or PoE injector. Confirm that the R300WN22OP5 is operating correctly Confirm the setup by connecting a wireless device to the configured SSID and verifying that the device can access the Internet. You can also access 192.168.1.200 to verify that the R300WN22OP5 web configuration interface is available.
How do I configure the StarTech.com R300WN22OP5 for a Wireless Distribution System (WDS)?
To configure the StarTech.com R300WN22OP5 for a Wireless Distribution System (WDS), configure one unit as the WDS Access Point , configure the other WDS-compatible access points as WDS Stations , and verify that the stations are connected. Only IP-based networks can be used with WDS. Explanation: If the R300WN22OP5 is not brand new or its settings were previously changed, perform a factory reset before configuring WDS. For factory reset instructions, see: https://www.startech.com/faq/networking_r300wn22op5_factory_reset 1. Select an appropriate installation site The maximum range of the R300WN22OP5 is 10 km. Physical obstructions, such as buildings, may reduce the range. Multiple WDS-compatible access points, including additional R300WN22OP5 units, can be used to overcome physical barriers that limit the Wi-Fi signal. 2. Connect the R300WN22OP5 Remove the plastic panel from the bottom of the R300WN22OP5. Connect the provided power adapter to the PoE injector. Connect an Ethernet patch cable between the PoE injector and the R300WN22OP5. If the R300WN22OP5 does not receive power, move the Ethernet cable to the other RJ45 port. Connect an Ethernet cable between the LAN port on the PoE injector and the computer. Wait 30 seconds for the R300WN22OP5 to finish restarting before making configuration changes. 3. Configure the WDS Access Point Make sure that the computer is on the 192.168.1.xxx network, and then complete the following steps: Open a web browser. Go to http://192.168.1.200. Enter admin in both the Username and Password fields. Set Mode to WDS Access Point . Click Change Mode . When prompted, click OK . Under Network ID (SSID) , enter the SSID of the main access point. Leave Radio Mode and Channel at their preset values. To configure wireless security, such as WPA, click Setup beside Security Setting . Select the encryption setting and enter a password or Pre-Shared Key. Click Save & Restart . 4. Change the WDS Access Point IP address After the WDS Access Point finishes restarting: Open a web browser. Go to http://192.168.1.200. Enter admin in both the Username and Password fields. Click System Configuration . Change the IP address to the value determined during site planning. Click Save & Restart . You may need to change the computer's IP address to access the WDS Access Point after changing its IP address. For instructions, see: https://www.startech.com/en-us/faq/ip-address-change-windows-mac-os 5. Configure each WDS Station Connect the R300WN22OP5. Open a web browser. Go to http://192.168.1.200. Enter admin in both the Username and Password fields. Set Mode to WDS Station . Click Change Mode . When prompted, click OK . Click Site Survey . Select the SSID of the WDS Access Point, and then click ASSOCIATE . If prompted, enter the wireless security settings. Click Save & Restart . Restore the computer to its original IP configuration. Connect the existing wired network to the LAN port on the access point or PoE injector. 6. Verify WDS Station connectivity Click Device Status > Wireless Client Table . Confirm that at least one MAC address belonging to the WDS Station is listed. The R300WN22OP5 MAC address is printed on a sticker on the back of the unit.
What is this device’s default static IP address?
This device's default static IP address is 192.168.1.200.
How do I access this device’s web interface?
Make sure that the R300WN22OP5 is on the same network as your computer. In an Internet browser, enter the IP address of the unit. The default IP address is 192.168.1.200. In the user name field, enter the user name. The default user name is admin . In the password field, enter the password. The default password is admin .
How do I reset my device to the default factory settings?
To restore your wireless access point to the default factory settings, use a pen or pointed device to press and hold the reset button for 10 seconds.
When should I upgrade my device's firmware?
You should not upgrade your device's firmware if you do not have any issues with the functionality of your device. The only time you should consider an upgrade is if you are experiencing a problem with the device, and you have confirmed that the firmware addresses this problem. You can confirm this is the case by reviewing the documentation included with the firmware or by consulting with our Technical Support team. Incorrectly upgrading firmware can result in diminished performance so it is best to contact StarTech.com if you would like to perform this operation.
What DC barrel connector power plug types do StarTech.com products use, and what are their dimensions?
StarTech.com DC barrel connector plug types are defined in the “Plug Type” field of the technical specifications, using a letter code that specifies the connector’s outer diameter (OD) and inner diameter (ID) in millimeters for power adapter compatibility. Explanation: In StarTech.com technical specifications, the “Plug Type” field is a standardized identifier for the exact DC barrel connector size required to power a product. Each plug type is assigned a letter code that corresponds to a specific combination of outer diameter (OD) and inner diameter (ID), measured in millimeters. Common DC barrel plug type dimensions Plug Type OD ID A 2.35 mm 0.7 mm B 4.0 mm 1.7 mm C 4.75 mm 1.7 mm H 3.4 mm 1.3 mm L 5.0 mm 2.5 mm M 5.5 mm 2.1 mm N 5.5 mm 2.5 mm The DC barrel connector plug type must match both the outer diameter and inner diameter exactly. A mismatch between the StarTech.com product requirement and the power adapter connector can prevent proper fit or stable power delivery, which may result in device startup failure or intermittent operation. The plug type defines only the physical connector size. The plug type does not define electrical power requirements such as voltage, current, or polarity. The power adapter used with a StarTech.com product must match the product’s specified electrical requirements. Using an incompatible power adapter can cause device malfunction or permanent damage. This standardized DC barrel connector plug type system enables IT professionals and procurement teams to verify connector dimensions, ensure power adapter compatibility, standardize hardware deployments, and identify the correct replacement power supply for StarTech.com products.
Related products
-
USB Wi-Fi Adapter - AC600 - Dual-Band Nano Wireless Adapter
$34.84 Add to cart -
USB 2.0 AC600 Mini Dual Band Wireless-AC Network Adapter - 1T1R 802.11ac WiFi Adapter
$49.19 Add to cart -
Wi-Fi travel router for iPad and mobile devices
$53.99 Add to cart -
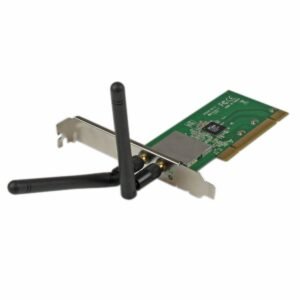
PCI Wireless N Adapter - 300 Mbps PCI 802.11 b/g/n Network Adapter Card – 2T2R 2.2 dBi
$36.99 Add to cart