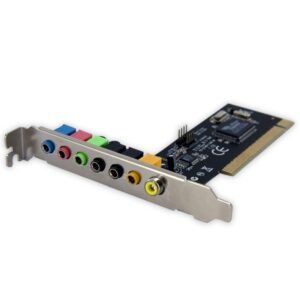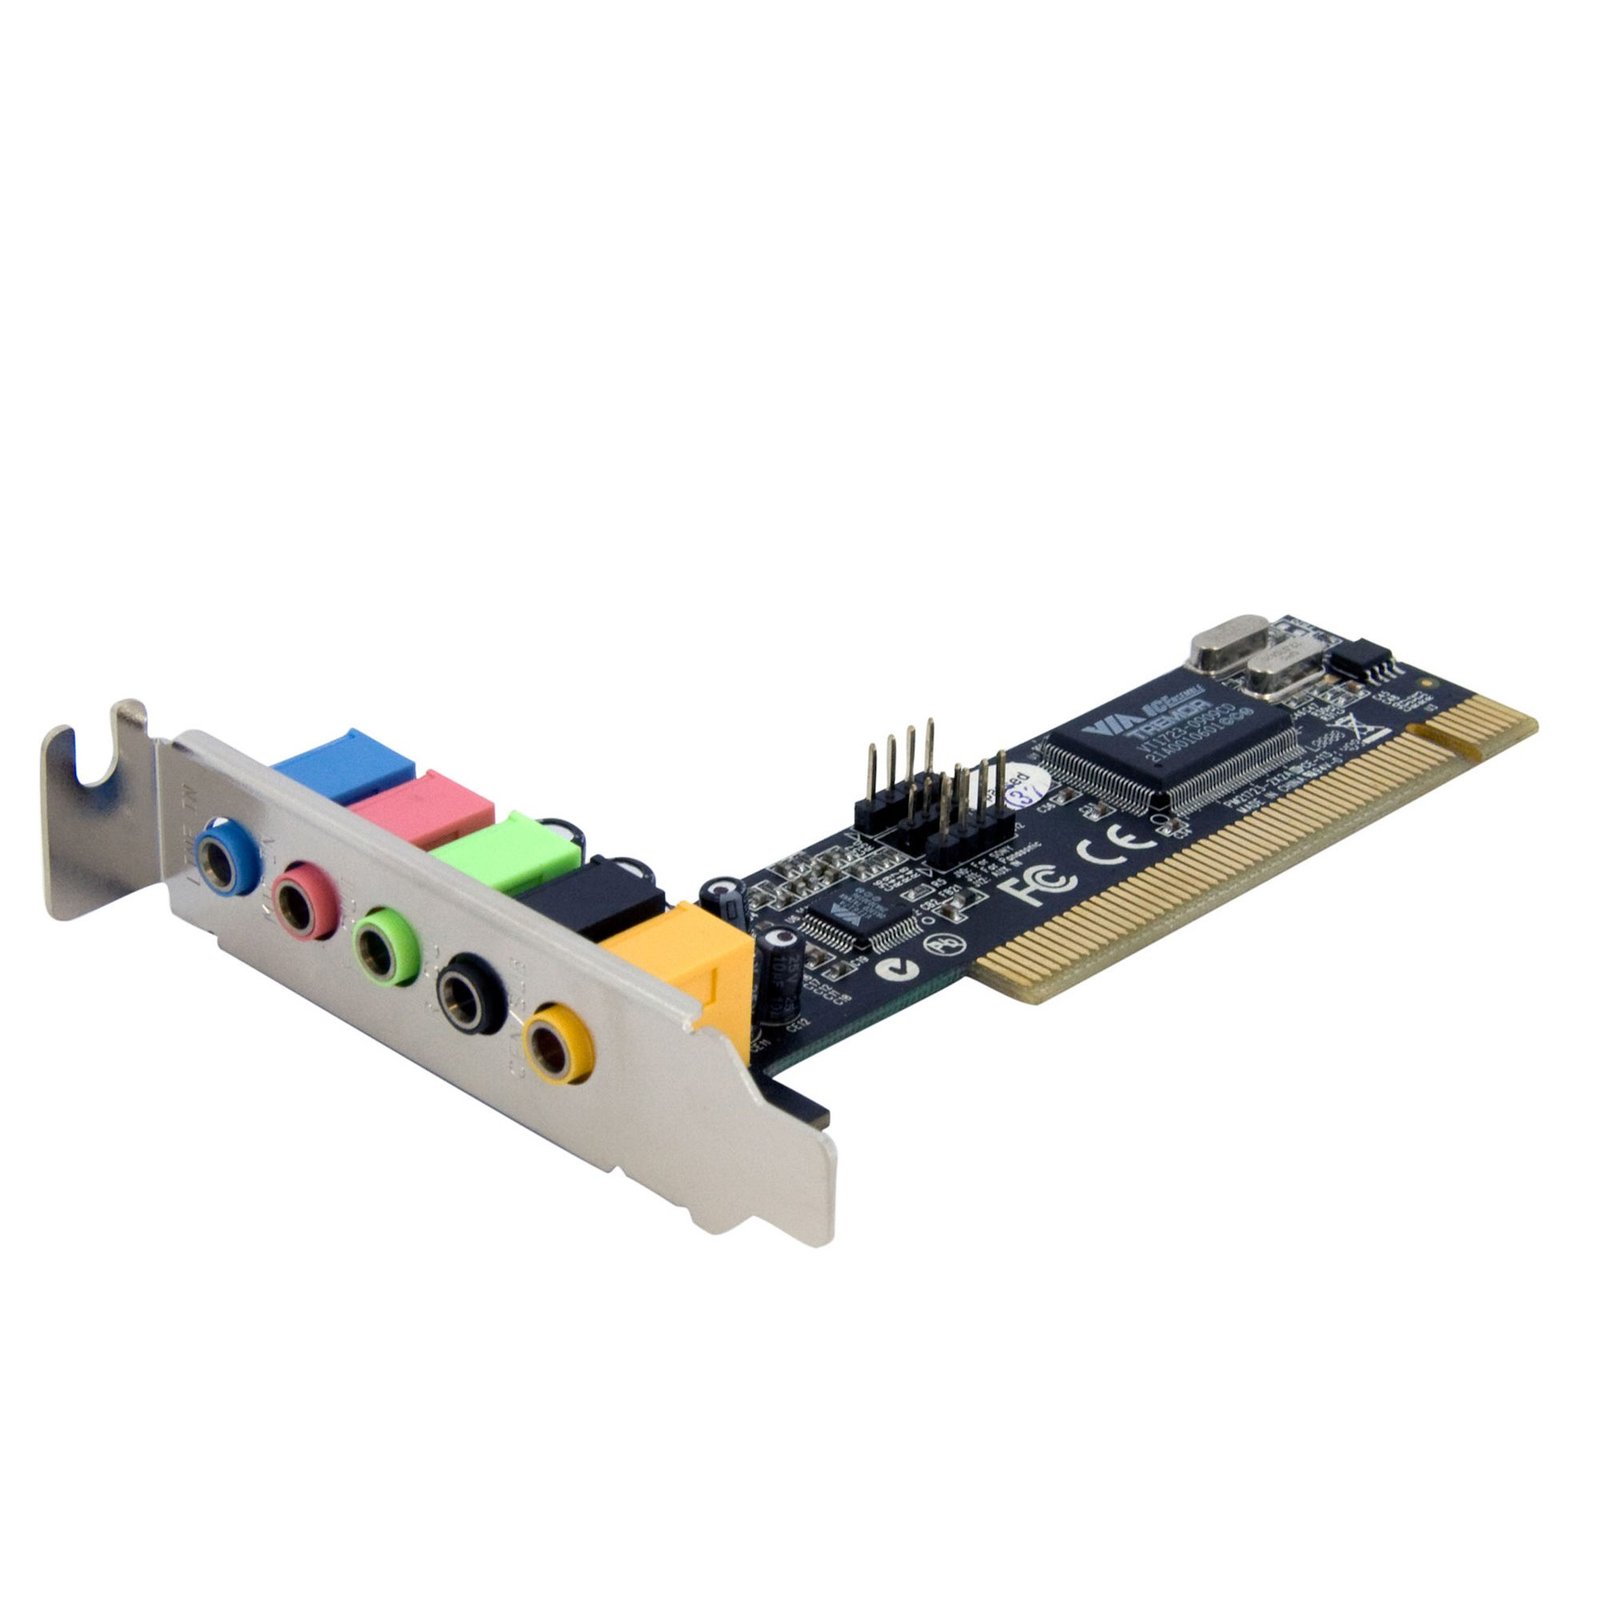
5 Channel Low Profile PCI Sound Adapter Card – 24 Bits
$21.99
Add 5.1 channel audio to a desktop PC through a low profile PCI slot
Specifications & Compliance
- UPC
- 065030834742
- Brand
- StarTech.com
- Included in Package
- 1 - 5.1 Sound Card with Low Profile Bracket, 1 - Full Profile Bracket, 1 - Driver CD, 1 - Instruction Manual
- Shipping (Package) Weight
- 12.0 oz [340 g]
- Weight of Product
- 1.9 oz [55 g]
- Product Length
- 4.8 in [12.1 cm]
- Product Width
- 0.7 in [18 mm]
- Product Height
- 3.1 in [80 mm]
- Package Depth
- 1.2 in [31 mm]
- Package Width
- 6.8 in [17.3 cm]
- Package Height
- 5.6 in [14.2 cm]
- Warranty
- 2 Years
- Connector 1
- PCI / PCI-X
- Connector 1 (Quantity)
- 1
- Connector 2
- 3.5mm (3 Conductors, TRS)
- Connector 2 (Quantity)
- 5
- Operating Temperature
- 20°C to 50°C (68°F to 122°F)
- Storage Temperature
- 0°C to 70°C (32°F to 158°F)
- Humidity
- 20-80% RH
- Chipset ID
- VIA/VLI - Tremor VT1723
- Connector 3
- Audio Header MPC2 (4-Pin)
- Connector 3 (Quantity)
- 1
- Bus Type
- PCI (5 Volt)
- Card Type
- Low Profile (SP bracket incl.)
Questions & Answers
How do I install my sound card in Windows Vista / 7 / 8? (.exe method)
Before you install the device, make sure that your operating system is current (for example, the most recent service pack is installed). Download the latest drivers from the StarTech.com website at http://www.startech.com/Support . The part number and product ID are on the product packaging. Note: Windows usually saves the files to the Downloads folder that is associated with your user account (for example, C:Users your_name Downloads). After the download is complete, right-click the zip folder that you downloaded, click Extract All , and complete the instructions. In the list of extracted files, right-click the Setup.exe file and click Run as Administrator . Note : If the Run as Administrator option is not available, you might be trying to run the installer from within the zipped file. Complete the instructions in step 2 to extract the files. Complete the instructions to install the device drivers, and restart your computer when prompted to. Your computer automatically finishes installing the driver and your device should be ready to use.
How do I install my sound card in Windows XP? (.exe method)
Before you install the device, make sure that your operating system is current (for example, the most recent service pack is installed). Download the latest drivers from the StarTech.com website at www.startech.com/Downloads. The part number and product ID are on the product packaging. Note: Windows usually saves the files to the Downloads folder that is associated with your user account (for example, C:Documents and Settings your_name My DocumentsDownloads). After the download is complete, right-click the zip folder that you downloaded, click Extract All , and complete the instructions. In the list of extracted files, double-click the Setup.exe file. Complete the instructions to install the device drivers, and restart your computer when prompted to. Your computer automatically finishes installing the driver and your device should be ready to use.
Everything is hooked up but nothing is working. What should I do? (Windows)
When you troubleshoot issues with a sound card, there are some quick tests that you can complete to rule out potential problems. You can test to make sure that the following components are working correctly and are not the source of the issue: Stereo audio cables Speakers or headsets Sound card To test your setup components, try the following: Use the stereo audio cables, speakers or headsets, and sound card in another setup to see if the problem is with the components or the setup. Use a different set of stereo audio cables, speakers or headphones, and sound card in your setup to see if the problem persists. Ideally, you should test a component that you know works in another setup. When you test your cables, it is recommended that you do the following: Test each cable individually. Use short cables when you are testing. When you test the speakers or headsets and sound card, it is recommended that you do the following: Press the Windows key + R , type devmgmt.msc , and press Enter to open Device Manager . Check to see if your device is listed under Sound, video and game . If you do not see the sound card in Device Manager please see this FAQ for PCI/PCIe expansion cards: https://www.startech.com/en-us/faq/pci-pcie-cannot-boot-os-or-detect-windows or this FAQ for USB devices: https://www.startech.com/en-us/faq/usb-cannot-detect-windows . If the device is listed with an error, follow the instructions on the website to reinstall the drivers. Make sure that the default playback device in Sound is the sound card that you installed. To check the default playback device on a computer that is running a version of Windows XP, do the following: Click Start . Click Control Panel . Click Sound and Audio Devices . Click the Audio tab. In the Default device drop-down menu, click the sound card. To check the default playback device on a computer that is running a version of Windows Vista or Windows 7, do the following: Click Start . Click Control Panel . Click Hardware and Sound . Click Sound . On the Playback tab, right-click the sound card and click Set as Default Device . To check the default playback device on a computer that is running a version of Windows 8, do the following: Press the Windows key + X . Click Control Panel . Click Hardware and Sound . Click Sound . Click the Audio tab. On the Playback tab, right-click the sound card and click Set as Default Device .
How do I confirm that Windows detects my expansion card?
To confirm that Windows detects your expansion card, complete the following: Press the Windows key+ R , type devmgmt.msc , and press Enter . In Device Manager , under the appropriate heading, confirm that your expansion card is listed and that there isn't an exclamation mark next to it. For example, a USB controller card would be under Universal Serial Bus controllers . Your expansion card is listed according to the name of the chipset. To determine the name of the chipset of your expansion card, navigate to www.StarTech.com and look on the Technical Specifications tab for your product.
Windows cannot boot or cannot detect my new PCI or PCIe expansion card. What do I do?
If you install a new PCI or PCI Express expansion card and Windows will not load or Windows cannot detect your expansion card, there are some quick tests that you can perform to identify the issue. Turn off the computer, unplug the power cord, and remove the expansion card. Put the card back into the computer, making sure to apply firm pressure across the entire card. If the card is on an angle, it can cause issues and may not function properly. Note: This is a common problem with PCI Express x1 expansion cards. Move the expansion card to another PCI or PCI Express slot. Note: PCI Express expansion cards work in PCI Express slots that are longer than the cards and do not use the entire slot's capabilities. PCI Express expansion cards do not fit or work in PCI expansion slots, and PCI expansion cards do not fit or work in PCI Express expansion slots. Put a different expansion card in the slot that is experiencing the issue with the new expansion card. Put the new expansion card in another computer. If you completed the previous steps and determined that the problem is not with the card or expansion slots on the motherboard, update the motherboard's BIOS. To determine if Windows detects your expansion card, you need to check Device Manager to see if the card is listed under the appropriate heading or listed with an error. An example of an appropriate heading for a USB controller card is Universal Serial Bus controllers . The expansion card is listed in Device Manager as the name of the chipset. You can find the name of the chipset on the Technical Specifications tab for the product ID on http://www.startech.com/ . To open Device Manager, press the Windows key + R , type devmgmt.msc , and press Enter .