
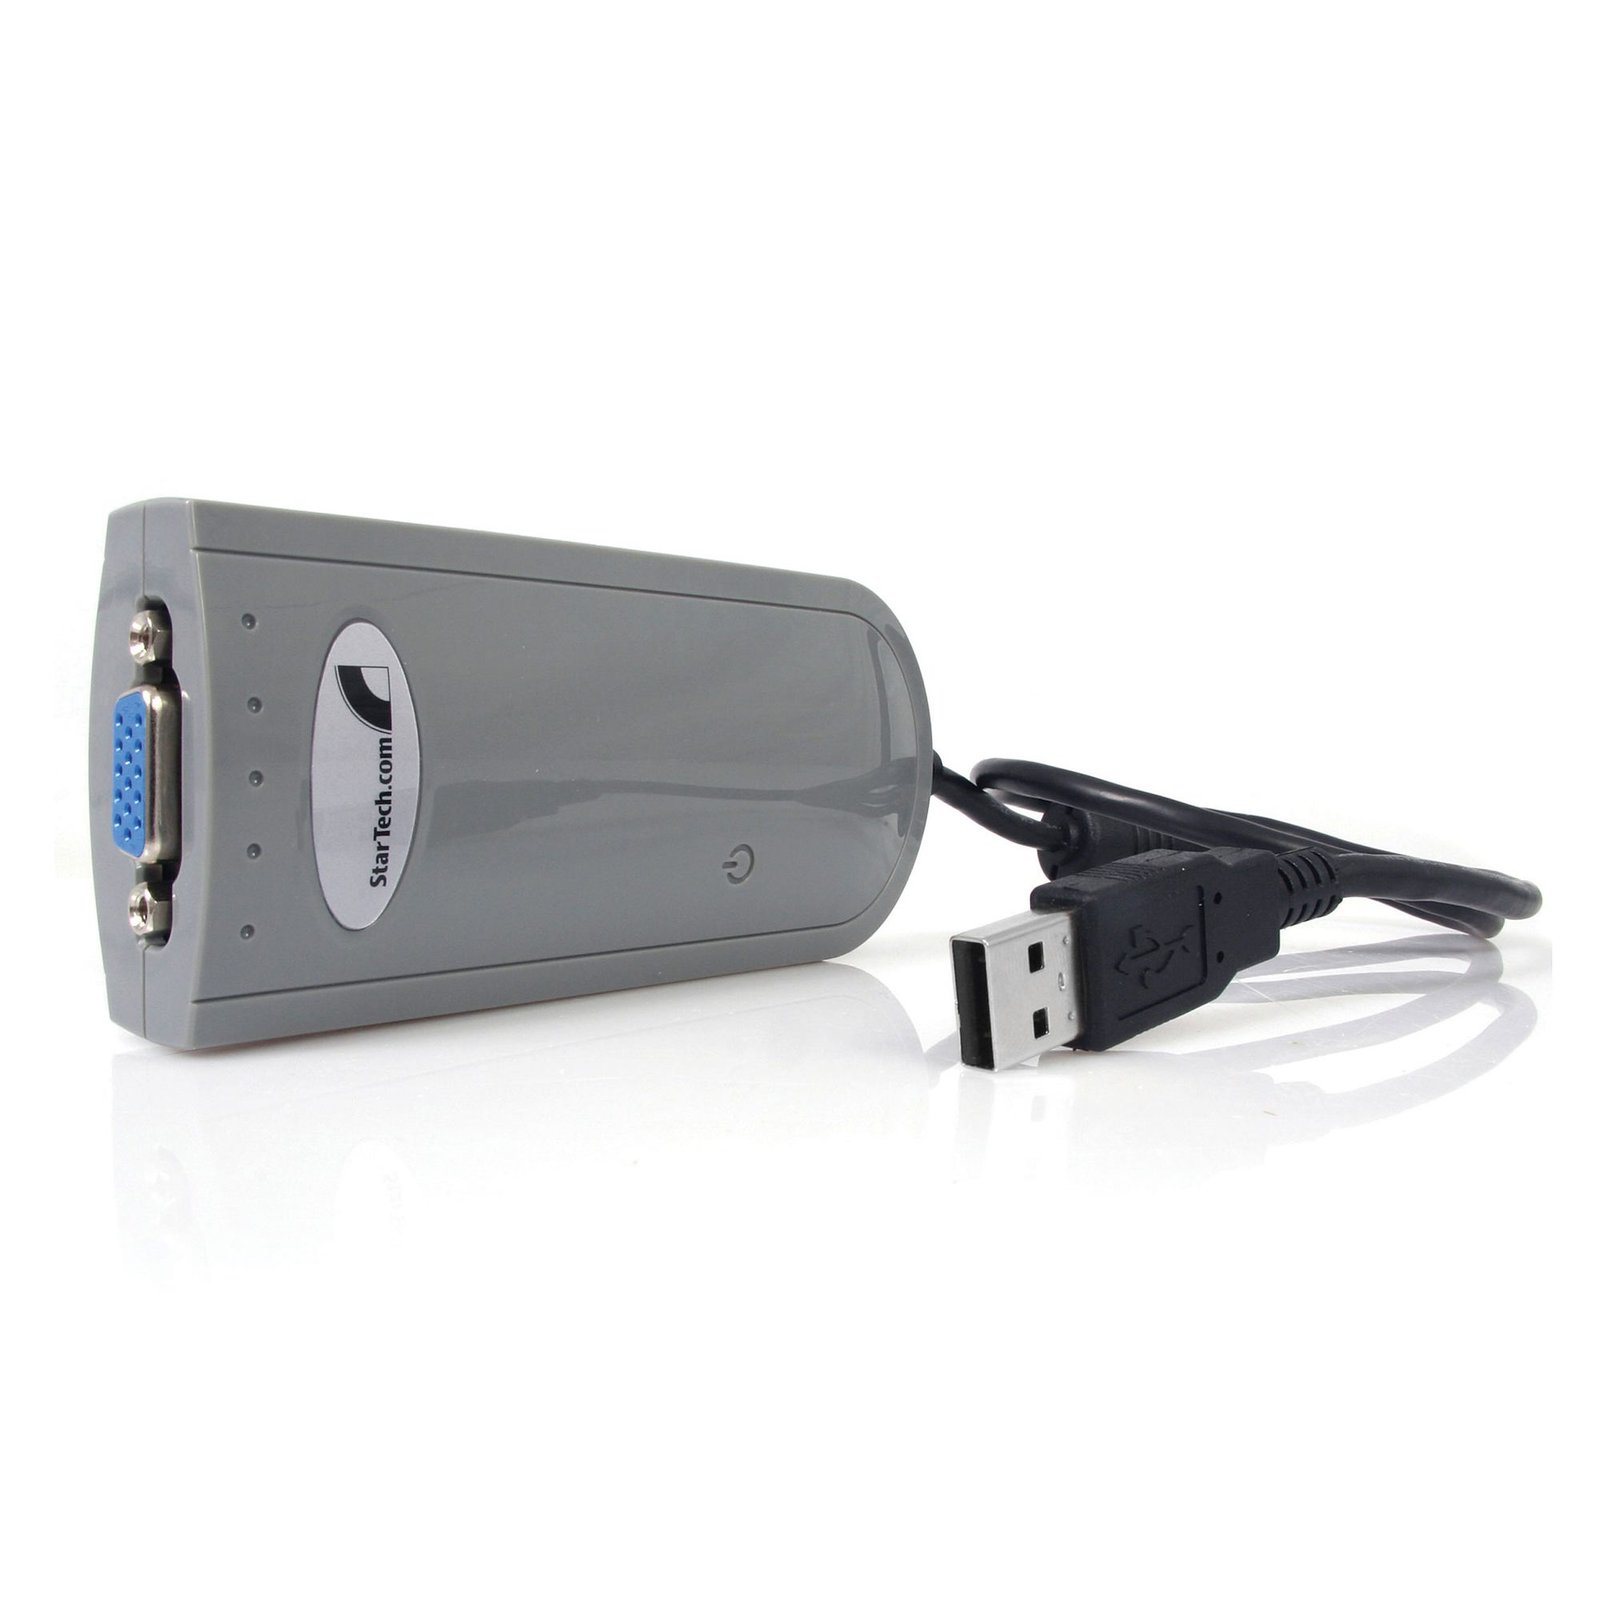
USB VGA External Dual or Multi Monitor Video Adapter
$85.99
Connect a VGA display to your PC laptop or desktop computer, through USB
Specifications & Compliance
- UPC
- 065030820301
- Brand
- StarTech.com
- Included in Package
- 1 - USB to VGA Adapter, 1 - Driver and Software CD, 1 - User Manual
- Shipping (Package) Weight
- 8.5 oz [240 g]
- Weight of Product
- 4.2 oz [119.5 g]
- Product Length
- 4.4 in [11.2 cm]
- Product Width
- 2.0 in [50 mm]
- Product Height
- 0.9 in [24.1 mm]
- Package Depth
- 2.2 in [55 mm]
- Package Width
- 4.6 in [11.7 cm]
- Package Height
- 10.0 in [25.4 cm]
- Color
- Gray
- Cable Length
- 19.7 in [50 cm]
- Warranty
- 2 Years
- Connector 1
- USB-A (480Mbps, 2.5W)
- Connector 1 (Quantity)
- 1
- Connector 2
- VGA
- Connector 2 (Quantity)
- 1
- Chipset ID
- SiS - 315
- Special Notes
- This USB video adapter uses an SiS family chipset. If you’re connecting this device to a computer along with additional USB video adapters or docking stations, avoid using devices with different family chipsets, such as DisplayLink®, Trigger or Fresco Logic®, Connect a maximum of five USB video adapters on a single computer. Support for multiple adapters will vary depending upon your system resources, This USB video adapter is not intended for graphical intensive applications, such as gaming
- System and Cable Requirements
- System Processor: Quad Core 2.4GHz (i5 recommended)<br> System Memory: 4GB
- AV Input
- USB 2.0
- AV Output
- VGA
- Wide Screen Supported
- Yes
- Supported Resolutions
- Standard(16/32 bit):<br> 1600x1200, 1400x1050, 1280x1024, 1280x960, 1152x864, 1024x768, 800x600<br><br> Widescreen(16 bit)<br> 1600x1050<br> (16/32 bit)<br>1440x900, 1280x800, 1280x768
- Memory
- 8MB
Questions & Answers
Some graphics are not rendered correctly on the USB connected display when using Microsoft Office applications or web browsers. How do I fix this?
If hardware acceleration is enabled on any of your software applications, it can result in poor resource management and limit the performance of your video device. If you experience this problem, you should disable hardware acceleration in the program(s) that were impacted. To disable hardware acceleration in common applications and operating systems, complete one of the following series of steps, depending on what software application(s) or operating system that you are running. Chromium-Based Microsoft Edge: Click the Options icon (it has three dots on it). Click Settings . Click System . Uncheck Use hardware acceleration when available . Internet Explorer 9 and later Note: Earlier versions of Internet Explorer do not use hardware acceleration. Click the Start button. Open Control Panel . Click Network and Internet . Click Internet Options . Click the Advanced tab. Browse to the Accelerated graphics screen. Select the Use software rendering instead of GPU rendering check box. Click Apply . Restart your computer. Mozilla Firefox Open Firefox. Press the Alt key. Click Tools and Options . Click the Advanced icon. Click the General tab. Under Browsing , clear the Use hardware acceleration when available check box. Click the OK button. Restart your web browser. Google Chrome Open Google Chrome. Click the Options icon (it has three horizontal lines on it). Click Settings . Click Show advanced settings . Scroll to the bottom of the screen and clear the Use hardware acceleration when available check box. Restart your web browser. Microsoft Office 2013 / 2010 Open any program in Microsoft Office (for example, Microsoft Word). Click the File tab. In the menu on the left side of the screen, click Options . Click Advanced . Under Display , select the Disable hardware graphics acceleration check box. Close and restart all of the Microsoft Office programs that you had open. Windows 10 / 8 Press the Windows key + X . Click Control Panel . Click Personalization . Select a high-contrast theme. Windows 7 / Vista Click the Start button. Click Control Panel . Click Personalization . Select a non-Aero theme. Ideally, you should select a basic and high-contrast theme. Windows XP Click the Start button. Open the Control Panel . Select Display . Click the Settings tab. Click Advanced . Click the Troubleshooting tab. Move the Hardware Acceleration slider to None . Restart your computer.
Why does one of my connected displays turn off when my USB video adapter is connected?
While the purpose of our USB Video Adapters are to add an additional video output to your laptop or desktop computer, these adapters still require some resources from your internal video card. On a small number of video cards, adding a USB Video Adapter can exceed the limit of available resources, causing one of the connected displays to turn off. As a possible workaround for this issue, we recommend using a more powerful USB Video Adapter that has a higher amount of integrated RAM, such as our USB32VGAPRO (512MB), USB32DVIPRO (512MB), or USB32HDDVII (1GB).
Will my touchscreen / all-in-one computer work with a USB Video Adapter?
Touchscreen Monitors A mixture of touchscreen and non-touchscreen displays can cause a conflict with your internal video card. Because of this limitation, touchscreen functions may be disabled when the USB Video Adapter is connected, or the USB Video Adapter may not work at all. Contact the manufacturer of your system to confirm whether your specific model can support a secondary display or not. All-in-One Computers Many all-in-one computer systems limit the number of possible monitors to one. This is a limitation in how all-in-one computers are typically manufactured, so adding an external display may not be possible regardless of which USB video adapter is used. Contact the manufacturer of your system to confirm whether your specific model can support a secondary display or not.
Why am I experiencing issues with remote desktop software and USB video adapters?
When you use remote desktop software to access a computer with a USB video adapter, keep the following things in mind: Not all remote desktop software supports multiple monitors. Not all remote desktop software supports monitors that use USB video adapters. If the primary monitor is a monitor that uses a USB video adapter, you might run into problems. If you do, try to continue to log in as the display might come back once you log in.
How to Arrange Windows Monitors to Fix Mouse Issues
In order for your mouse to move properly between your monitors you must rearrange your monitors in Windows to match the physical location of your monitors on your desk. To do so, complete the following based on your operating system: Windows 11 Click on the Windows Icon in the Taskbar (or the Windows key on the keyboard) and search for Display Settings . Click on Multiple Displays. Click Identify to display the numbers on each connected monitor, showing how the operating system has assigned their positions. Click and drag the monitor icons to best match your physical setup. Click Apply to confirm the changes and close the window. Windows 10 and Windows 8 On your keyboard, press the Windows key + X and select Control Panel . Click Appearance and Personalization , then click Display . Click the Resolution or Adjust Resolution option from the left column, which will display your monitors as numbered icons. Click Identify to display the numbers on each connected monitor, showing how the operating system has assigned their positions. Click and drag the monitor icons to best match your physical setup. Click OK to apply the changes and close the window. Windows 7 and Windows Vista Click the Start button and select Control Panel . Click Appearance and Personalization, then click Display . Click the Resolution or Adjust Resolution option from the left column, which will display your monitors as numbered icons. Click Identify to display the numbers on each connected monitor, showing how the operating system has assigned their positions. Click and drag the monitor icons to best match your physical setup. Click OK to apply the changes and close the window. Windows XP Click the Start button and select Control Panel . Double-click Display . Click the Settings tab, which will display your monitors as numbered icons. Click Identify to display the numbers on each connected monitor, showing how the operating system has assigned their positions. Click and drag the monitor icons to best match your physical setup. Click OK to apply the changes and close the window. To mirror the image from your primary monitor instead of extending your desktop, refer to the following FAQ: http://www.startech.com/faq/Windows_Mirroring_Monitors
How to Mirror Displays on Windows
Windows 10 / 8 On your keyboard, press the Windows Key + X and select Control Panel . Click Appearance and Personalization , then click Display . Click the Resolution or Adjust Resolution option from the left column. Expand the drop-down menu next to “Multiple displays” and select Duplicate these Displays . Click OK to apply the changes and close the window. Windows 7 / Vista Click the Start button and select Control Panel . Click Appearance and Personalization, then click Display . Click the Resolution or Adjust Resolution option from the left column. Expand the drop-down menu next to “Multiple displays” and select Duplicate these Displays . Click OK to apply the changes and close the window. Windows XP Click the Start button and select Control Panel . Double-click Display . Click the Settings tab. Un-check the box beside Extend my Windows desktop onto this monitor . Click OK to apply the changes and close the window.
What is the difference between mirroring, spanning, and extending monitors?
Mirroring monitors means that you see the same thing on multiple monitors. Spanning monitors means that your computer interprets all of the monitors that are spanning as one giant monitor. You can see different things on each monitor, and your desktop, taskbar, Start menu, and background are stretched across the monitors. Extending monitors means that your computer interprets the monitors that you are extending as separate devices. You can see different things on each monitor, and your desktop background is displayed on each monitor. In general, video splitters can only be used to mirror monitors. If you want to extend your desktop across monitors, you need to make a separate video connection for each monitor that you are attaching. If you want to attach more monitors than your computer has video ports for, you can read about USB Video Adapters here: www.startech.com/AV/USB-Video-Adapters/ . If you are using a video card with a DisplayPort connection that supports DisplayPort 1.2 you can use MST hubs from StarTech.com to extend your desktop to each monitor.
Related products
-

USB 3.0 to DisplayPort Adapter, USB DP Monitor Converter for Windows, 4K (no support for macOS/ChromeOS/Linux) - TAA
$79.94 Add to cart -
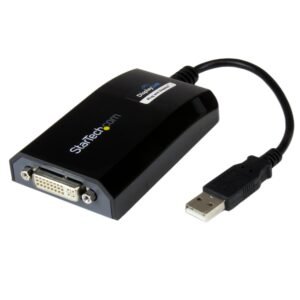
USB to DVI Adapter - 1920x1200
$109.66 Add to cart -
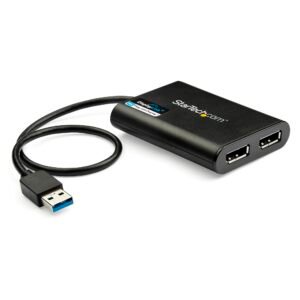
USB 3.0 to Dual DisplayPort Adapter, 4K 60Hz, DisplayLink Certified, USB to Dual DP Display Adapter, Dual DisplayPort Adapter for Mac & Windows
$135.29 Add to cart -

USB to DVI External Dual or Multi Monitor Video Adapter
$71.99 Add to cart