
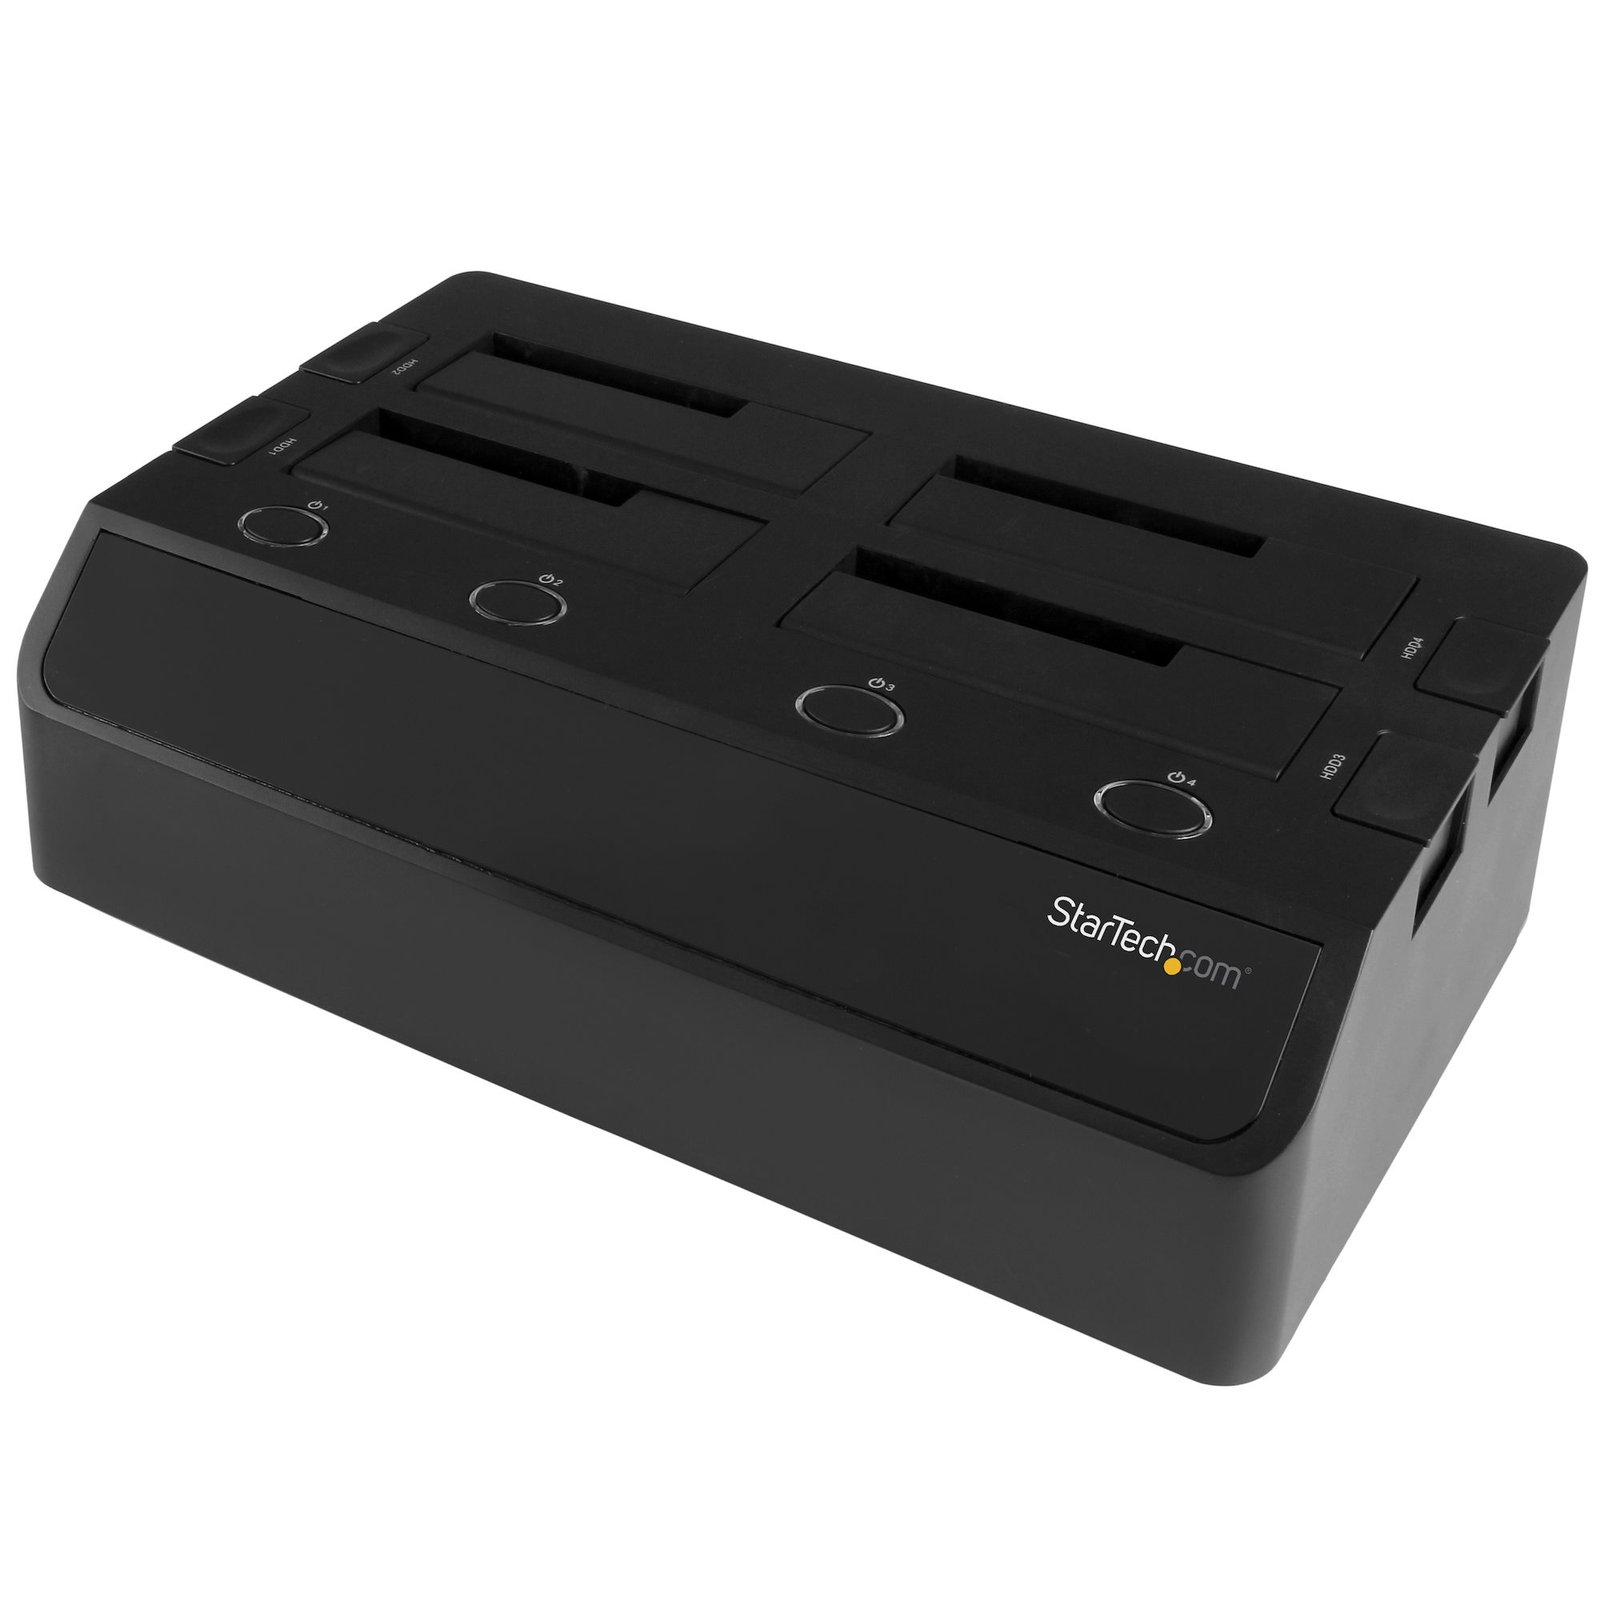
4-Bay Hard Drive Docking Station for 2.5”/3.5” SSDs and HDDs - eSATA/USB 3.0 to SATA (6Gbps)
$186.99
Get fast access to four 2.5”/3.5” SATA drives over USB 3.0 with UASP or eSATA
Specifications & Compliance
- UPC
- 065030863841
- Brand
- StarTech.com
- Included in Package
- 1 - 4-bay hard drive docking station, 1 - universal power adapter, 4 - power cords (NA/UK/EU/AU), 1 - USB A to B cable, 1 - eSATA cable, 1 - quick install guide
- Shipping (Package) Weight
- 5.3 lb [2.4 kg]
- Weight of Product
- 2.2 lb [1.0 kg]
- Product Length
- 11.2 in [28.5 cm]
- Product Width
- 6.8 in [17.2 cm]
- Product Height
- 3.4 in [87.3 mm]
- Package Depth
- 8.5 in [21.5 cm]
- Package Width
- 13.5 in [34.3 cm]
- Package Height
- 6.7 in [17 cm]
- Color
- Black
- Warranty
- 2 Years
- Connector 1
- SATA (7-Pin + 15-Pin)
- Connector 1 (Quantity)
- 4
- Package Quantity
- 1
- Operating Temperature
- 5°C to 35°C (41°F to 95°F)
- Storage Temperature
- -20°C to 50°C (-4°F to 122°F)
- Humidity
- 20% ~ 80% RH
- Material
- Plastic
- Maximum Data Transfer Rate
- 5Gbps
- Power Source
- AC Adapter Included
- Chipset ID
- JMicron - JMS567 <br> JMicron - JBM575
- Input Voltage
- 100 - 240 AC
- Output Voltage
- 12V DC
- Power Consumption
- 78
- MTBF
- 30000
- LED Indicators
- 4 - Power, 4 - Activity
- Interface
- USB 3.0 & eSATA
- Input Current
- 2.0A
- Output Current
- 6.5
- Type and Rate
- USB 3.0 (5Gbps)
- Host Connector 1
- USB-B (5Gbps, 4.5W)
- Host Connector 1 (Quantity)
- 1
- Plug Type
- 4-pin DIN
- UASP Support
- Yes
- Host Connector 2
- eSATA (7-Pin)
- Host Connector 2 (Quantity)
- 1
- SATA Type and Rate
- SATA III (6 Gbps)
- Compatible Drive Types
- SATA
- Number of Drives
- 4
- Drive Size
- 2.5in & 3.5in
- Drive Installation
- Removable
- Fans Included? Yes/No
- Yes
- Max Drive Capacity
- Currently tested with up to 6TB
- Fan Bearing Type
- Sleeve Bearing
- Fans
- 2 - 60 mm
- Hot Swap Capability
- Yes
- Port Multiplier
- Yes
Questions & Answers
Everything is hooked up, but nothing is working. What do I do?
When you troubleshoot issues with a hard drive dock or duplicator, there are some quick tests that you can complete to rule out potential problems. You can test to make sure that the following components are working correctly and are not the source of the issue: IDE, SATA, and eSATA cables Hard drives Hard drive dock or duplicator To test your setup components, try the following: Use the cables, hard drives, and hard drive dock or duplicator in another setup to see if the problem is with the components or the setup. Use a different cable, hard drive, and hard drive dock or duplicator in your setup to see if the problem persists. Ideally, you should test a component that you know works in another setup. When you test the hard drive and hard drive dock or duplicator, it is recommended that you do the following: Note: For a hard drive duplicator you may need to switch the device to PC mode (if available). To check Disk Management, press the Windows key + R , type diskmgmt.msc , and press Enter . Check to see if your hard drive is listed. Do one of the following: If the hard drive is listed with unallocated space, the hard drive needs to be reformatted. Right-click unallocated and click New Simple Volume. Follow the on-screen instructions to complete the reformatting. Note: Formatting a hard drive erases all of the data on it. Make sure that you back up all of your data before you reformat the hard drive. If the hard drive is listed as healthy but does not have a drive letter, for example, C:, right-click healthy and click Change Drive Letter and Paths . Click Add , assign a drive letter, and click OK . Note: A formatted hard drive will not show up in Computer or My Computer until it has a drive letter assigned to it.
Why are my hard drives entering an idle state using this docking station?
This docking station allows the hard drive to enforce its own power state, as opposed to enforcing a power state that keeps the hard drive active at all times. Since most newer hard drives have low-power energy conservation modes, this will cause the hard drive to enter an idle state if it is not used for a certain amount of time.
How do I confirm that Windows detects my USB device?
To confirm that Windows detects your USB device, complete the following: Press the Windows key+ R , type devmgmt.msc , and press Enter . In Device Manager , under the appropriate heading, confirm that your expansion card is listed and that there isn't an exclamation mark next to it. For example, a USB controller card would be under Universal Serial Bus controllers . Your USB device is listed according to the name of the chipset. To determine the name of the chipset of your USB device, navigate to www.StarTech.com and look on the Technical Specifications tab for your product.
How can I check if my USB device is properly detected by Mac OS?
To confirm that the Mac OS detects your USB device, complete the following: Click the Apple icon. Click About This Mac . Click More Info or System Report . Under the appropriate heading, confirm that your USB device is listed and that there isn't an error. For example, a network card would be under Ethernet Cards . You may need to refresh the System Information page after you plug in your device. To do so, press Command + R with the System Information page open. Your USB device is listed according to the name of the chipset. To determine the name of the chipset of your USB device, navigate to www.StarTech.com and look on the Technical Specifications tab for your product.
Will my hard drive be compatible with a StarTech.com docking station or duplicator?
A hard drive will work with a StarTech.com docking station or duplicator only if the device supports the drive’s interface, form factor, capacity, and power requirements. Explanation: To confirm compatibility with a StarTech.com docking station or duplicator, review the product’s technical specifications and verify the following: Interface compatibility: The hard drive must match the supported interface (for example, SATA, IDE, or M.2). For M.2 drives, you must also confirm the protocol (SATA vs. NVMe) and keying (B-key, M-key, or B+M), as not all M.2 drives are supported by all devices. Form factor support: The physical size of the hard drive must match the device (for example, 2.5-inch or 3.5-inch drives). Capacity support: Specifications may list a “tested capacity.” Many modern devices can support larger drives, but compatibility beyond the tested capacity is not guaranteed and depends on the device chipset and firmware. Power requirements: The power output of the docking station or duplicator must meet or exceed the drive’s requirements. This is typically sufficient for single-drive docks from reputable brands, but it becomes critical for dual-bay or multi-bay devices, high-capacity drives, or older models. When using multiple drives, the combined power draw must not exceed the device’s power supply. Compatibility is ultimately determined by the hardware design and controller limitations of the specific StarTech.com docking station or duplicator, so reviewing official specifications is required to ensure proper operation.
How do I initialize a brand new hard drive in Windows or Mac OS?
Windows 10 Before you can access a new or formatted drive in your operating system, you need to initialize it first and then create a partition on the drive. A partition defines an area of the drive to use for storing data. The partition uses a file system (for example, ex-FAT, NTFS, and so on). Initialize a drive Note: You typically only need to initialize a drive if the drive is new. If you cannot find an uninitialized drive in Disk Management, skip the following steps and try to partition your device. Press the Windows key + R , type compmgmt.msc , and click Run to open Computer Management . Navigate to Disk Management . When prompted to, initialize your disk(s). If you are running Windows ® 7 or later and are using a drive larger than 2TB, initialize the disk(s) with GPT. If you are running an earlier version of Windows, initialize the disk(s) with MBR. For more information, visit the following FAQ: https://www.startech.com/en-us/support/faqs/technical?topic=harddrives#mbr-vs-gpt . Click OK . Create a partition in a drive Note: The following steps create an NTFS partition that uses the entire drive space. To use a different file system, select a different option in step 6. Right-click Unallocated or RAW volume , and select New Simple Volume . In the New Partition Wizard , click Next . Select Primary partition . Leave the partition size set to default , and click Next . Assign a drive letter or leave it set to the default, and click Next . Enter the following settings to format the partition: In the File System field, enter NTFS . Set the Allocation unit size to Default . In the Volume label field, enter < your name/reference >. Select the Perform a quick format check box. Clear the Enable file and folder compression check box. Click Next > Finish . The new drive should appear in Windows Explorer. Mac OS Before you can access a new or formatted drive in your operating system, you need to initialize it first and then create a partition on the drive. A partition defines an area of the drive to use for storing data. The partition uses a file system (for example, HFS+, ex-FAT, NTFS, and so on). Initialize a drive Mac OSX detects a drive that needs to be initialized and automatically prompts you to initialize the drive. If you are prompted to initialize the drive, click Initialize . If you are not prompted to initialize the drive and you cannot find the drive in Finder , you will need to create a partition on the drive. Create a partition on a drive Note: The following steps create an HFS+ (Mac OS Extended (Journaled)) partition that uses the entire drive space. To create a partition on a new drive, complete the following: Open Finder . Navigate to Applications and click Utilities . Open Disk Utility . Select the new drive and click the Partition tab. Click Options and verify that it is set to GUID Partition Table . Enter a name for the partition. Click Partition . The drive should now be accessible in Finder. For products related to this article, click here .
Related products
-
eSATA USB to SATA Hard Drive Docking Station for Dual 2.5 or 3.5in HDD
$72.99 Add to cart -
eSATA USB to SATA Hard Drive Docking Station w/ Hub & Card Reader
$50.99 Add to cart -
USB 3.0 Dual SATA Hard Drive Docking Station with integrated Fast Charge USB Hub UASP support and Fan - White
$99.99 Add to cart -
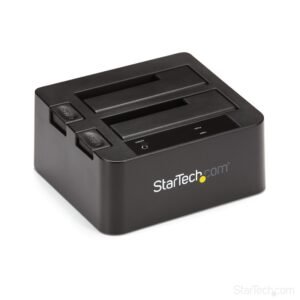
Dual-Bay USB 3.2 Gen 2 to SATA Hard Drive Docking Station, USB 10Gbps Hard Drive Dock, External 2.5/3.5" SATA I/II/III SSD/HDD Docking Station, Hot-Swap Hard Drive Bay, Top-Loading
$133.24 Add to cart