
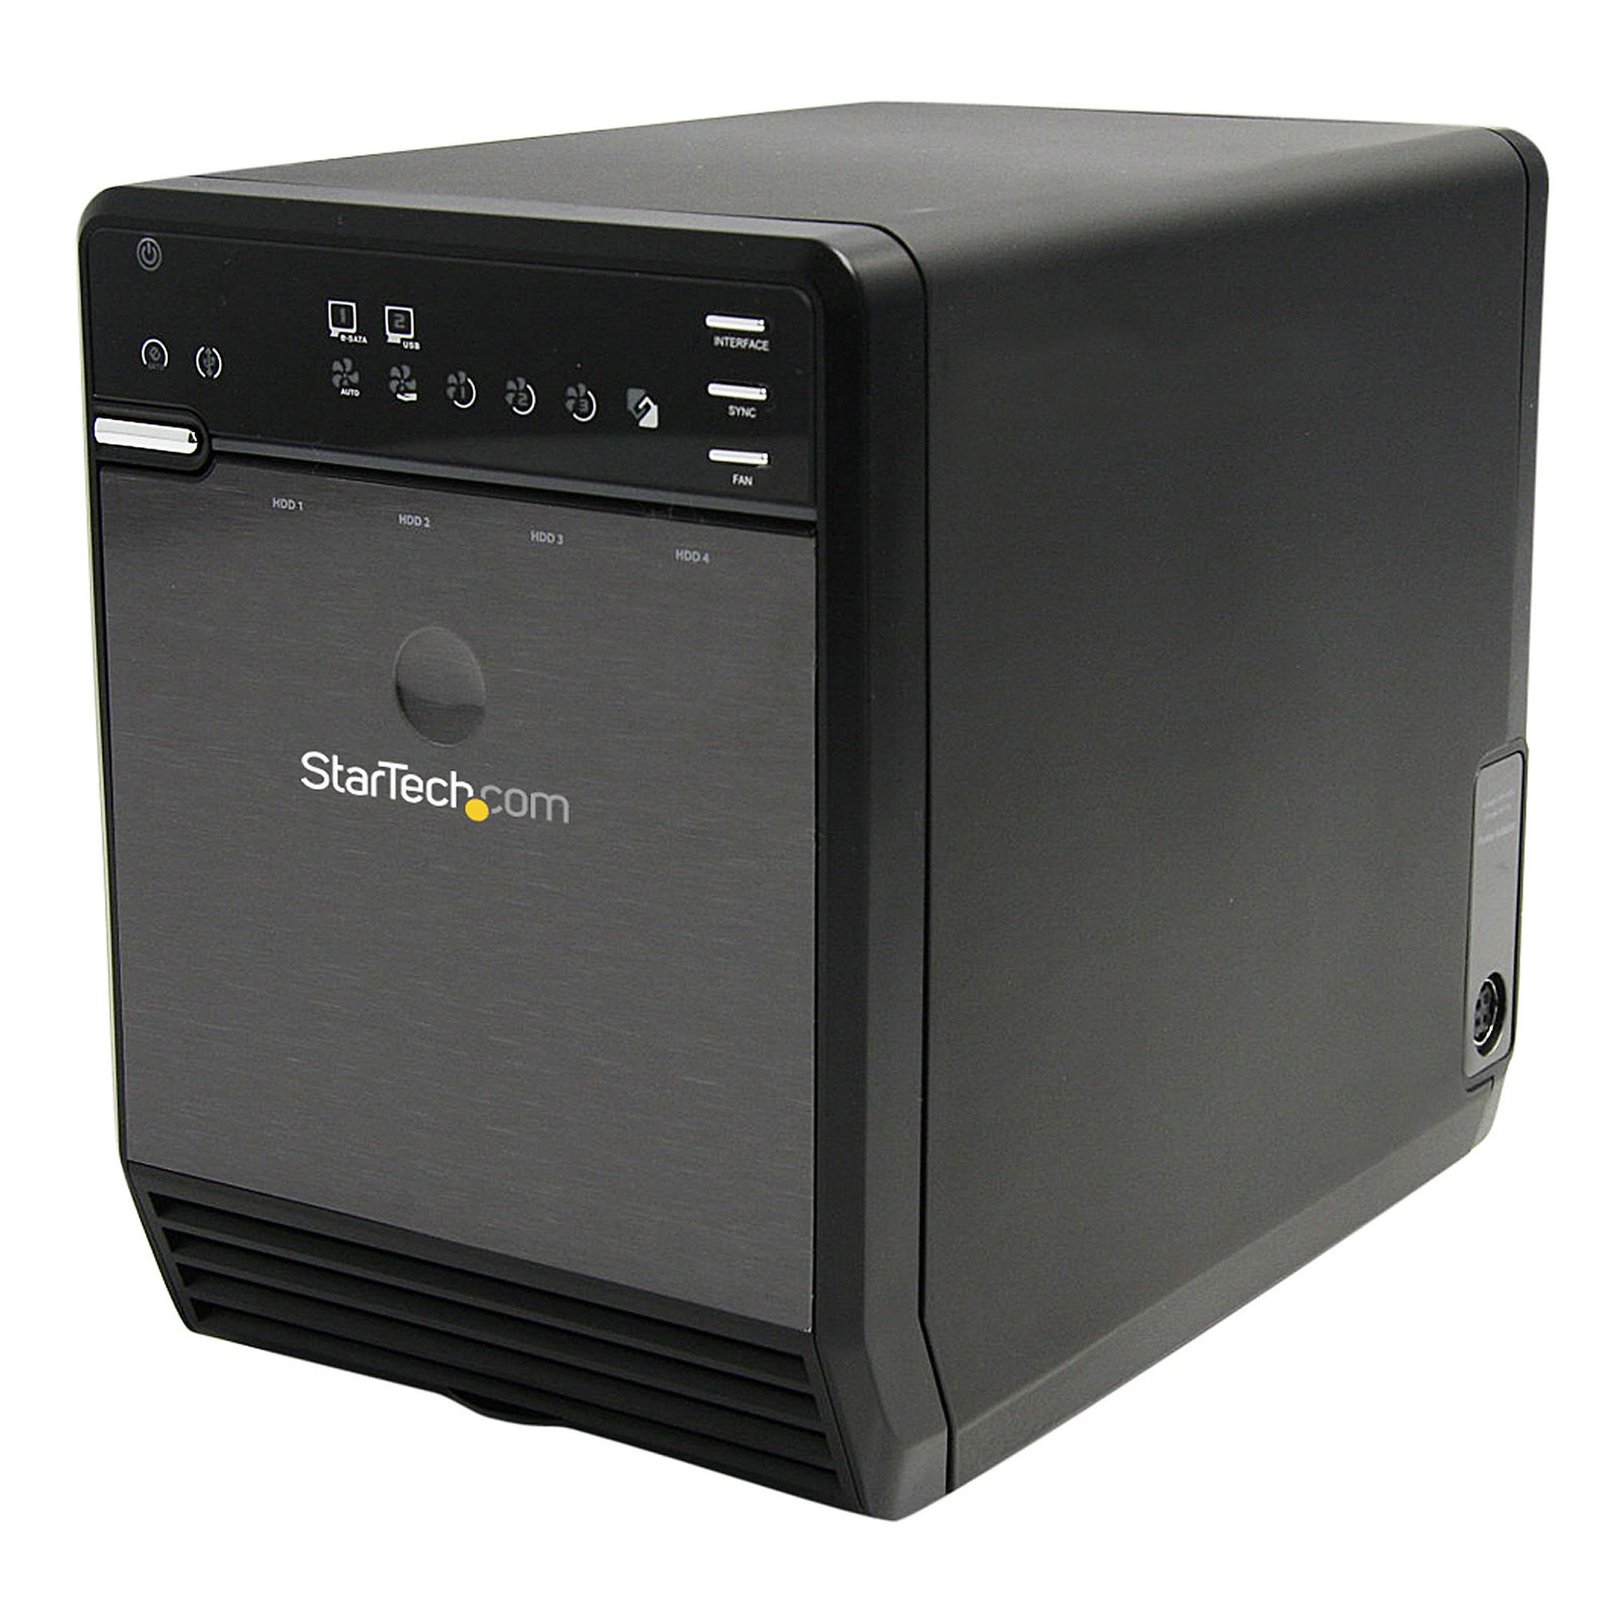
4 Bay External Hard Drive Array Storage Tower – eSATA USB 2.0 Enclosure
$183.99
Turn four SATA drives into an external storage device with USB 2.0 and eSATA connectivity
Specifications & Compliance
- UPC
- 065030836357
- Brand
- StarTech.com
- Included in Package
- 1 - Four drive HDD enclosure, 1 - USB Cable, 1 - eSATA Cable, 1 - Screw driver and screw kit, 3 - Power Cords (NA/UK/EU), 1 - Universal Power Adapter, 1 - Manual
- Shipping (Package) Weight
- 6.9 lb [3.1 kg]
- Weight of Product
- 4.0 lb [1.8 kg]
- Product Length
- 8.5 in [21.5 cm]
- Product Width
- 5.0 in [12.6 cm]
- Product Height
- 6.7 in [17 cm]
- Package Depth
- 6.4 in [16.3 cm]
- Package Width
- 11.5 in [29.3 cm]
- Package Height
- 10.7 in [27.1 cm]
- Color
- Black
- Warranty
- 2 Years
- Connector 1
- SATA (7-Pin + 15-Pin)
- Connector 1 (Quantity)
- 4
- Operating Temperature
- -20°C to 60°C (-4°F to 140°F)
- Storage Temperature
- -25°C to 70°C (-13°F to 158°F)
- Humidity
- 90%RH
- Material
- Aluminum
- Power Source
- AC Adapter Included
- Chipset ID
- EXAR - XRS10L240
- Special Notes
- Some operating modes of the enclosure require an eSATA host port to provide Port Multiplier (PM) support. Without PM support, only one of the drives will be accessible.
- Input Voltage
- 115V-230V AC
- Output Voltage
- 12V DC
- LED Indicators
- 3 - Fan speed indicators, 2 - Fan mode indicators, 2 - Interface indicators, 1 - Power indicator (Blue - On, Orange - Standby, Off - Off), 1 - Sync mode indicator (Blue - 6 second delay after disconnect to turn off, Orange - Standby right after disconnect, Off - Do nothing on disconnect)
- Interface
- USB 2.0 & eSATA
- Output Current
- 5
- Type and Rate
- USB 2.0 (480Mbps)
- Host Connector 1
- USB-B (480Mbps, 2.5W)
- Host Connector 1 (Quantity)
- 1
- UASP Support
- No
- Host Connector 2
- eSATA (7-Pin)
- Host Connector 2 (Quantity)
- 1
- SATA Type and Rate
- SATA II (3 Gbps)
- Compatible Drive Types
- SATA
- Number of Drives
- 4
- Drive Size
- 3.5in
- Drive Installation
- Removable
- Fans Included? Yes/No
- Yes
- RAID
- No
- Max Drive Capacity
- Currently tested with up to 4TB 5400 RPM hard drives per bay (16TB total)
- Fan Bearing Type
- Ball Bearing
- Fans
- 1 - 80 mm
- Fan RPM
- Low - 1200rpm<br> Med - 1800rpm<br> High - 2500rpm
Questions & Answers
Everything is hooked up, but nothing is working. What do I do?
When you troubleshoot issues with a hard drive enclosure, there are some quick tests that you can complete to rule out potential problems. You can test to make sure that the following components are working correctly and are not the source of the issue: Cables Hard drives Hard drive enclosure To test your setup components, try the following: Use the cables, hard drives, and hard drive enclosure in another setup to see if the problem is with the components or the setup. Use a different cable, hard drive, and hard drive enclosure in your setup to see if the problem persists. Ideally, you should test a component that you know works in another setup. When you test the hard drive and hard drive enclosure, it is recommended that you do the following: To check Disk Management , press the Windows key + R , type diskmgmt.msc , and press Enter . Check to see if your hard drive is listed. If the hard drive is listed with unallocated space, the hard drive needs to be reformatted. Right-click unallocated and click New Simple Volume . Follow the on-screen instructions to complete the reformatting. Note: Formatting a hard drive erases all of the data on it. Make sure that you back up all of your data before you reformat the hard drive. If the hard drive is listed as healthy but does not have a drive letter, for example, C:, right-click healthy and click Change Drive Letter and Paths . Click Add , assign a drive letter, and click OK . Note: A formatted hard drive will not show up in Computer or My Computer until it has a drive letter assigned to it.
How do I initialize a brand new hard drive in Windows or Mac OS?
Windows 10 Before you can access a new or formatted drive in your operating system, you need to initialize it first and then create a partition on the drive. A partition defines an area of the drive to use for storing data. The partition uses a file system (for example, ex-FAT, NTFS, and so on). Initialize a drive Note: You typically only need to initialize a drive if the drive is new. If you cannot find an uninitialized drive in Disk Management, skip the following steps and try to partition your device. Press the Windows key + R , type compmgmt.msc , and click Run to open Computer Management . Navigate to Disk Management . When prompted to, initialize your disk(s). If you are running Windows ® 7 or later and are using a drive larger than 2TB, initialize the disk(s) with GPT. If you are running an earlier version of Windows, initialize the disk(s) with MBR. For more information, visit the following FAQ: https://www.startech.com/en-us/support/faqs/technical?topic=harddrives#mbr-vs-gpt . Click OK . Create a partition in a drive Note: The following steps create an NTFS partition that uses the entire drive space. To use a different file system, select a different option in step 6. Right-click Unallocated or RAW volume , and select New Simple Volume . In the New Partition Wizard , click Next . Select Primary partition . Leave the partition size set to default , and click Next . Assign a drive letter or leave it set to the default, and click Next . Enter the following settings to format the partition: In the File System field, enter NTFS . Set the Allocation unit size to Default . In the Volume label field, enter < your name/reference >. Select the Perform a quick format check box. Clear the Enable file and folder compression check box. Click Next > Finish . The new drive should appear in Windows Explorer. Mac OS Before you can access a new or formatted drive in your operating system, you need to initialize it first and then create a partition on the drive. A partition defines an area of the drive to use for storing data. The partition uses a file system (for example, HFS+, ex-FAT, NTFS, and so on). Initialize a drive Mac OSX detects a drive that needs to be initialized and automatically prompts you to initialize the drive. If you are prompted to initialize the drive, click Initialize . If you are not prompted to initialize the drive and you cannot find the drive in Finder , you will need to create a partition on the drive. Create a partition on a drive Note: The following steps create an HFS+ (Mac OS Extended (Journaled)) partition that uses the entire drive space. To create a partition on a new drive, complete the following: Open Finder . Navigate to Applications and click Utilities . Open Disk Utility . Select the new drive and click the Partition tab. Click Options and verify that it is set to GUID Partition Table . Enter a name for the partition. Click Partition . The drive should now be accessible in Finder. For products related to this article, click here .
What is the difference between initializing, partitioning, and formatting a hard drive?
A hard drive needs to be initialized by the operating system before it can be used. The process of initializing the hard drive involves setting the partition style; this will define how the hard drive will store the partition information so that the operating system knows which sectors belong to each partition, and which partition is bootable. The options are MBR (Master Boot Record), and GPT (GUID Partition Table), with GPT being used more commonly with newer, larger capacity hard drives. A hard drive needs to be partitioned so that the operating system knows how the data on the hard drive will be arranged. It is common to create one large partition on a hard drive for all of the data (often identified as C: ). You can create multiple partitions on a hard drive, and each will be assigned a drive letter in Windows or a name in Mac OS. Formatting a hard drive is necessary to apply a file system. A file system is used to control how data is stored and retrieved. In Windows, the most commonly used file system is NTFS, and for Mac OS it is Mac OS Extended (also referred to as HFS Plus). Note: Formatting a hard drive will erase all data on the hard drive. Make sure you have any data backed up before continuing.
How do I format a hard drive?
Note: Formatting a hard drive will erase all data on the hard drive. Make sure you have any data backed up before continuing. Windows A hard drive can be formatted in Windows using Disk Management. To open Disk Management, complete the following: Windows 8 and 10 Right-click the Windows icon . Click Disk Management . Windows 7 Click Start . Right-click Computer . Click Manage . Click Disk Management . In Disk Management, if the connected hard drive is not yet partitioned, it will show up with solid black bars and the label “Unallocated”. For more information on how to partition a hard drive and why you may want to, refer to the following FAQ: https://www.startech.com/faq/hard-drives-general-partition . If the hard drive has already been partitioned but not formatted, it will show up in Disk Management with a blue bar, but without a file system associated. To format a hard drive, complete the following: Right-click on the blue bar . Select Format . Enter a name for the partition under Volume Label . Under File System , choose your preferred option. Note: If you are unsure which option to choose, NTFS is commonly used. Click OK . Mac OS A hard drive can be formatted with the Mac OS Extended file system by using Disk Utility. To format the hard drive, complete the following: Click Finder . Click Applications . Click Utilities . On the left side of the window, click the drive name. Click Erase . Click Mac OS Extended (Journaled) under Format . Enter a name for the drive. Click Erase . Click Erase again to confirm.
How do I assign or change a drive letter in Windows?
A drive letter can be assigned or changed in Windows using Disk Management. To open Disk Management, complete the following: Windows 8 and 10 Right-click the Windows icon . Click Disk Management . Windows 7 Click Start . Right-click Computer . Click Manage . Click Disk Management . To assign a drive letter in Disk Management, complete the following: Right-click the drive you would like to change. Click Change Drive Letter and Paths . Click Add . Click the letter you want to use. Click OK . To change a driver letter in Disk Management, complete the following: Right-click the drive you would like to change. Click Change Drive Letter and Paths . Click Change . Click Assign the following drive letter . Click the letter you want to use. Click OK .
How do I rename my hard drive in Mac OS?
To rename a hard drive in Mac OS, complete the following: Click Finder . Under Devices , click on the hard drive. Below the icon of the hard drive, click and hold on the name of the hard drive, until a field opens. Enter the new name for the hard drive. Press Return .
What is ATAPI?
Advanced Technology Attachment Packet Interface (ATAPI) is a protocol that allows a greater variety of devices to be connected to a computer than ATA (PATA / IDE and SATA) on its own would allow. ATAPI allows IDE and SATA controllers to support optical drives. ATA on its own doesn't allow for specific functions required by optical drives, such as a "media eject" command or a way for the controller to determine whether media is present in the optical drive. Optical drives include CD-ROM drives, DVD-ROM drives, and Blu-ray players.
Related products
-
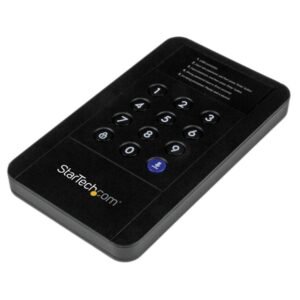
2.5in USB 3.0 Encrypted External Hard Drive Enclosure - Portable SATA HDD
$64.99 Add to cart -

2.5in Encrypted Hard Drive Enclosure - Portable External HDD Enclosure SATA to USB 3.0
$101.99 Add to cart -

USB 3.1 (10 Gbps) Tool-Free Enclosure for 2.5” SATA Drives
$34.84 Add to cart -
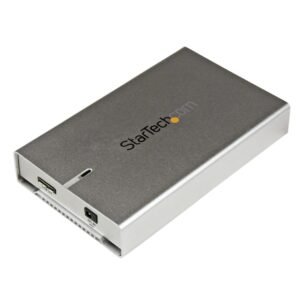
2.5” Aluminum USB 3.0 SATA III Hard Drive Enclosure w/ UASP - SSD/HDD Height up to 12.5mm
$44.99 Add to cart