
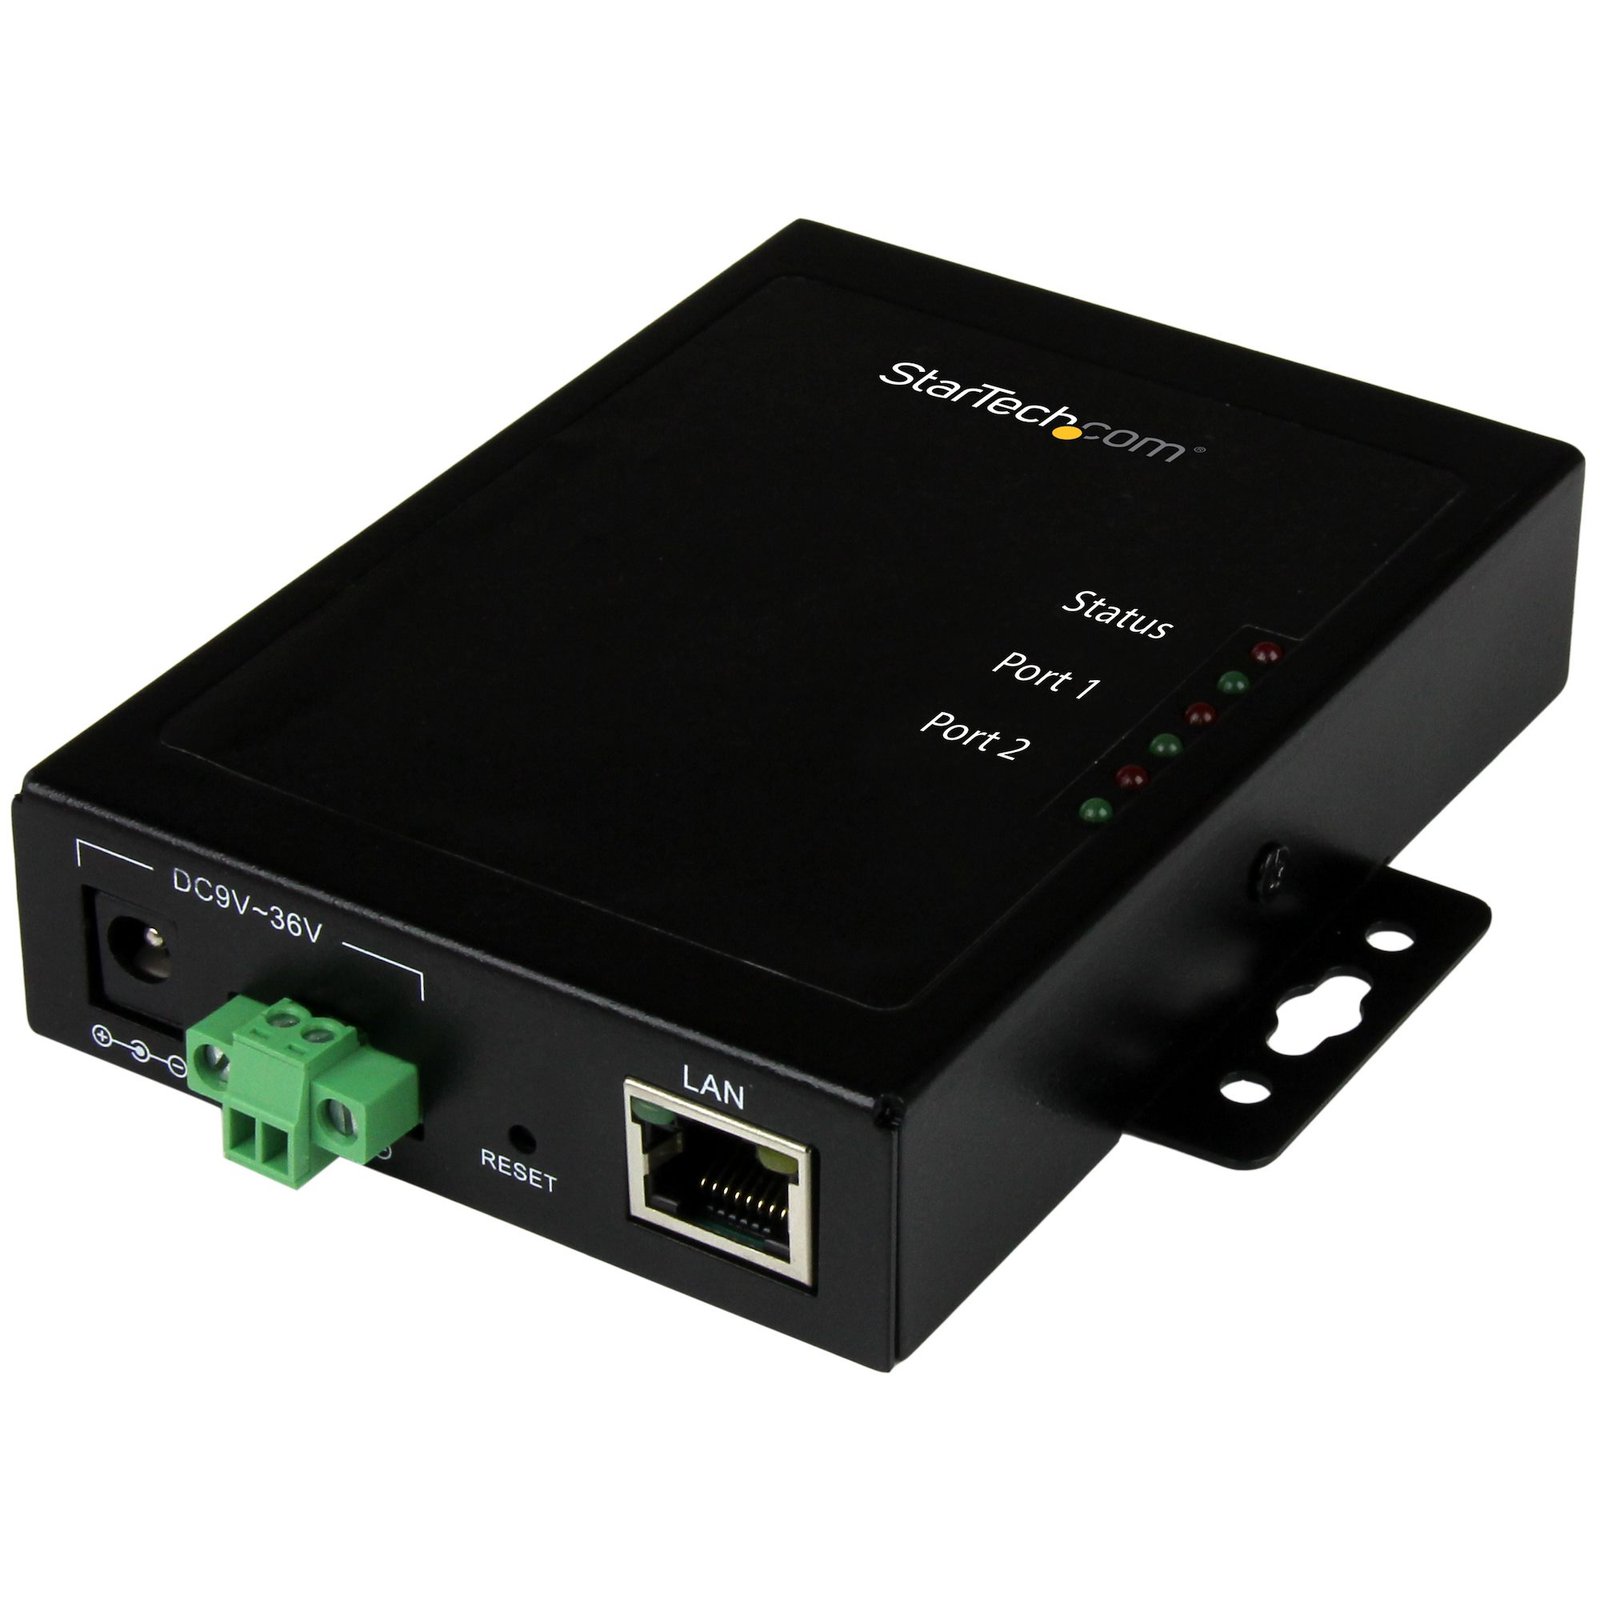
2-Port Serial-to-IP Ethernet Device Server - RS232 - Metal and Mountable - TAA
$230.61
Connect, configure and manage two remote RS232 serial devices, over an IP network
Specifications & Compliance
- UPC
- 065030864145
- Brand
- StarTech.com
- Included in Package
- 1 - 2-port serial device server, 1 - terminal block (2-wire), 1 - universal power adapter (NA/EU/UK/AU), 1 - software CD, 1 - quick start guide
- Shipping (Package) Weight
- 22.4 oz [634 g]
- Weight of Product
- 11.3 oz [320.0 g]
- Product Length
- 4.4 in [11.2 cm]
- Product Width
- 3.2 in [81.0 mm]
- Product Height
- 0.9 in [23.0 mm]
- Package Depth
- 5.9 in [15.1 cm]
- Package Width
- 8.5 in [21.7 cm]
- Package Height
- 2.2 in [55 mm]
- Color
- Black
- Warranty
- 2 Years
- Connector 1
- DB-9 Serial
- Connector 1 (Quantity)
- 2
- Package Quantity
- 1
- Connector 2
- RJ-45
- Connector 2 (Quantity)
- 1
- Operating Temperature
- 0°C to 85°C (32°F to 185°F)
- Storage Temperature
- -45°C to 130°C (-49°F to 266°F)
- Humidity
- 20~80% RH (Non-condensing)
- Material
- Steel
- Industry Standards
- IEEE 802.3 10BASE-T, IEEE 802.3u 100BASE-TX
- Power Source
- AC Adapter Included
- Input Voltage
- 100 - 240 AC
- Output Voltage
- 12V DC
- Connector 3
- Terminal Block (2 Wire)
- Connector 3 (Quantity)
- 1
- Power Consumption
- 36
- LED Indicators
- 2 - Status, 2 - Port 1, 2 - Port 2, 1 - 10/100Mbps LAN, 1 - Link / Activity
- Number of Ports
- 2
- Interface
- Serial
- Input Current
- 1.5 A
- Output Current
- 3
- Compatible Networks
- 10/100 Mbps
- Center Tip Polarity
- Positive
- Auto MDIX
- Yes
- Full Duplex Support
- Yes
- Serial Protocol
- RS-232
- Max Baud Rate
- 460.8 Kbps
- Supported Protocols
- ICMP, IP, TCP, UDP, DHCP, BOOTP, Telnet, HTTP
- Data Bits
- 7, 8
- Flow Control
- XON/XOFF, RTS/CTS, None
- Parity
- None, Even, Odd, Space, Mark
- ESD Protection
- +/-15kV (HBM), +/-15kV (Air), +/-8kV (Contact)
- Auto-Negotiation
- Yes
- Remote Management Ability
- Yes
Questions & Answers
How do I set up the StarTech.com NETRS2322P network serial device in Windows?
To set up the StarTech.com NETRS2322P in Windows, first confirm that the Windows computer can communicate with the NETRS2322P over the network. Then install the NETRS2322P software and use EMT VSP Manager to configure a virtual COM port for each serial port you want to use. Explanation: Complete the following steps to install and configure the StarTech.com NETRS2322P network serial device in Windows. Install the NETRS2322P software Go to the StarTech.com Support website at http://www.startech.com/Support and enter NETRS2322P in the Enter Product ID box to download the latest drivers. After the download is complete, right-click the downloaded ZIP folder, select Extract All , and follow the on-screen instructions. Open the extracted folder for your Windows operating system, and then open the 32-bit or 64-bit folder that matches your system type. Right-click EMTDST-[x].exe and select Run as Administrator . Follow the on-screen prompts to complete the installation. Note: Windows typically saves downloaded files in the Downloads folder associated with your user account, such as C:UsersusernameDownloads. Configure a virtual COM port Open EMT VSP Manager from the Windows Start menu. Click Add . Click Browse for DS… . Double-click the NETRS2322P server in the list. Set VSP name to the COM port number you want to use, such as COM1 . Configure the appropriate network port number: NETRS2322P Port 1: 1001 NETRS2322P Port 2: 1002 Click OK to add the virtual COM port to Windows. Optional: Repeat the configuration process for the remaining serial port. If multiple servers appear in EMT VSP Manager, use the Buzz! button to identify the correct NETRS2322P. The top red LED on the selected unit will blink. After configuration, the virtual COM port or ports are available for use by Windows applications. To test a COM port, refer to the StarTech.com RS232 serial loopback test FAQ at https://www.startech.com/faq/serial_loopback_test_rs232_windows#NETRS2322P .
How do I access the web interface of the StarTech.com NETRS2322P network serial device?
Connect the computer to the same network as the NETRS2322P. Open a web browser, enter the NETRS2322P IP address in the address bar, and click Login . The default IP address is 192.168.1.40 . Explanation : The computer and the NETRS2322P must be connected to the same network to access the device’s web interface. By default, the NETRS2322P uses the IP address 192.168.1.40 . Enter this IP address in a web browser to open the web interface, then click Login .
How do I ensure my computer and my serial device are on the same subnet?
In order for the serial device and your computer to communicate to each other, they both need to be on the same physical network and the same subnet. To connect your serial device and your computer to the same physical network, plug both devices into the same router. Typically, in order for devices to be on the same subnet, the first three numbers of the IP address must match. The fourth number of the IP address must be different, as two devices cannot have the same IP address. For example, if your computer’s IP address is 192.168.0.1, then the subnet is 192.168.0. XXX . You can replace the XXX with any number, as long as it is not currently in use by another device.
How can I make sure my serial port is working in Windows?
To check whether or not an RS-232 serial port is working, perform an RS-232 loopback test by doing the following: If your serial port is not female, convert it by taking a female/female cable or gender changer and plugging it into the serial port. Take a metal paperclip or wire and cross pins 2 and 3. If you look closely at the female end, the pins should be numbered. Open a telnet session on the COM port number of the device that you are testing. To find out the COM port number, refer to the following FAQ: https://www.startech.com/faq/com-port-listing-windows . Note: To open a telnet session on the COM port, you need a telnet client like PuTTY or Hyper Terminal. Windows XP comes with Hyper Terminal. When the session is open, anything you type into it you should see. The loopback test fails when you cannot see what you are typing. If the loopback test fails, make sure that the serial cable or gender changer that you are using works and that the adapter is in the correct port. You can check multiple ports at the same time by opening multiple sessions, putting the loopback adapter on one port, and trying to type into each session. When you can see what you are typing, you know that the COM port is working and you can see which port number the physical serial port is. Close the window for the port that you just tested to speed up the testing of the remaining serial ports. For products related to this article, click here .
What is this device’s default static IP address?
This device's default static IP address is 192.168.1.40.
How do I reset my device to the default factory settings?
To reset the device server, perform the following steps: Disconnect any power sources from the device server. Open the device server’s housing by removing the two screws from the device server (one screw is on each side of the device server). Press and hold the Reset button until the device server beeps twice. Note: The Reset button on the outside of the device server is a hardware reset that reboots the device server.
I cannot communicate with my serial over IP device over the network. What do I do?
To troubleshoot this issue, you can try the following: Ping the serial device. Connect the serial device directly to the computer and ping the device. Connect to the web interface (if there is one) or connect using the included software. Before you begin, make sure that the serial device is on the same network and subnet. For more information, see this FAQ: http://www.startech.com/faq/serial_ip_networks_and_subnets . If the device starts with an IP address that is not on your subnet, change your IP address to match the subnet being used before you continue. Ping the serial device If the serial device and your computer are on the same network and subnet, try pinging the device. To ping the device using a computer that is running a version of Windows XP, do the following: Click Start . Click Run . Type ping <IP address> and press Enter . For example, ping 192.168.0.20 . To ping the device using a computer that is running a version of Windows Vista or Windows 7, do the following: Click Start . Click Accessories . Click Command Prompt . Type ping < IP address > and press Enter . For example, ping 192.168.0.20 . To ping the device using a computer that is running a version of Windows 8, do the following: Press the Windows key + X . Click Run . Type cmd and press Enter . Type ping < IP address > and press Enter . For example, ping 192.168.0.20 . To ping the device using a computer that is running a version of Mac OS, do the following: Double-click the hard drive. Double-click Applications > Utilities > Network Utility . Click the Ping tab. Enter the IP address in the Please enter the network address to ping field. Enter the number of packets that you want to test with. If you receive replies from the IP address, then you can see the device on the network and the issue is with something else. Connect the serial device directly to the computer To connect the serial device directly to the computer that you are troubleshooting with, complete the following: Use a crossover Ethernet cable to connect the device and the computer. Try pinging the device again. If you cannot ping the device, use a different computer, Ethernet cable, and serial device (if one is available). Note: The second computer will need to be on the same network and subnet as the serial over IP device. If you still cannot ping the device, contact support. Make sure that you are working in a secure environment Unplug the connection between your modem and your router. Disable any firewalls (especially Windows Firewall), antivirus programs, and security programs that are currently running. Try accessing the web interface (if the device has one) or try to connect using the included software. If you still cannot connect to the device's web interface or by using the included software, contact support. If you can access the web interface or connect using the included software, one at a time turn on your firewalls, antivirus programs, and security programs. Each time that you turn on software and cannot connect to the web interface or by using the included software, add an exception for the serial device to what you last re-enabled.
Related products
-
1-Port Serial-to-IP Ethernet Device Server - RS232 - DIN Rail Mountable
$105.99 Add to cart -
2 Port RS232 Serial over IP Ethernet Device Server
$241.99 Add to cart -
1 Port Industrial RS-232 / 422 / 485 Serial to IP Ethernet Device Server - 2x 10/100Mbps Ports
$183.99 Add to cart -
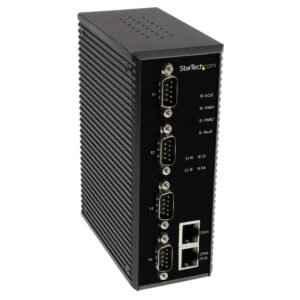
4 Port Industrial RS-232 / 422 / 485 Serial to IP Ethernet Device Server - PoE-Powered - 2x 10/100Mbps Ports
$539.99 Add to cart