
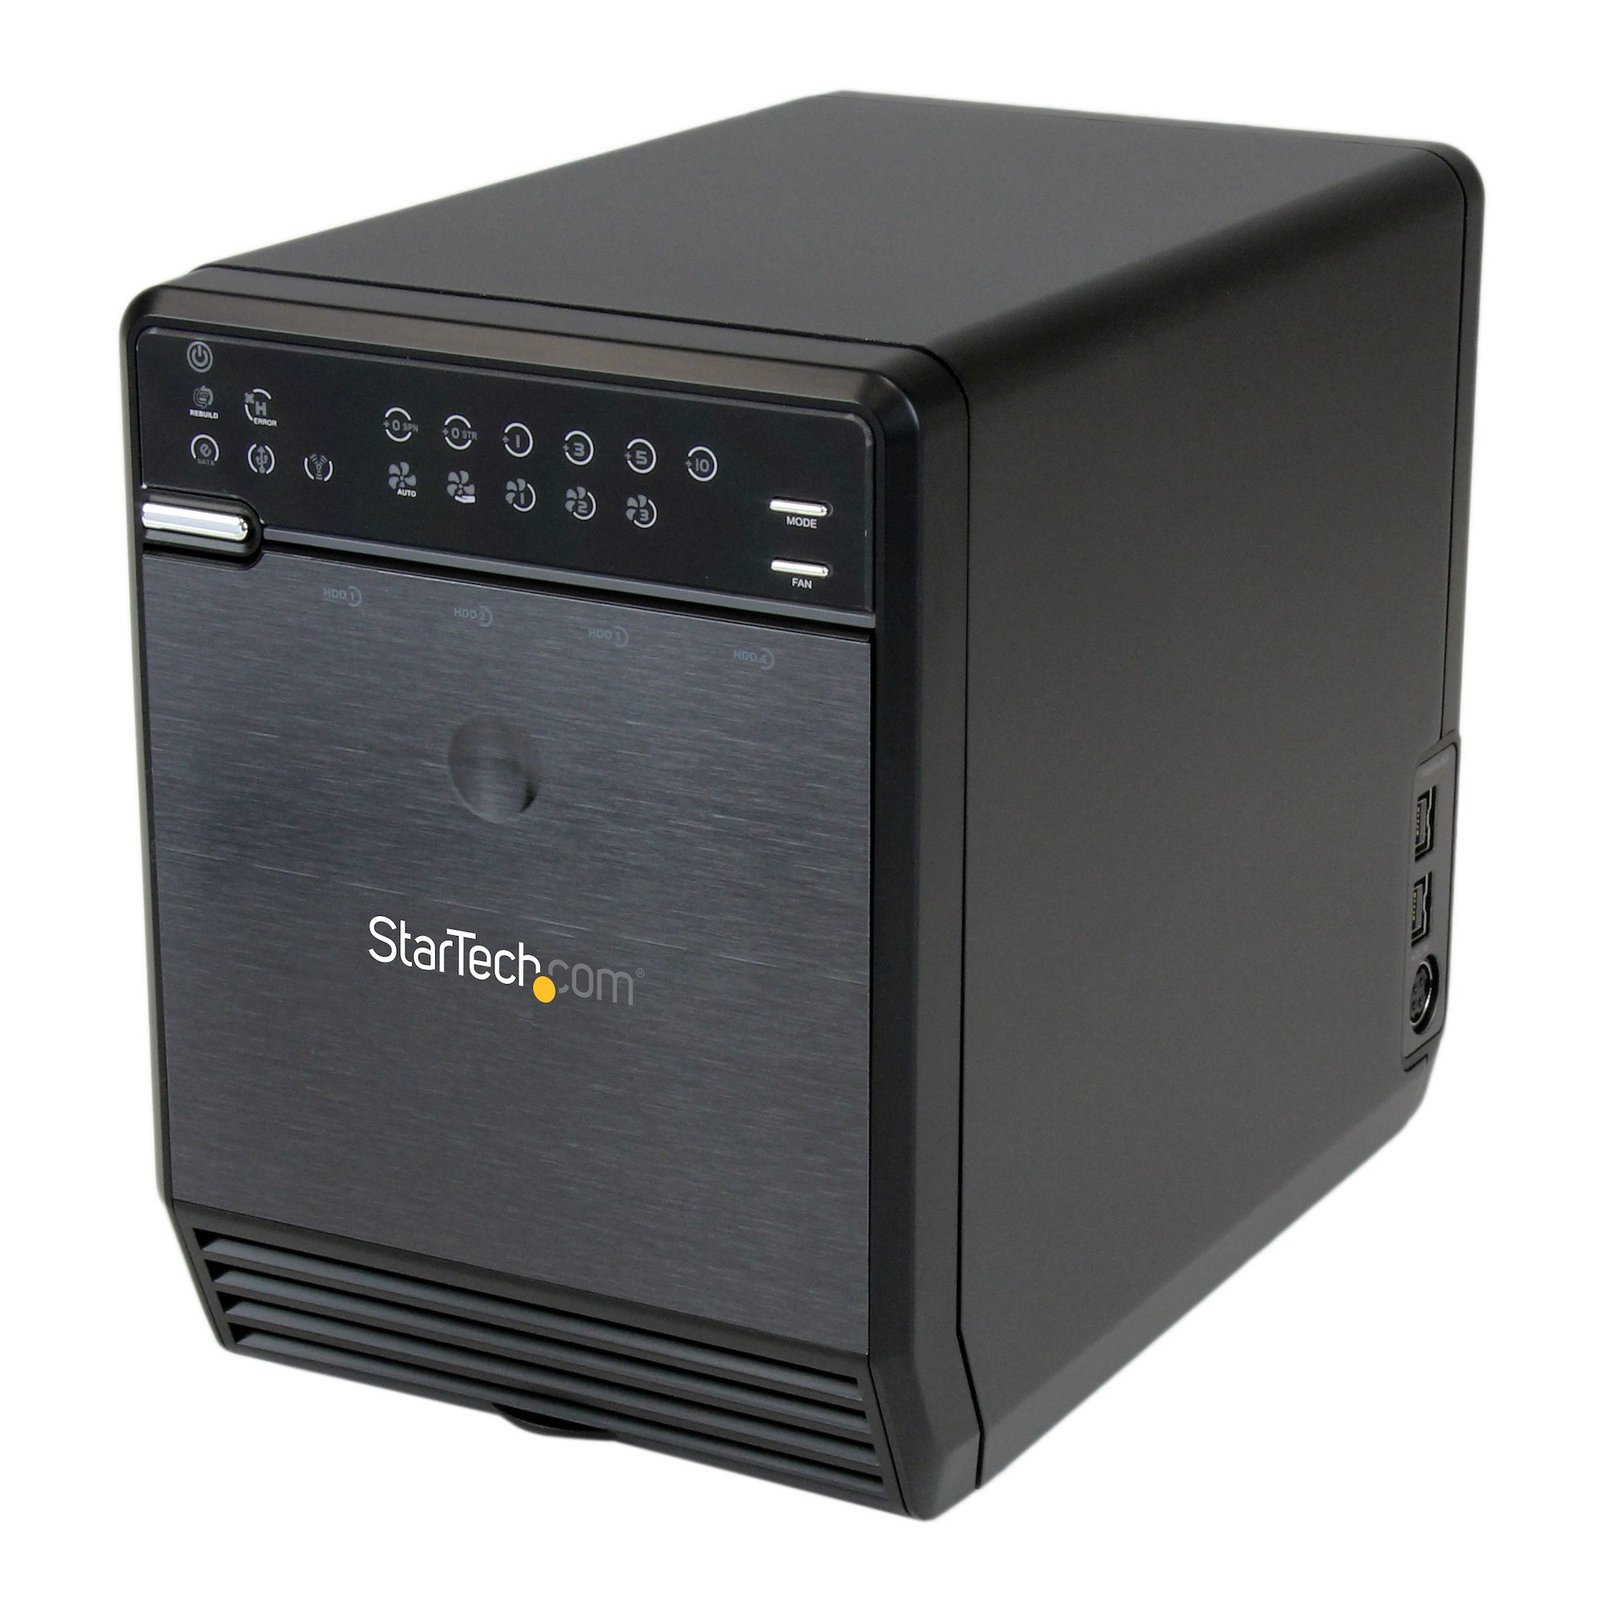
3.5in 4 Drive eSATA USB FireWire External SATA RAID Enclosure
$306.99
Turn 4 SATA hard drives into external RAID storage that connects over USB/FireWire/eSATA
Specifications & Compliance
- UPC
- 065030836364
- Brand
- StarTech.com
- Included in Package
- 1 - Four drive HDD enclosure, 1 - eSATA Cable, 1 - USB Cable, 1 - 6 pin FireWire cable, 1 - 9 pin FireWire cable, 1 - Screw driver and screw kit, 3 - Power Cord (NA/ UK/ EU), 1 - Universal Power Adapter, 1 - Instruction Manual
- Shipping (Package) Weight
- 7.3 lb [3.3 kg]
- Weight of Product
- 4.0 lb [1.8 kg]
- Product Length
- 8.5 in [21.5 cm]
- Product Width
- 5.0 in [12.6 cm]
- Product Height
- 6.7 in [17 cm]
- Package Depth
- 6.4 in [16.2 cm]
- Package Width
- 11.5 in [29.2 cm]
- Package Height
- 10.7 in [27.1 cm]
- Color
- Black
- Warranty
- 2 Years
- Connector 1
- SATA (15-Pin)
- Connector 1 (Quantity)
- 4
- Package Quantity
- 1
- Connector 2
- SATA (7-Pin)
- Connector 2 (Quantity)
- 4
- Operating Temperature
- -20°C to 60°C (-4°F to 140°F)
- Storage Temperature
- -25°C to 70°C (-13°F to 158°F)
- Humidity
- 90%RH
- Material
- Aluminum
- Power Source
- AC Adapter Included
- Chipset ID
- PLX/Oxford - OXUFS936QSE
- Special Notes
- The maximum supported partition size for some 32-bit Windows systems is 2 TB. These versions of Windows cannot detect multiple drives in any RAID mode if the total size exceeds 2 TB.</p> <p>Some operating modes of the enclosure require an eSATA host port to provide Port Multiplier (PM) support. Without PM support, only one of the drives will be accessible.
- Input Voltage
- 115V-230V AC
- Output Voltage
- 12V DC
- MTBF
- 31,528 Hours
- LED Indicators
- 2 - Connection indicators, 2 - Fan mode indicators, 3 - Fan speed indicators, 1 - Power indicator, 1 - RAID rebuild indicator, 1 - HDD error indicator, 6 - RAID Mode indicators
- Interface
- USB 2.0 & eSATA & Firewire, USB 2.0
- Output Current
- 5
- Type and Rate
- USB 2.0 (480Mbps), FireWire 400 IEEE-1394a (400Mbits), FireWire 800 IEEE-1394b (800Mbits)
- Host Connector 1
- eSATA (7-Pin)
- Host Connector 1 (Quantity)
- 1
- UASP Support
- No
- Host Connector 2
- USB-B (480Mbps, 2.5W)
- Host Connector 2 (Quantity)
- 1
- SATA Type and Rate
- SATA II (3 Gbps)
- Compatible Drive Types
- SATA
- Number of Drives
- 4
- Drive Size
- 3.5in
- Drive Installation
- Removable
- Fans Included? Yes/No
- Yes
- RAID
- Yes
- Max Drive Capacity
- Currently tested with up to 4 TB 5400 RPM hard drives per bay (16TB total)
- Host Connector 3
- FireWire 400 (6-Pin, 400Mbps, Bus Power)
- Host Connector 3 (Quantity)
- 1
- Fan Bearing Type
- Ball Bearing
- Fans
- 1 - 80 mm
- Fan RPM
- Low - 1200rpm<br> Med - 1800rpm<br> High - 2500rpm
- Host Connector 4
- FireWire 800 (9-Pin, 800Mbps, Bus Power)
- Host Connector 4 (Quantity)
- 2
Questions & Answers
How do I initialize a brand new hard drive in Windows or Mac OS?
Windows 10 Before you can access a new or formatted drive in your operating system, you need to initialize it first and then create a partition on the drive. A partition defines an area of the drive to use for storing data. The partition uses a file system (for example, ex-FAT, NTFS, and so on). Initialize a drive Note: You typically only need to initialize a drive if the drive is new. If you cannot find an uninitialized drive in Disk Management, skip the following steps and try to partition your device. Press the Windows key + R , type compmgmt.msc , and click Run to open Computer Management . Navigate to Disk Management . When prompted to, initialize your disk(s). If you are running Windows ® 7 or later and are using a drive larger than 2TB, initialize the disk(s) with GPT. If you are running an earlier version of Windows, initialize the disk(s) with MBR. For more information, visit the following FAQ: https://www.startech.com/en-us/support/faqs/technical?topic=harddrives#mbr-vs-gpt . Click OK . Create a partition in a drive Note: The following steps create an NTFS partition that uses the entire drive space. To use a different file system, select a different option in step 6. Right-click Unallocated or RAW volume , and select New Simple Volume . In the New Partition Wizard , click Next . Select Primary partition . Leave the partition size set to default , and click Next . Assign a drive letter or leave it set to the default, and click Next . Enter the following settings to format the partition: In the File System field, enter NTFS . Set the Allocation unit size to Default . In the Volume label field, enter < your name/reference >. Select the Perform a quick format check box. Clear the Enable file and folder compression check box. Click Next > Finish . The new drive should appear in Windows Explorer. Mac OS Before you can access a new or formatted drive in your operating system, you need to initialize it first and then create a partition on the drive. A partition defines an area of the drive to use for storing data. The partition uses a file system (for example, HFS+, ex-FAT, NTFS, and so on). Initialize a drive Mac OSX detects a drive that needs to be initialized and automatically prompts you to initialize the drive. If you are prompted to initialize the drive, click Initialize . If you are not prompted to initialize the drive and you cannot find the drive in Finder , you will need to create a partition on the drive. Create a partition on a drive Note: The following steps create an HFS+ (Mac OS Extended (Journaled)) partition that uses the entire drive space. To create a partition on a new drive, complete the following: Open Finder . Navigate to Applications and click Utilities . Open Disk Utility . Select the new drive and click the Partition tab. Click Options and verify that it is set to GUID Partition Table . Enter a name for the partition. Click Partition . The drive should now be accessible in Finder. For products related to this article, click here .
Related products
-

2.5in Silver Power eSATA to SATA External Hard Drive Enclosure w/ OTB
$38.99 Add to cart -
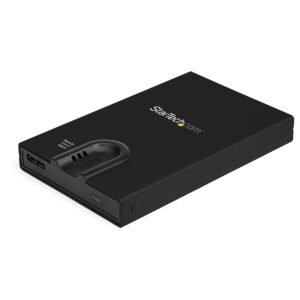
Biometric Enclosure - Encrypted USB 3.0 2.5" SATA Hard Drive Enclosure - Fingerprint/Password Access - 256-bit AES Data Encryption - Secure External USB 3.1 Gen 1 to HDD/SSD - TAA
$78.91 Add to cart -

USB 3.1 (10Gbps) Tool-Free Enclosure for 2.5in SATA SSD/HDD - USB-C
$33.99 Add to cart -
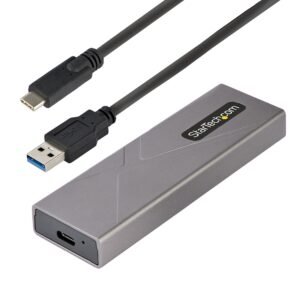
USB-C 10Gbps to M.2 NVMe or M.2 SATA SSD Enclosure - Tool-free External M.2 PCIe/SATA NGFF SSD Aluminum Case - USB Type-C&A Host Cables - Supports 2230/2242/2260/2280
$74.81 Add to cart