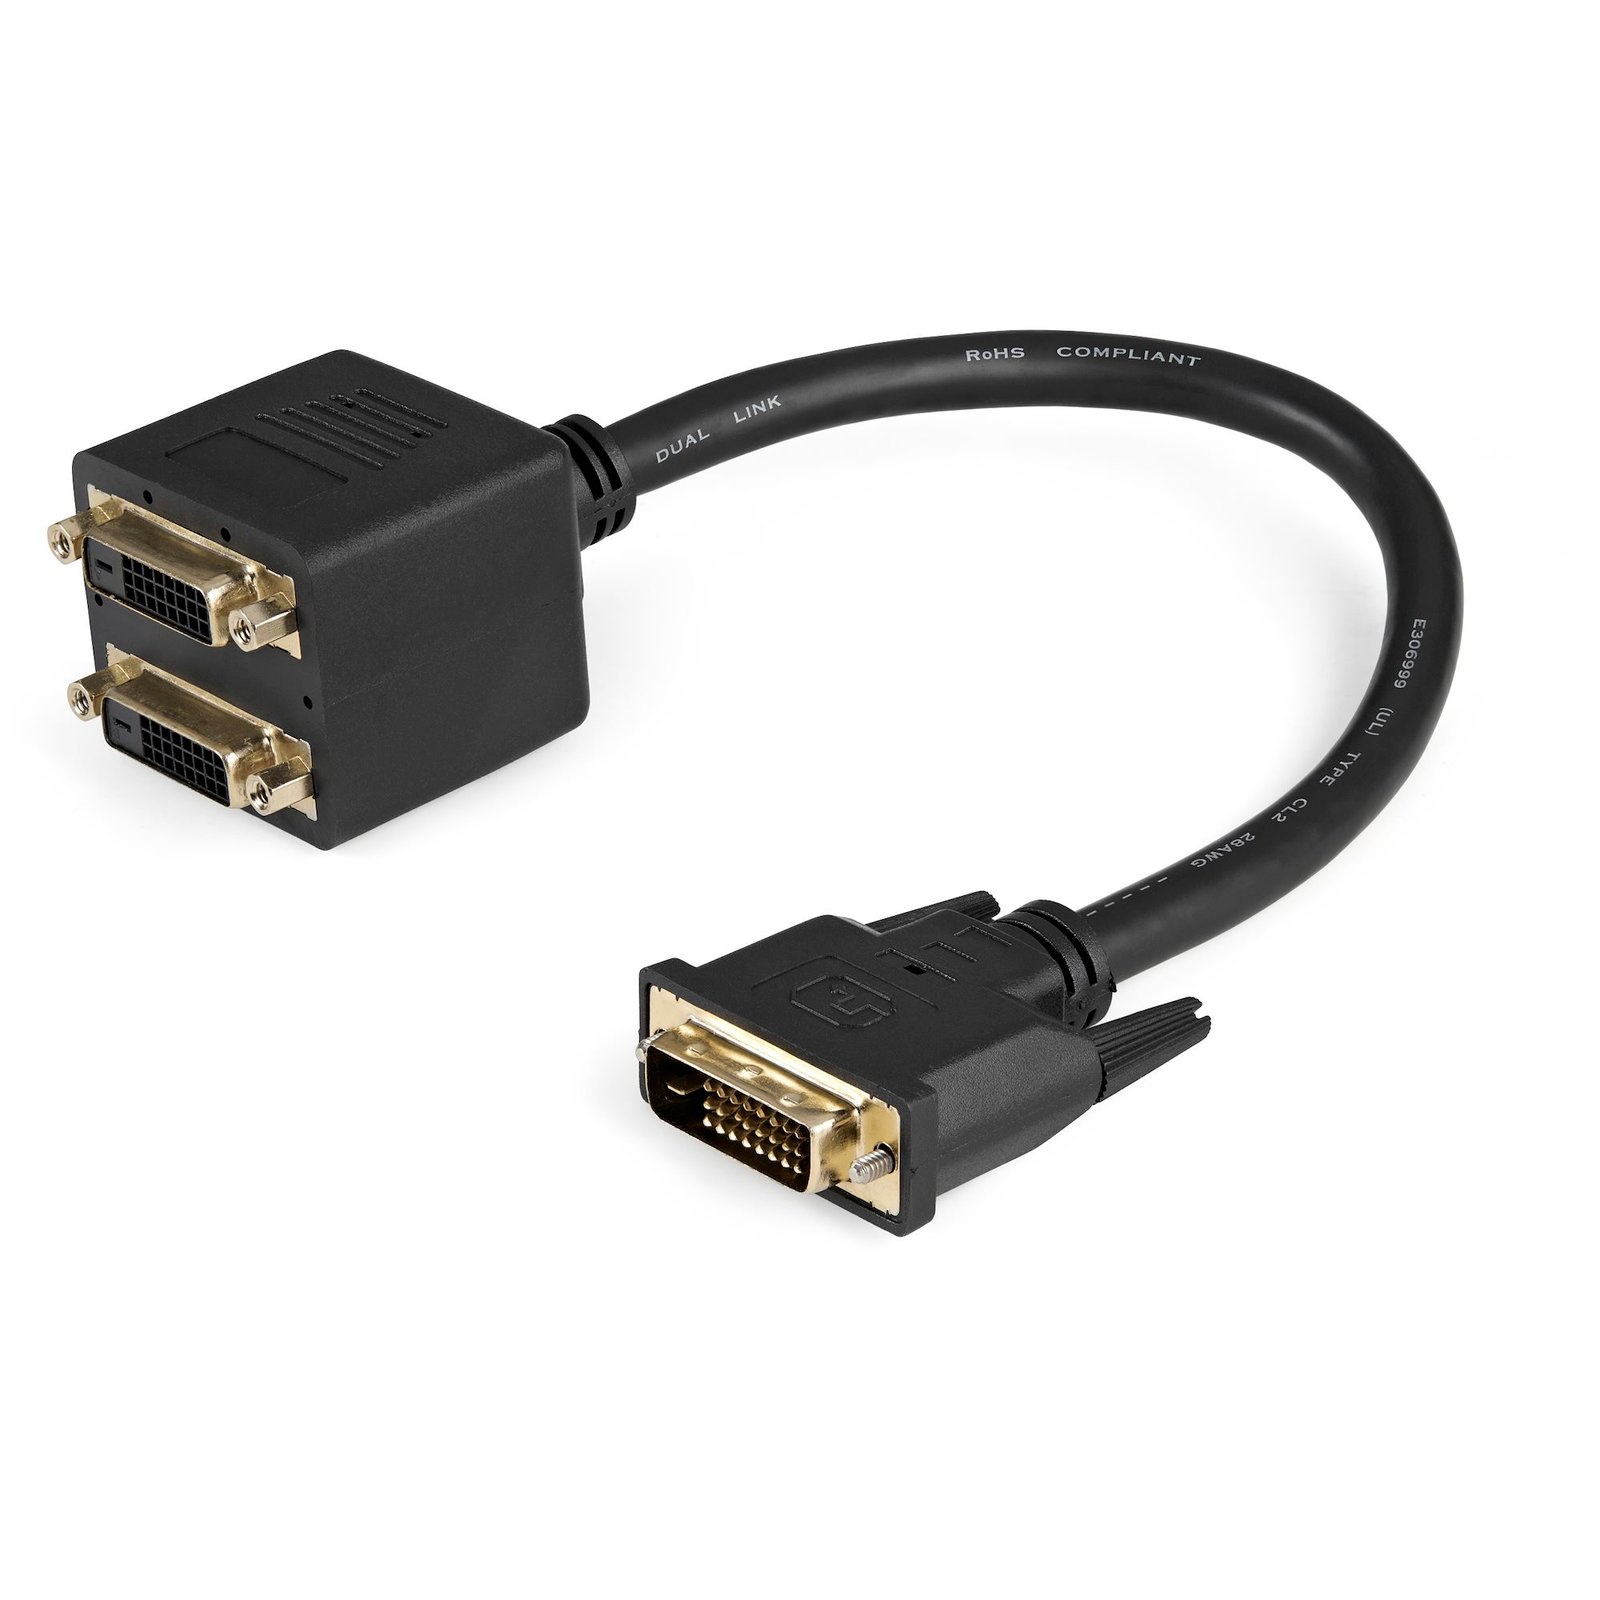
1 ft DVI-D to 2x DVI-D Digital Video Splitter Cable - M/F
$19.46
Connect two DVI-D displays simultaneously to a single DVI-D video source
Specifications & Compliance
- UPC
- 065030825870
- Brand
- StarTech.com
- Included in Package
- 1 - 1 ft DVI-D to 2x DVI-D Digital Video Splitter Cable - M/F
- Shipping (Package) Weight
- 5.6 oz [158 g]
- Weight of Product
- 5.4 oz [153 g]
- Product Length
- 12.0 in [30.5 cm]
- Product Width
- 1.7 in [42 mm]
- Product Height
- 1.5 in [37 mm]
- Package Depth
- 4.9 in [12.5 cm]
- Package Width
- 8.9 in [22.5 cm]
- Package Height
- 1.5 in [39 mm]
- Color
- Black
- Warranty
- Lifetime
- Connector 1
- DVI-D Dual-Link (25-Pin)
- Connector 1 (Quantity)
- 1
- Package Quantity
- 1
- Connector 2 (Quantity)
- 2
- Cable Jacket Material
- PVC - Polyvinyl Chloride
- Wire Gauge
- 28 AWG
- Connector Plating
- Gold
- Special Notes
- This product will split your video signal to deliver two identical images of the same resolution. It cannot be used to span an image across two displays, or to show different images on each display.
- Cable Shield Material
- Aluminum-Mylar Foil with Braid
- Maximum Digital Resolutions
- 2560 × 1600 @ 60Hz
Questions & Answers
Everything is hooked up but nothing is working. What should I do?
When you troubleshoot issues with a video splitter, there are some quick tests that you can complete to rule out potential problems. You can test to make sure that the following components are working correctly and are not the source of the issue: Video cables Video splitter Video source (such as a DVD player or computer) Video destination (such as a monitor or projector) Note: When you are testing setup components, you should avoid using video adapters. For example, if you are converting a VGA source to HDMI for use with an HDMI splitter, you should use an HDMI source when you test the components. To test your setup components, try the following: Use the cable, video splitter, video source, and video destination in another setup to see if the problem is with the components or the setup. Use a different cable, video splitter, video source, and video destination in your setup to see if the problem persists. Ideally, you should test a component that you know works in another setup. When you test your cables, it is recommended that you do the following: Test each cable individually. Use short cables when you are testing. When you test the video source and video destination, it is recommended that you do the following: Remove the video splitter from your setup and test to make sure that the video source and video destination work together without the video splitter. Test to make sure that the video source and video destination work together at the resolution that you want to use. Note: In order for your setup to work properly, the video source, splitter, and destination all need to support the resolution that you are using.
Which port on the video splitter is the master port?
Video splitters take the output for monitor port 1 and mirror it to the remaining outputs. By default, the first output port is the master port that is mirrored to each additional monitor. Make sure that you use the first output port when you use the video splitter. The master port is labeled on the splitter boxes from StarTech.com. On the splitter cables from StarTech.com, the master port is the top port. If you are having issues with a splitter interpreting the incorrect port as the master port, try the following: Unplug all of the video connections. If the splitter is powered, power cycle the splitter. Plug in all of the video connections again. Make sure that the first video connection plugged in is the one that you want to be the master port.
The image quality on some or all of my displays does not look very good through the video splitter. What do I do?
You might encounter resolution issues when you use a video splitter. This can occur because the information and resolution on one display are being copied and sent to each of the additional displays. You should make sure that all of the displays that you are using can support the output resolution. For more information, refer to the following FAQ: https://www.startech.com/faq/video_splitters_correct_port_usage
How can I identify which DVI connector type I have or need?
You can identify the DVI connector type by the pin configuration and determine compatibility based on whether the connection supports analog, digital, or both signal types. Explanation: DVI (Digital Visual Interface) connectors are defined by their pin layout and supported signal type. The main DVI connector types are: DVI-A (17 pin) . Analog signal only DVI-D Single Link (19 pin) . Digital signal only DVI-D Dual Link (25 pin) . Digital signal only, higher bandwidth DVI-I Single Link (23 pin) . Supports both analog and digital signals DVI-I Dual Link (29 pin) . Supports both analog and digital signals, higher bandwidth DVI-A is used for analog signals (similar to VGA), while DVI-D is used for digital signals (similar to HDMI). DVI-I connectors can carry both analog and digital signals, but actual support depends on the device’s specifications. Single Link and Dual Link indicate bandwidth capacity, which affects maximum supported resolution. Typical limits are up to 1920 × 1080 @ 60 Hz for Single Link and up to 2560 × 1600 @ 60 Hz for Dual Link. However, actual resolution support depends on the capabilities of the connected devices, not just the connector type. To ensure compatibility, verify both the connector type and the signal support in the specifications of the source and display devices.