
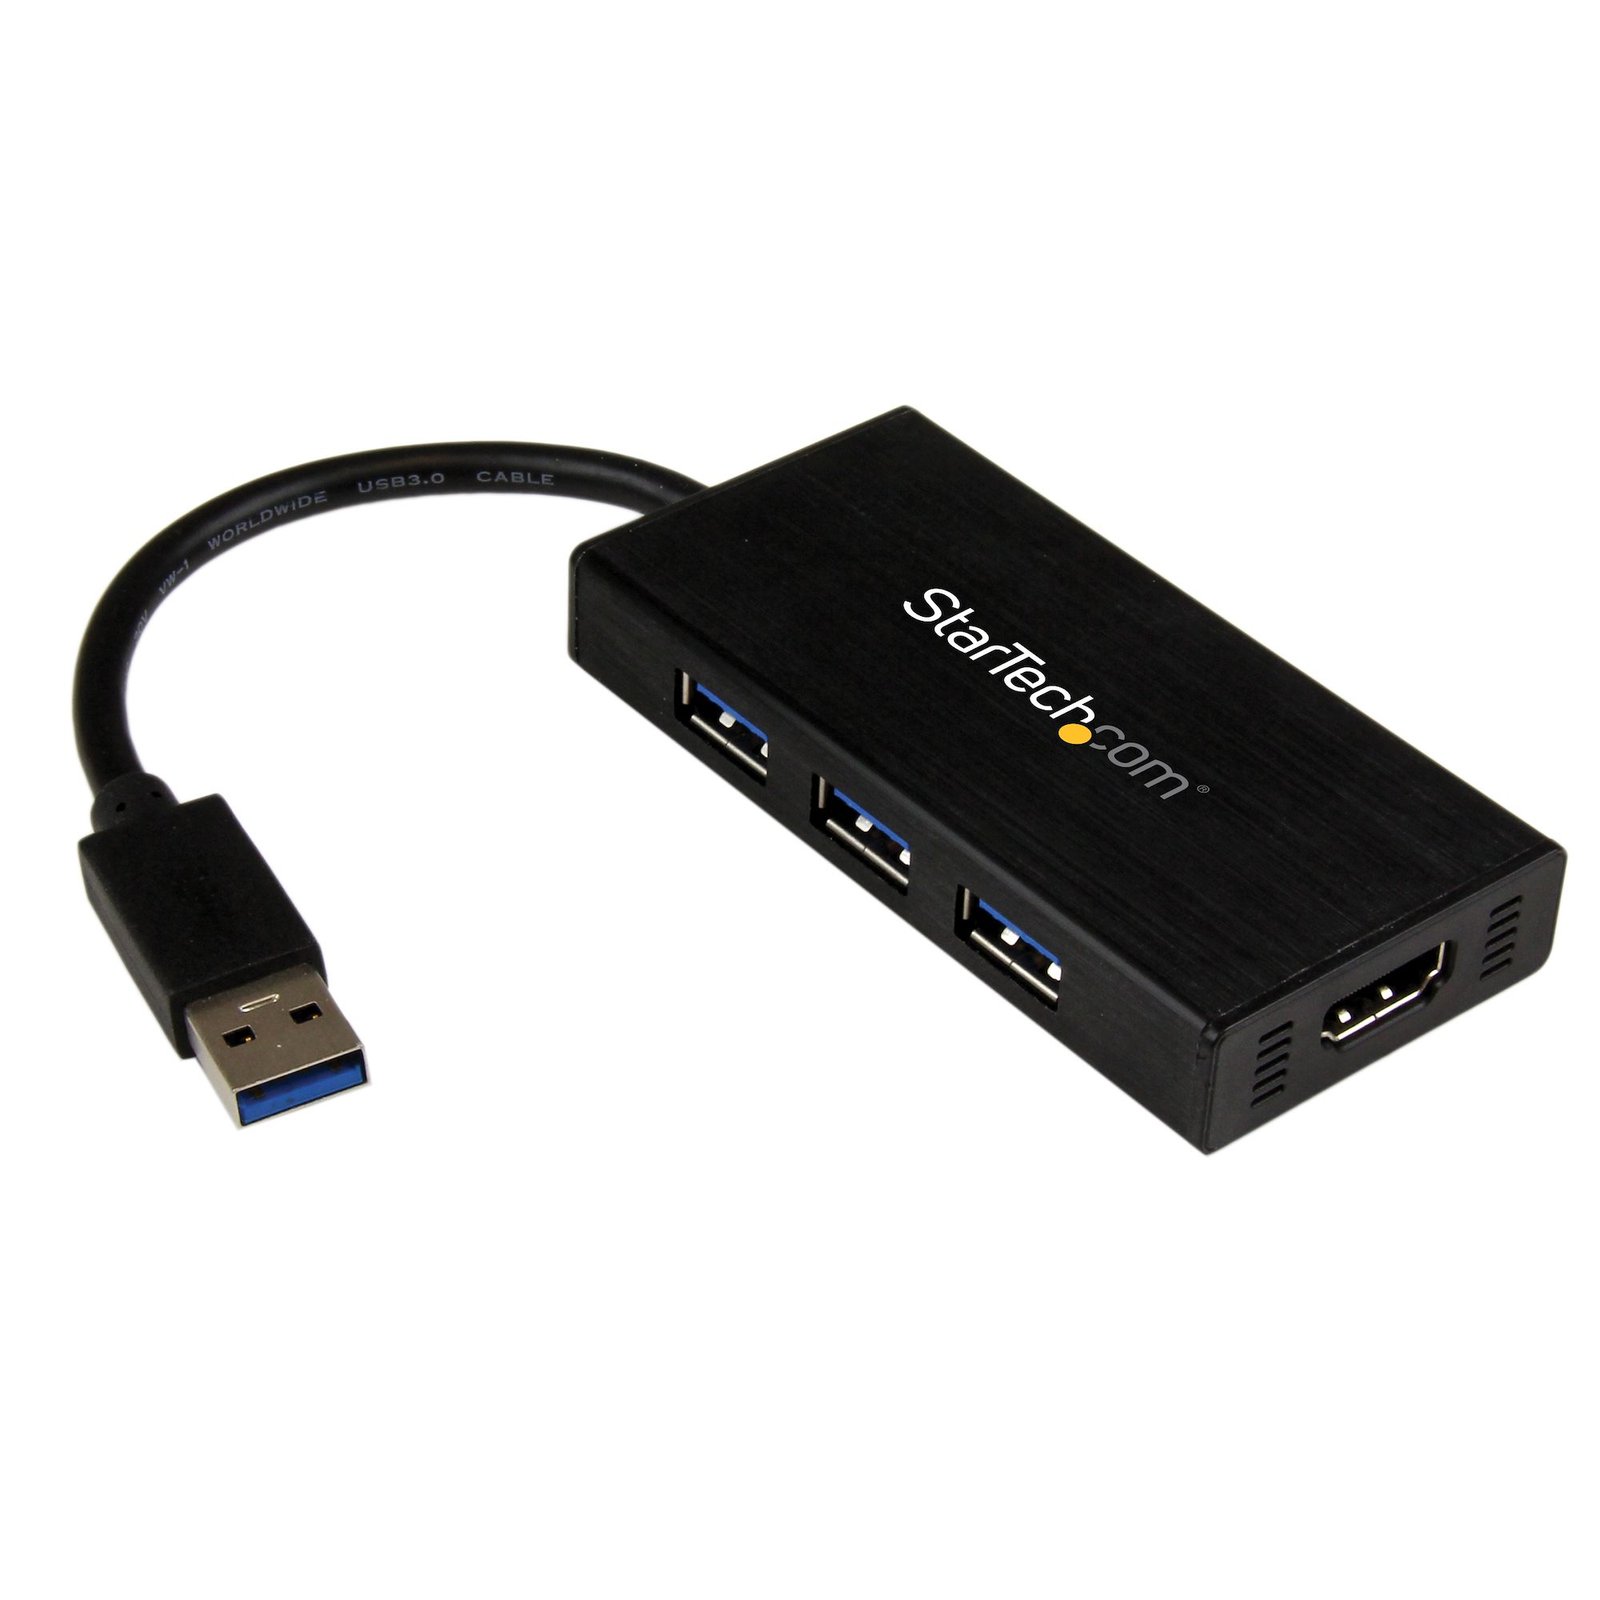
USB 3.0 to HDMI External Multi Monitor Graphics Adapter with 3-Port USB Hub – HDMI and USB 3.0 Mini Dock – 1920x1200 / 1080p
$99.99
Connect an HDMI-equipped display through USB 3.0, and add three additional USB devices to the same USB 3.0 port with a built-in USB 3.0 hub
Specifications & Compliance
- UPC
- 065030858434
- Brand
- StarTech.com
- Included in Package
- 1 - USB 3.0 to HDMI Adapter w/ 3-Port USB 3.0 Hub, 1 - Software Installation Disc, 1 - Instruction Manual
- Shipping (Package) Weight
- 7.5 oz [212 g]
- Weight of Product
- 2.2 oz [63 g]
- Product Length
- 9.3 in [23.5 cm]
- Product Width
- 1.7 in [44 mm]
- Product Height
- 0.6 in [14 mm]
- Package Depth
- 5.7 in [14.5 cm]
- Package Width
- 8.3 in [21 cm]
- Package Height
- 1.5 in [38 mm]
- Color
- Black
- Cable Length
- 5.7 in [14.6 cm]
- Warranty
- 2 Years
- Connector 1
- USB-A (5Gbps, 4.5W)
- Connector 1 (Quantity)
- 1
- Package Quantity
- 1
- Connector 2
- HDMI
- Connector 2 (Quantity)
- 1
- Operating Temperature
- 0°C to 50°C (32°F to 122°F)
- Storage Temperature
- -10°C to 75°C (14°F to 167°F)
- Humidity
- < 85% non-condensing
- Material
- Plastic
- Industry Standards
- SuperSpeed USB 3.0, USB 2.0
- Power Source
- Not Included (not required for standard applications)
- Chipset ID
- Trigger - T5-302
- Special Notes
- This USB video adapter uses a Trigger family chipset. If you’re connecting this device to a computer along with additional USB video adapters or docking stations, avoid using devices with different family chipsets, such as DisplayLink® or Fresco Logic®, Connect a maximum of five USB video adapters on a single computer. Support for multiple adapters will vary depending upon your system resources, This USB video adapter is not intended for graphical intensive applications, such as gaming
- Input Voltage
- 5 DC
- Connector 3 (Quantity)
- 1
- System and Cable Requirements
- System Processor: Quad Core 2.4GHz (i5 recommended)<br> System Memory: 4GB
- Audio
- Yes
- Plug Type
- H
- General Specifications
- This USB video adapter uses a Trigger family chipset. If you’re connecting this device to a computer along with additional USB video adapters or docking stations, please avoid using devices with a DisplayLink or Fresco family chipset.
- AV Input
- USB 3.2 Gen 1 (5Gbps)
- AV Output
- HDMI
- Wide Screen Supported
- Yes
- Supported Resolutions
- Widescreen(16/32 bit):<br> 1920x1200, 1920x1080, 1680x1050, 1600x900, 1440x900, 1360x768, 1280x800, 1280x768, 1280x720<br><br> Standard(16/32 bit):<br> 1600x1200, 1400x1050, 1280x1024, 1280x960, 1152x864, 1024x768, 800x600
- Maximum Analog Resolutions
- 1920x1200
- Microsoft WHQL Certified
- Yes
- USB Pass-Through
- Yes
- Memory
- 32MB
Questions & Answers
How do I install a USB video adapter in Windows 7, Windows 8, Windows 10, or Windows 11? (.exe method)
To install a USB video adapter in Windows, download the latest driver package from StarTech.com, run the Setup.exe installer as an administrator, restart the computer when prompted, and then connect the USB video adapter. Explanation: Do not connect the USB video adapter to the computer until the driver installation process instructs you to do so. Before installing the driver, ensure that Windows is fully updated with the latest service packs, security updates, and feature updates available for your operating system. To install the USB video adapter: Download the latest driver package from the StarTech.com Drivers & Downloads page. Locate the downloaded ZIP file and extract its contents. Open the extracted folder and right-click Setup.exe, then select Run as administrator. Follow the on-screen instructions to complete the driver installation. Restart the computer if prompted. After Windows has restarted, connect the USB video adapter to the computer. Windows will automatically complete the device installation and configure the adapter for use. During installation: The display may flicker or temporarily go blank. This is normal. Installation may take several seconds to complete. Additional monitors may become available once the driver installation finishes. If Run as administrator is not available, ensure that the installer is being launched from the extracted folder and not directly from within the ZIP file. After installation is complete, the USB video adapter should be ready to use and Windows can be configured to extend or mirror the desktop on the connected display.
How do I install my USB video adapter in Windows XP? (.exe method)
Note: Do not physically connect the USB video adapter to your computer until you are instructed to (Step 5). Prior to installing this device, ensure that your operating system is up to date (for example, you have installed the most recent service pack). To install the driver: Download the latest drivers from the StarTech.com website ( https://www.startech.com/support/drivers-and-downloads ). You can find the part number and product ID on the product’s packaging. Note: Windows will typically save the files to the Downloads folder that is associated with your user account (for example, C:Documents and Settings your_name My DocumentsDownloads). Once the download is complete, right-click the zip folder that you downloaded, select Extract All , and follow the on-screen instructions. In the list of extracted files, double-click the Setup.exe file. Follow the on-screen prompts to install the device drivers and restart the computer when prompted. Once Windows has restarted, connect the USB video adapter to your computer. Your computer will automatically complete the driver installation and your device should be ready to use. Note: Installation may take several seconds to complete. During the installation your display might flicker; this is normal. Once the installation has completed you will see your Windows desktop extended to the additional monitor.
How do I uninstall a StarTech.com USB video adapter driver from Windows?
To uninstall a StarTech.com USB video adapter driver, disconnect the USB video adapter from the computer, remove the USB Display Device (Trigger Family) software through Windows Programs and Features, and then restart the computer. Explanation: Before uninstalling the driver, physically disconnect the USB video adapter from the computer. To remove the USB video adapter software: Windows 11, Windows 10, Windows 8, Windows 7, and Windows Vista Open Control Panel . Select Programs and Features . Locate USB Display Device (Trigger Family) in the list of installed programs. Select the software and choose Uninstall . Follow the on-screen prompts to complete the removal process. Restart the computer if prompted. Windows XP Open Control Panel . Select Add or Remove Programs . Locate USB Display Device (Trigger Family) in the list of installed programs. Select the software and choose Remove . Follow the on-screen prompts to complete the removal process. Restart the computer if prompted. After the restart is complete, the USB video adapter driver and associated software will be removed from the system.
Why can't I playback Netflix or other HDCP content with my USB video adapter?
Playback of HDCP content is not supported. Content from Netflix, Amazon Prime Video, Disney+, iTunes, Hulu, etc. may not work on USB-connected displays. We recommend using these apps on displays connected to your video card or motherboard. If using a laptop, use the integrated display, or the video ports built-in to the laptop.
Everything is hooked up but nothing is working. What should I do? (Windows)
When you troubleshoot issues with a USB video adapter, there are some quick tests that you can complete to rule out potential problems. You can test to make sure that the following components are working correctly and are not the source of the issue: Video cables Video source Video destination USB video adapter To test your setup components, try the following: Use the video cables, video source, video destination, and USB video adapter in another setup to see if the problem is with the components or the setup. Use a different video cable, video source, video destination, and USB video adapter in your setup to see if the problem persists. Ideally, you should test a component that you know works in another setup. When you test your cables, it is recommended that you do the following: Test each cable individually. Use short cables when you are testing. When you test the video cables, video source, video destination, and USB video adapter, it is recommended that you do the following: Check Device Manager under Display adapters , Universal Serial Bus controllers , or USB Display adapters . To do this, press the Windows key + R , type devmgmt.msc , and press Enter to open Device Manager . If you do not see the USB video adapter in Device Manager, refer to the following FAQ: https://www.startech.com/en-us/faq/usb-cannot-detect-windows . If the device is listed with an error, reinstall the drivers following the instructions on the website. Check to see if your video card drivers are current. You can check what video card you have in Device Manager under Display adapters . It is recommended that you go directly to the video card manufacturer's website to check for the latest drivers. Check to see if the monitor is being detected by Windows. To check to see if Windows is detecting the monitor using a computer that is running a version of Windows XP, do the following: Right-click on the desktop and click Properties . Click the Settings tab. If you see Drag the monitor icons to match the physical arrangement of your monitors , it means that Windows is detecting more than a single monitor. You can click the drop-down menu under Display to see which monitors are detected. This option is not available if Windows only detects a single monitor. To check to see if Windows is detecting the monitor using a computer that is running a version of Windows Vista, Windows 7, or Windows 8, do the following: Right-click on the desktop and click Screen Resolution . You can click the drop-down menu under Display to see which monitors are detected.
Some graphics are not rendered correctly on the USB connected display when using Microsoft Office applications or web browsers. How do I fix this?
If hardware acceleration is enabled on any of your software applications, it can result in poor resource management and limit the performance of your video device. If you experience this problem, you should disable hardware acceleration in the program(s) that were impacted. To disable hardware acceleration in common applications and operating systems, complete one of the following series of steps, depending on what software application(s) or operating system that you are running. Chromium-Based Microsoft Edge: Click the Options icon (it has three dots on it). Click Settings . Click System . Uncheck Use hardware acceleration when available . Internet Explorer 9 and later Note: Earlier versions of Internet Explorer do not use hardware acceleration. Click the Start button. Open Control Panel . Click Network and Internet . Click Internet Options . Click the Advanced tab. Browse to the Accelerated graphics screen. Select the Use software rendering instead of GPU rendering check box. Click Apply . Restart your computer. Mozilla Firefox Open Firefox. Press the Alt key. Click Tools and Options . Click the Advanced icon. Click the General tab. Under Browsing , clear the Use hardware acceleration when available check box. Click the OK button. Restart your web browser. Google Chrome Open Google Chrome. Click the Options icon (it has three horizontal lines on it). Click Settings . Click Show advanced settings . Scroll to the bottom of the screen and clear the Use hardware acceleration when available check box. Restart your web browser. Microsoft Office 2013 / 2010 Open any program in Microsoft Office (for example, Microsoft Word). Click the File tab. In the menu on the left side of the screen, click Options . Click Advanced . Under Display , select the Disable hardware graphics acceleration check box. Close and restart all of the Microsoft Office programs that you had open. Windows 10 / 8 Press the Windows key + X . Click Control Panel . Click Personalization . Select a high-contrast theme. Windows 7 / Vista Click the Start button. Click Control Panel . Click Personalization . Select a non-Aero theme. Ideally, you should select a basic and high-contrast theme. Windows XP Click the Start button. Open the Control Panel . Select Display . Click the Settings tab. Click Advanced . Click the Troubleshooting tab. Move the Hardware Acceleration slider to None . Restart your computer.
Why do I lose my additional monitor(s) when my computer wakes up from sleep mode in Windows?
If the display connected through your USB display adapter does not wake up after your computer has been in extended hibernation, it is likely that Windows has automatically turned off the USB Root hub to save power. The steps below outline how to configure the USB root hub to stay on during hibernation, to prevent this from happening. Windows 8 / 10 On your keyboard, press the Windows key + X and select Control Panel . Click Hardware and Sound , then click Power Options . Click Change plan settings for the plan you want to change. Click Change advanced power settings . Click the plus sign (+) next to “USB settings” and “USB selective suspend setting” to expand the options and change the setting to Disabled . Click OK to apply the setting. Note : You may need to disconnect and re-connect your USB display adapter after applying these settings to re-establish the connection. Windows 7 / Vista Click the Start button and select Control Panel . Click Hardware and Sound , then click Power Options . Click Change plan settings for the plan you want to change. Click Change advanced power settings . Click the plus sign (+) next to “USB settings” and “USB selective suspend setting” to expand the options and change the setting to Disabled . Click OK to apply the setting. Note : You may need to disconnect and re-connect your USB display adapter after applying these settings to re-establish the connection. Windows XP On your desktop, right-click the My Computer icon and select Properties . Click the Device Manager tab. Expand Universal Serial Bus controllers by clicking the arrow to the left of it. Right-click the first USB Root Hub device and select Properties . Click the Power Management tab. Clear the box next to Allow the computer to turn off this device to save power . Click OK to apply the setting. Repeat steps 4-7 for any remaining devices in the Universal Serial Bus Controllers section with “ Root Hub ” in the name. Note : You may need to disconnect and re-connect your USB display adapter after applying these settings to re-establish the connection.
Why does one of my connected displays turn off when my USB video adapter is connected?
While the purpose of our USB Video Adapters are to add an additional video output to your laptop or desktop computer, these adapters still require some resources from your internal video card. On a small number of video cards, adding a USB Video Adapter can exceed the limit of available resources, causing one of the connected displays to turn off. As a possible workaround for this issue, we recommend using a more powerful USB Video Adapter that has a higher amount of integrated RAM, such as our USB32VGAPRO (512MB), USB32DVIPRO (512MB), or USB32HDDVII (1GB).
Will my touchscreen / all-in-one computer work with a USB Video Adapter?
Touchscreen Monitors A mixture of touchscreen and non-touchscreen displays can cause a conflict with your internal video card. Because of this limitation, touchscreen functions may be disabled when the USB Video Adapter is connected, or the USB Video Adapter may not work at all. Contact the manufacturer of your system to confirm whether your specific model can support a secondary display or not. All-in-One Computers Many all-in-one computer systems limit the number of possible monitors to one. This is a limitation in how all-in-one computers are typically manufactured, so adding an external display may not be possible regardless of which USB video adapter is used. Contact the manufacturer of your system to confirm whether your specific model can support a secondary display or not.
Why am I experiencing issues with remote desktop software and USB video adapters?
When you use remote desktop software to access a computer with a USB video adapter, keep the following things in mind: Not all remote desktop software supports multiple monitors. Not all remote desktop software supports monitors that use USB video adapters. If the primary monitor is a monitor that uses a USB video adapter, you might run into problems. If you do, try to continue to log in as the display might come back once you log in.
How to Arrange Windows Monitors to Fix Mouse Issues
In order for your mouse to move properly between your monitors you must rearrange your monitors in Windows to match the physical location of your monitors on your desk. To do so, complete the following based on your operating system: Windows 11 Click on the Windows Icon in the Taskbar (or the Windows key on the keyboard) and search for Display Settings . Click on Multiple Displays. Click Identify to display the numbers on each connected monitor, showing how the operating system has assigned their positions. Click and drag the monitor icons to best match your physical setup. Click Apply to confirm the changes and close the window. Windows 10 and Windows 8 On your keyboard, press the Windows key + X and select Control Panel . Click Appearance and Personalization , then click Display . Click the Resolution or Adjust Resolution option from the left column, which will display your monitors as numbered icons. Click Identify to display the numbers on each connected monitor, showing how the operating system has assigned their positions. Click and drag the monitor icons to best match your physical setup. Click OK to apply the changes and close the window. Windows 7 and Windows Vista Click the Start button and select Control Panel . Click Appearance and Personalization, then click Display . Click the Resolution or Adjust Resolution option from the left column, which will display your monitors as numbered icons. Click Identify to display the numbers on each connected monitor, showing how the operating system has assigned their positions. Click and drag the monitor icons to best match your physical setup. Click OK to apply the changes and close the window. Windows XP Click the Start button and select Control Panel . Double-click Display . Click the Settings tab, which will display your monitors as numbered icons. Click Identify to display the numbers on each connected monitor, showing how the operating system has assigned their positions. Click and drag the monitor icons to best match your physical setup. Click OK to apply the changes and close the window. To mirror the image from your primary monitor instead of extending your desktop, refer to the following FAQ: http://www.startech.com/faq/Windows_Mirroring_Monitors
Why does my mouse pointer disappear on the secondary monitor using my StarTech.com USB video adapter?
If Display pointer trails or Enhance pointer precision is enabled in your mouse settings, it can cause visibility issues with your mouse pointer on the display attached to the USB video adapter. To resolve the issue, you can disable Display pointer trails and Enhance pointer precision , by following the steps below: Windows 10 / 8 On your keyboard, hold down the Windows Key and press X . Click Control Panel . Click Hardware and Sound . Click Mouse located under Devices and Printers. Click the Pointer Options tab. Remove the check box from the Display pointer trails box. Remove the check from the Enhance pointer precision box. Click the Apply button. Windows 7 / Vista Click Start . Click Control Panel . Click Hardware and Sound . Click Mouse located under Devices and Printers . Click the Pointer Options tab. Remove the check from the Display pointer trails box. Remove the check from the Enhance pointer precision box. Click the Apply button. Windows XP Click Start . Click Control Panel . Note: If your control panel is set to category view select Switch to Classic View Click Mouse . Click the Pointer Options tab. Under visibility, remove the check box from Display pointer trails . If this has not resolved your issue, refer to the following FAQ: https://www.startech.com/faq/usb-video-adapters-hardware-acceleration .
How do I confirm that Windows detects my USB device?
To confirm that Windows detects your USB device, complete the following: Press the Windows key+ R , type devmgmt.msc , and press Enter . In Device Manager , under the appropriate heading, confirm that your expansion card is listed and that there isn't an exclamation mark next to it. For example, a USB controller card would be under Universal Serial Bus controllers . Your USB device is listed according to the name of the chipset. To determine the name of the chipset of your USB device, navigate to www.StarTech.com and look on the Technical Specifications tab for your product.
How to Mirror Displays on Windows
Windows 10 / 8 On your keyboard, press the Windows Key + X and select Control Panel . Click Appearance and Personalization , then click Display . Click the Resolution or Adjust Resolution option from the left column. Expand the drop-down menu next to “Multiple displays” and select Duplicate these Displays . Click OK to apply the changes and close the window. Windows 7 / Vista Click the Start button and select Control Panel . Click Appearance and Personalization, then click Display . Click the Resolution or Adjust Resolution option from the left column. Expand the drop-down menu next to “Multiple displays” and select Duplicate these Displays . Click OK to apply the changes and close the window. Windows XP Click the Start button and select Control Panel . Double-click Display . Click the Settings tab. Un-check the box beside Extend my Windows desktop onto this monitor . Click OK to apply the changes and close the window.
Can I use a USB video adapter if my computer does not have a functioning graphics card or integrated graphics?
No. A USB video adapter requires a functioning graphics card (GPU) or integrated graphics controller. A USB video adapter cannot replace or function as the computer’s primary graphics processor. Explanation: USB video adapters, including USB-to-HDMI and USB-to-DisplayPort adapters, expand a computer’s existing display connectivity. They rely on the computer’s graphics hardware and drivers to output video and do not contain a dedicated graphics processor that replaces a GPU. To use a USB video adapter: The computer must have a functioning dedicated GPU or integrated graphics controller. The system must boot using the existing graphics hardware so the primary display is recognized before the USB video adapter can output video. The USB video adapter can use technologies such as DisplayLink to extend or duplicate the computer’s display. The latest drivers for the existing graphics controller must be installed for proper operation. If the computer has no graphics hardware, or the graphics hardware is not recognized, the USB video adapter will not output video. A USB video adapter is designed to add display connectivity to a computer with existing graphics capabilities. It does not replace or emulate a graphics card.
What DC barrel connector power plug types do StarTech.com products use, and what are their dimensions?
StarTech.com DC barrel connector plug types are defined in the “Plug Type” field of the technical specifications, using a letter code that specifies the connector’s outer diameter (OD) and inner diameter (ID) in millimeters for power adapter compatibility. Explanation: In StarTech.com technical specifications, the “Plug Type” field is a standardized identifier for the exact DC barrel connector size required to power a product. Each plug type is assigned a letter code that corresponds to a specific combination of outer diameter (OD) and inner diameter (ID), measured in millimeters. Common DC barrel plug type dimensions Plug Type OD ID A 2.35 mm 0.7 mm B 4.0 mm 1.7 mm C 4.75 mm 1.7 mm H 3.4 mm 1.3 mm L 5.0 mm 2.5 mm M 5.5 mm 2.1 mm N 5.5 mm 2.5 mm The DC barrel connector plug type must match both the outer diameter and inner diameter exactly. A mismatch between the StarTech.com product requirement and the power adapter connector can prevent proper fit or stable power delivery, which may result in device startup failure or intermittent operation. The plug type defines only the physical connector size. The plug type does not define electrical power requirements such as voltage, current, or polarity. The power adapter used with a StarTech.com product must match the product’s specified electrical requirements. Using an incompatible power adapter can cause device malfunction or permanent damage. This standardized DC barrel connector plug type system enables IT professionals and procurement teams to verify connector dimensions, ensure power adapter compatibility, standardize hardware deployments, and identify the correct replacement power supply for StarTech.com products.
What is the difference between mirroring, spanning, and extending monitors?
Mirroring monitors means that you see the same thing on multiple monitors. Spanning monitors means that your computer interprets all of the monitors that are spanning as one giant monitor. You can see different things on each monitor, and your desktop, taskbar, Start menu, and background are stretched across the monitors. Extending monitors means that your computer interprets the monitors that you are extending as separate devices. You can see different things on each monitor, and your desktop background is displayed on each monitor. In general, video splitters can only be used to mirror monitors. If you want to extend your desktop across monitors, you need to make a separate video connection for each monitor that you are attaching. If you want to attach more monitors than your computer has video ports for, you can read about USB Video Adapters here: www.startech.com/AV/USB-Video-Adapters/ . If you are using a video card with a DisplayPort connection that supports DisplayPort 1.2 you can use MST hubs from StarTech.com to extend your desktop to each monitor.
Related products
-

4K DisplayPort Docking Station for Laptops - USB 3.0
$157.99 Add to cart -
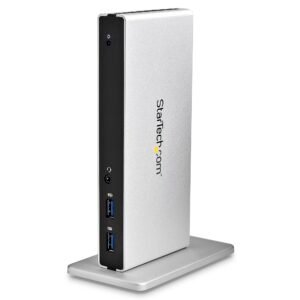
Dual-Monitor USB 3.0 Docking Station with DVI and Vertical Stand
$52.99 Add to cart -
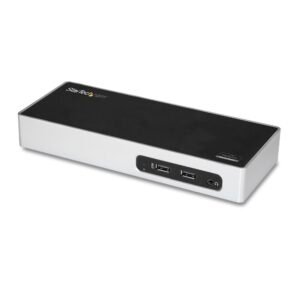
USB 3.0 Docking Station - Dual Monitor Laptop Docking Station with HDMI & DVI/VGA Video - 6-port USB 3.1 Gen 1 5Gbps Hub, GbE, Audio - Universal Type-A Dock - Windows & Mac
$176.99 Add to cart -

USB 3.0 to VGA Adapter with 1-Port USB Hub - 1920x1200
$98.99 Add to cart